WASHER MOTOR REMOVAL
PROCEDURE
-
PRECAUTION
Note
After turning the engine switch off, waiting time may be required before disconnecting the cable from the battery terminal. Therefore, make sure to read the disconnecting the cable from the battery terminal notice before proceeding with work Click here.
-
REMOVE COWL TOP VENTILATOR LOUVER RH
-
DISCONNECT CABLE FROM NEGATIVE BATTERY TERMINAL
Note
When disconnecting the cable, some systems need to be initialized after the cable is reconnected Click here.
-
REMOVE FRONT WHEEL LH
-
REMOVE FRONT FENDER MAIN SEAL LH
-
REMOVE FRONT FENDER WHEEL OPENING MOULDING LH
-
REMOVE FRONT FENDER LINER LH
-
DRAIN WASHER FLUID
-
Remove the washer hose from the windshield washer motor and pump, and drain the washer fluid.
-
-
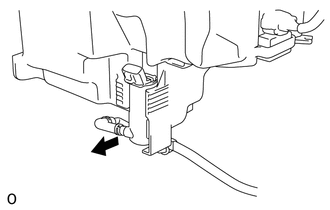
REMOVE WINDSHIELD WASHER MOTOR AND PUMP ASSEMBLY
-
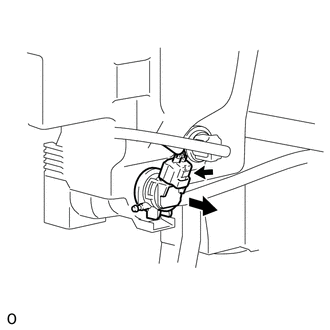
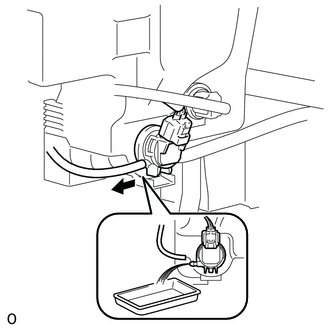
Disconnect the connector.
-
Remove the windshield washer motor and pump assembly as shown in the illustration.
-
-
REMOVE HEADLIGHT ASSEMBLY LH
-
for HID Headlight assembly:
-
for LED Headlight assembly:
-
-
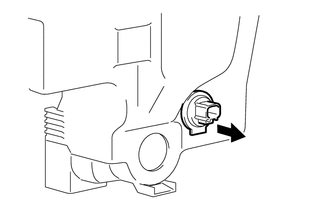
REMOVE WASHER INLET SUB-ASSEMBLY
-
Remove the bolt and washer inlet.
-
-
REMOVE WINDSHIELD WASHER JAR AND PUMP
-
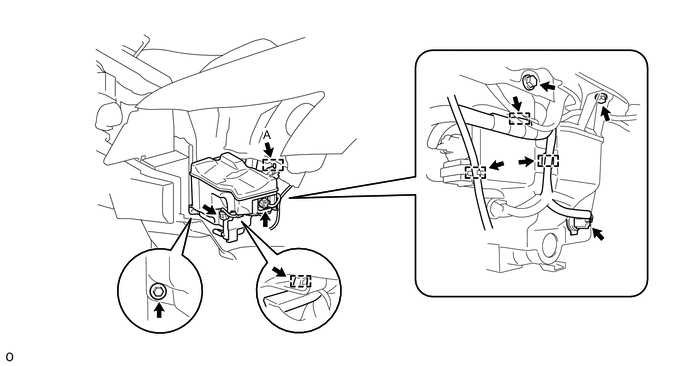
Disconnect the 3 connectors and detach the 4 clamps.
-
Remove the 3 bolts. Then detach guide A and remove the windshield washer jar and pump.
-
-
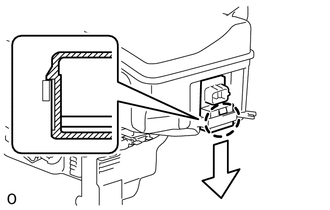
REMOVE HEADLIGHT CLEANER MOTOR AND PUMP ASSEMBLY
-
Remove the headlight cleaner motor and pump assembly together with the hose.
-
-
REMOVE HEADLIGHT CLEANER CONTROL RELAY
-
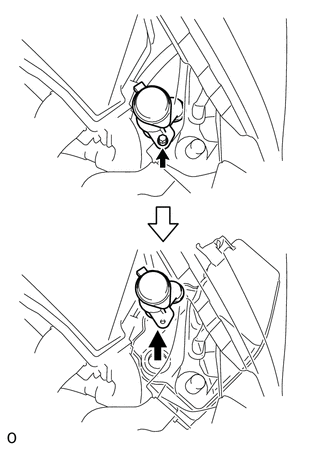
Detach the claw and remove the headlight cleaner control relay.
-
-
REMOVE LEVEL WARNING SWITCH ASSEMBLY
-
Remove the level warning switch assembly.
-