CAUTION / NOTICE / HINT
The necessary procedures (adjustment, calibration, initialization, or registration) that must be performed after parts are removed, installed, or replaced during the headlight washer actuator sub-assembly removal/installation are shown below.
| Replacement Part | Necessary Procedure | Effect/Inoperative Function When Necessary Procedures are not Performed | Link |
|---|---|---|---|
| Front bumper assembly (Including removal and installation) |
|
Parking support brake system | |
| Front television camera view adjustment | Panoramic view monitor system |
PROCEDURE
- Click here
REMOVE FRONT BUMPER ASSEMBLY
-
except Sport Package
-
for Sport Package
-
- Click here
REMOVE HEADLIGHT WASHER COVER LH
- Click here
REMOVE HEADLIGHT WASHER COVER RH
Tip:Use the same procedure for the RH and LH sides.
- Click here
REMOVE HEADLIGHT WASHER ACTUATOR SUB-ASSEMBLY LH
-
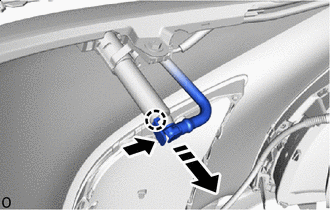

Remove in this Direction Detach the claw and disconnect the No. 1 headlight cleaner hose as shown in the illustration.
-
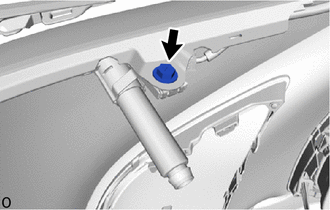
Remove the screw.
-
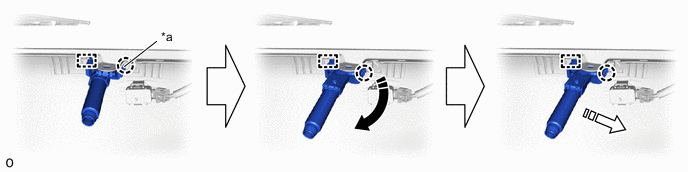
*a A - - Remove in this Direction(1) 
Remove in this Direction(2) Press part A, detach the claw and guide and remove the headlight washer actuator sub-assembly LH as shown in the illustration.
-
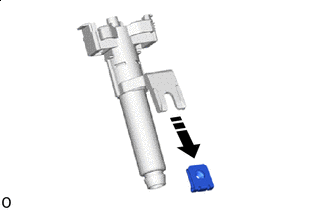
Remove in this Direction Remove the spring nut from the headlight washer actuator sub-assembly LH.
-
- Click here
REMOVE HEADLIGHT WASHER ACTUATOR SUB-ASSEMBLY RH
Tip:Use the same procedure for the RH and LH sides.
-
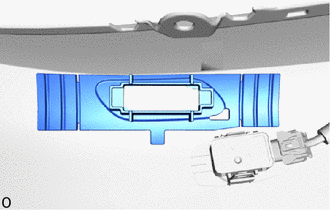
*a Heated Part *b Heat LightClick here
REMOVE NO. 2 WASHER BRACKET
-
Using a heat light, heat the No. 2 washer bracket.
CAUTION:
-
Do not touch the heat light and heated parts.
-
Touching the heat light may result in burns.
-
Touching heated parts for a long time may result in burns.
Tip:20 to 30°C for 3 to 5 minutes.
-
-
Remove the No. 2 washer bracket.
-
- Click here
REMOVE WASHER BRACKET
Tip:Use the same procedure described for the No. 2 washer bracket.
- Click here
REMOVE NO. 1 HEADLIGHT CLEANER HOSE