FUEL PUMP DISASSEMBLY

CAUTION / NOTICE / HINT
Note
-
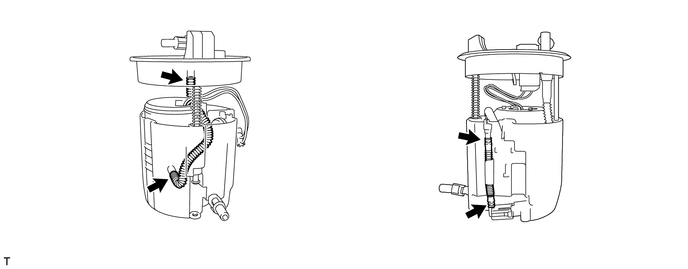
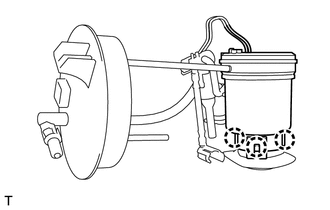
Do not disconnect the hose indicated in the illustration.
-
When replacing the fuel filter assembly, replace it together with the fuel suction plate sub-assembly.
PROCEDURE
-
REMOVE FUEL SENDER GAGE ASSEMBLY
-
REMOVE NO. 1 FUEL SUB-TANK
-
Disconnect the connector.
-
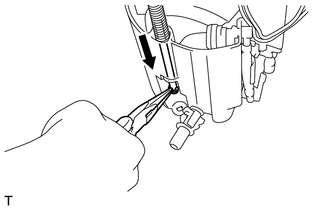
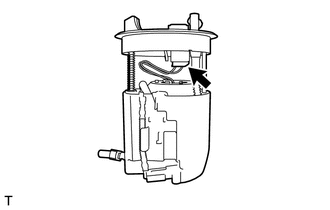
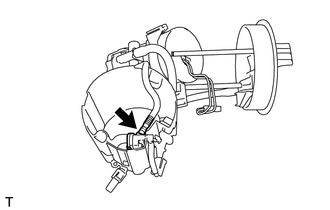
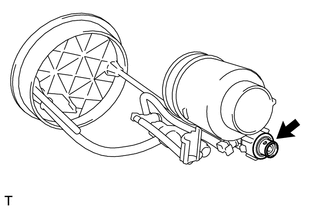
Hold the fuel suction plate sub-assembly in the direction of the arrow as shown in the illustration.
-
Using needle nose plier, remove the E-ring.
-

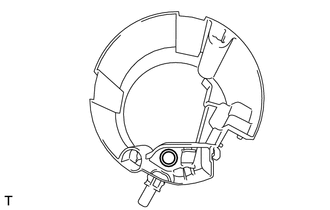
Text in Illustration *1 Protective Tape Using a screwdriver with the tip taped, disengage the claw and separate the jet pump nozzle.
-
Using a screwdriver with the tip taped, disengage the 3 claws and separate the No. 1 fuel sub-tank.
Note
Do not damage the No. 1 fuel sub-tank or the fuel filter.
-
Using a screwdriver with the tip taped, disengage the claw and separate the jet pump.
-
Remove the O-ring from the No. 1 fuel sub-tank.
-
-
REMOVE FUEL PUMP ASSEMBLY
-
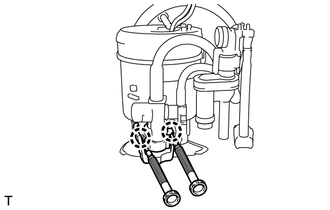
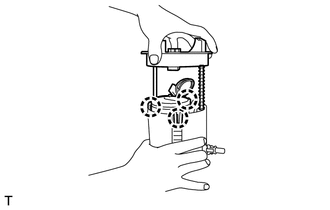
Using 2 screwdrivers with the tip taped, disengage the 2 claws.
-
Using a screwdriver with the tip taped, disengage the 3 claws and remove the fuel pump.
Note
Do not damage the fuel pump or the fuel filter.
-
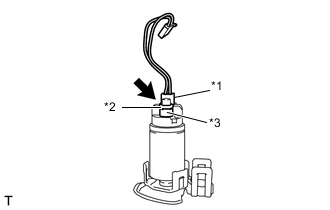
Disconnect the connector, and remove the fuel pump wire harness.
-
Remove the O-ring and fuel pump spacer from the fuel pump assembly.
Text in Illustration *1 fuel pump wire harness *2 O-Ring *3 Fuel Pump Spacer
-
-
REMOVE FUEL PRESSURE REGULATOR ASSEMBLY
-
Remove the fuel pressure regulator assembly from the fuel filter.
-
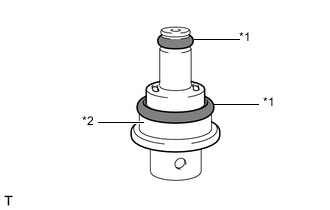
Text in Illustration *1 O-Ring *2 Backup Ring Remove the 2 O-ring and backup ring from the fuel pressure regulator assembly.
-