REAR PNEUMATIC CYLINDER REMOVAL

Tech Tips
-
Use the same procedure for the RH side and LH side.
-
The procedure listed below is for the LH side.
-
PRECAUTION
Note
Be sure to read Precaution thoroughly before servicing Click here.
-
REMOVE REAR SUSPENSION ARM COVER
-
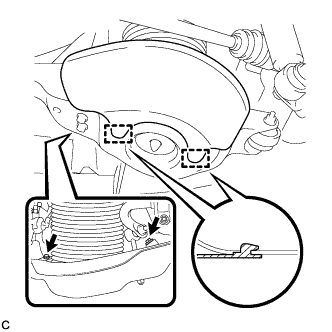
Remove the 2 bolts.
-
Disengage the 2 guides and remove the rear suspension arm cover from the rear No. 2 suspension arm assembly.
-
-
REMOVE REAR PNEUMATIC CYLINDER ASSEMBLY
-
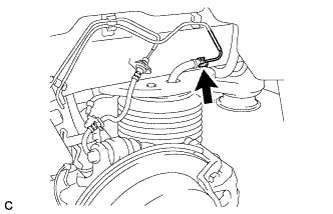
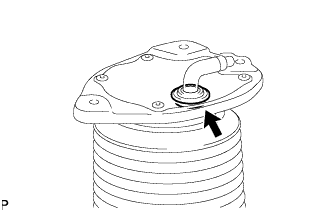
Disconnect the air tube from the rear pneumatic cylinder assembly.
Tech Tips
For the disconnecting procedure of the tube (type 2), refer to Precaution of the suspension control system Click here.
-
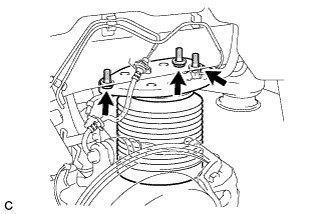
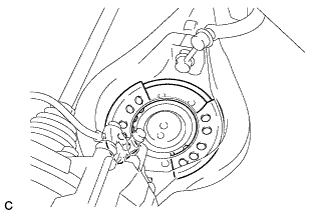
Remove the 3 bolts and separate the rear pneumatic cylinder assembly from the body.
-
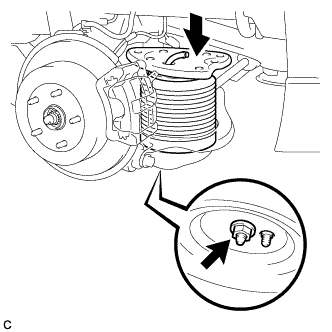
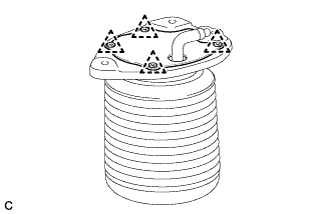
Compress the rear pneumatic cylinder assembly as shown in the illustration.
-
Remove the nut and rear pneumatic cylinder assembly from the rear No. 2 suspension arm assembly.
Note
-
Hold the lower part of the rear pneumatic cylinder assembly when removing it.
-
Do not extend the rear pneumatic cylinder assembly when removing it.
-
-
Remove the 2 O-rings, plate and No. 2 connector from the rear pneumatic cylinder assembly.
Note
Perform this procedure when reusing the rear pneumatic cylinder assembly.
Tech Tips
For the removing procedure of the tube (type 2), refer to Precaution of the suspension control system Click here.
-
-
REMOVE REAR SPRING SET PLATE
-
Remove the rear spring set plate from the rear No. 2 suspension arm assembly.
-
-
REMOVE HEIGHT CONTROL PLUG
-
Remove the height control plug from the rear pneumatic cylinder assembly.
-
-
REMOVE REAR PNEUMATIC CYLINDER COVER
-
Remove the 4 clips and bracket cover from the pneumatic chamber bracket.
-
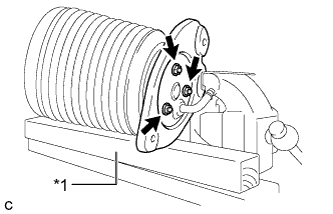
Text in Illustration *1 Wooden Block Using a wooden block, hold the pneumatic chamber bracket between aluminium plates in a vise as shown in the illustration.
-
Remove the 3 nuts and pneumatic chamber bracket from the rear pneumatic cylinder.
-

Using a screwdriver, release the clamp lock of the 2 rear height control cover bands to remove them as shown in the illustration.
-
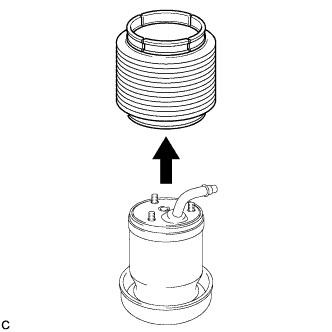
Remove the rear pneumatic cylinder cover from the rear pneumatic cylinder.
-