ВПУСКНОЙ КОЛЛЕКТОР СНЯТИЕ
-
DISCHARGE FUEL SYSTEM PRESSURE
Tech Tips
-
DISCONNECT CABLE FROM NEGATIVE BATTERY TERMINAL
Note
When disconnecting the cable, some systems need to be initialized after the cable is reconnected Click here.
-
REMOVE THROTTLE BODY
-
Remove the throttle body Click here.
-
-
DISCONNECT FUEL TUBE SUB-ASSEMBLY
-
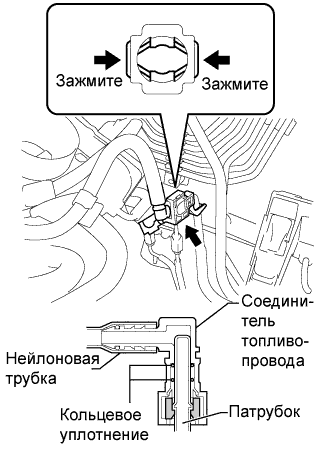
Disengage the claw and open the No. 1 fuel pipe clamp.
Tech Tips
Do not remove the No. 1 fuel pipe clamp from the pipe.
-
Pinch the fuel tube connector and then pull out the fuel main tube.
Note
-
Check for any dirt and foreign matter contamination in the pipe and around the connector. Clean if necessary. Foreign matter may damage the O-rings or cause leaks in the seal between the pipe and connector.
-
Do not use any tools to separate the pipe and connector.
-
Do not forcefully bend or twist the nylon tube.
-
Check for any dirt and foreign matter on the pipe seal surface. Clean if necessary.
-
Put the pipe and connector ends in plastic bags to prevent damage and dirt contamination.
-
If the pipe and connector are stuck together, pinch the tube between your fingers and turn it carefully to free it. Then disconnect the hose.
-
-
Separate the fuel tube from the fuel hose clamp.
-
-
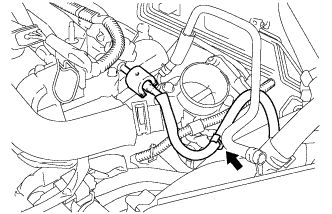
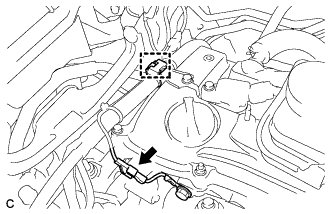
DISCONNECT NO. 2 VENTILATION HOSE
-
Disconnect the No. 2 ventilation hose from the ventilation valve.
-
-
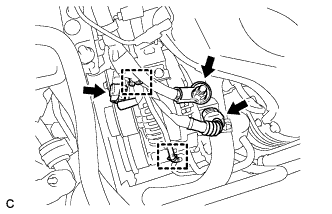
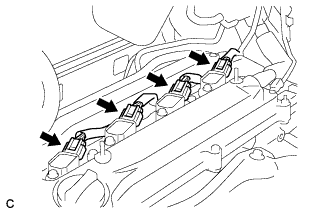
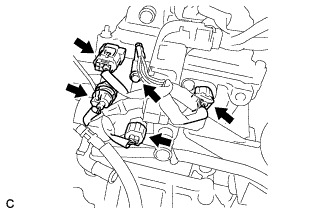
REMOVE FUEL DELIVERY PIPE SUB-ASSEMBLY
-
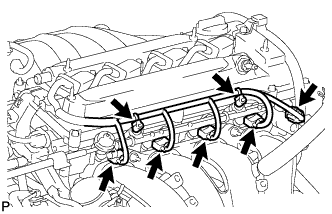
Remove the 2 wire harness clamps.
-
Disconnect the 4 fuel injector connectors.
-
Disconnect the oil control valve connector.
-
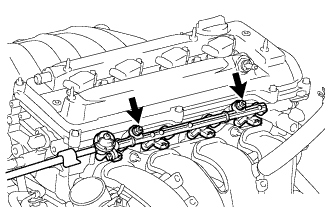
Remove the 2 bolts, then remove the fuel delivery pipe together with the 4 fuel injectors.
Note
Be careful not to drop the fuel injectors when removing the fuel delivery pipe.
-
Remove the 2 delivery pipe spacers from the cylinder head.
-
Remove the 4 insulators from the cylinder head.
-
-
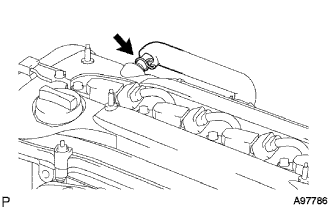
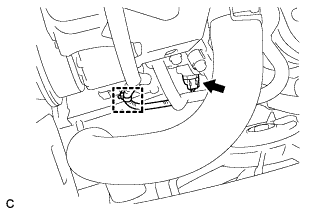
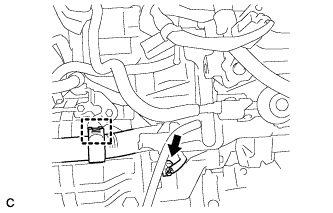
DISCONNECT UNION TO CHECK VALVE HOSE
-
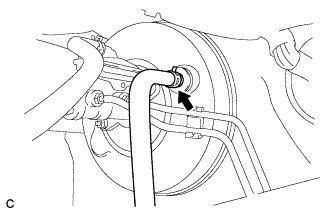
Отсоедините шланг между штуцером и обратным клапаном.
-
-
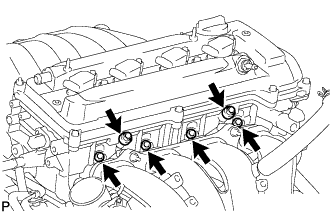
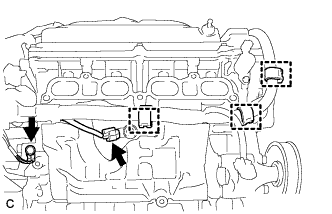
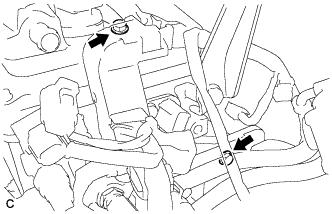
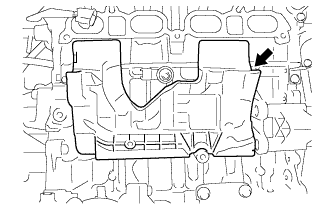
REMOVE INTAKE MANIFOLD
-

Disconnect the oxygen sensor connector and clamp.
-
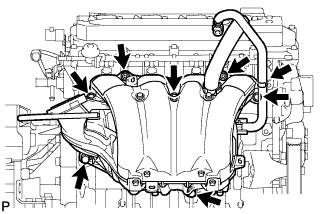
Disconnect the union to check valve hose from the hose clamp.
-
Remove the 5 bolts and 2 nuts, and separate the intake manifold.
-
Using an E7 "TORX" wrench, remove the 2 stud bolts.
-
Disconnect the engine wire.
-
Disconnect the compressor connector and clamp.
-
Disconnect the 2 connectors and 2 wire harness clamps.
-
Remove the terminal cap and nut, and disconnect the terminal B.
-
Disconnect the earth connector and wire harness clamp.
-
Disconnect the connector and 3 wire harness clamps.
-
Remove the earth bolt.
-
Disconnect the 4 connectors.
-
Disconnect the 4 connectors.
-
Remove the earth bolt.
-
Disconnect the connector and wire harness clamp.
-
Remove the 2 bolts and disconnect the engine wire harness.
-
-
Remove the No. 1 intake manifold insulator.
-
Remove the intake manifold.
-
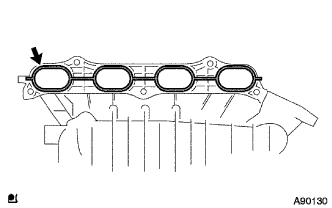
Remove the No. 1 intake manifold to head gasket.
-
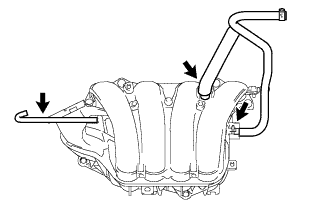
Remove the union to check valve hose, No. 2 ventilation hose and No. 1 throttle body hose.
-
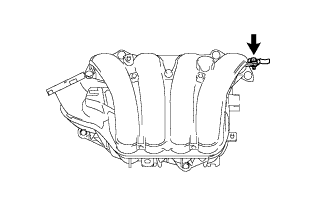
Remove the bolt and vacuum hose clamp.
-