ECM REMOVAL

-
CHECK INJECTOR COMPENSATION CODE
Note
When the ECM is replaced, all of the existing injector compensation codes must be input into the new ECM and the learning value of the supply pump assembly must be initialized.
-
Using the intelligent tester, check that the ID codes registered in the injector assemblies installed on each cylinder match the ones registered in the ECM Click here. If the codes do not match, correct the registered data and recheck the problem symptom by following the steps below.
-
Using SST, manually correct the registered ID code Click here.
-
Check if the same symptom as the one that occured when the vehicle was brought in occurs again.
Tech Tips
If the symptom does not occur, the problem may have been caused by misregistration of an ID code.
-
-
-
DISCONNECT CABLE FROM NEGATIVE BATTERY TERMINAL
-
REMOVE FRONT DOOR SCUFF PLATE RH
-
REMOVE FRONT SEAT ASSEMBLY RH
Tech Tips
Use the same procedures described for the LH side.
-
REMOVE ECM
-
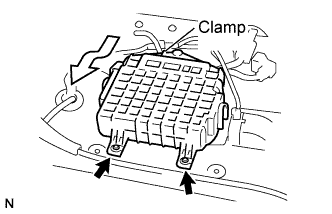
Turn up the floor carpet.
-
Separate the 2 clips and clamp.
-
Disconnect the 4 ECM connectors.
-
Remove the ECM together with the ECM cover.
-
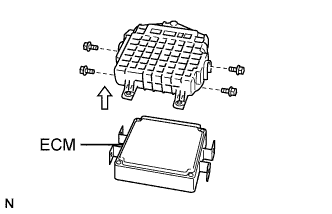
Remove the 4 bolts and the ECM cover.
-