MULTI-DISPLAY REMOVAL
CAUTION / NOTICE / HINT
Tech Tips
-
Use the same procedure for RHD and LHD vehicles.
-
The procedure listed below is for LHD vehicles.
PROCEDURE
-
REMOVE INSTRUMENT SIDE PANEL LH
-
REMOVE INSTRUMENT SIDE PANEL RH
-
REMOVE LOWER NO. 1 INSTRUMENT PANEL PAD SUB-ASSEMBLY
-
REMOVE LOWER INSTRUMENT PANEL FINISH PANEL ASSEMBLY
-
REMOVE NO. 2 INSTRUMENT PANEL SAFETY PAD SUB-ASSEMBLY
-
INSTALL INSTRUMENT PANEL SAFETY PAD INSERT SUB-ASSEMBLY
-
INSTALL INSTRUMENT CLUSTER FINISH PANEL GARNISH ASSEMBLY
-
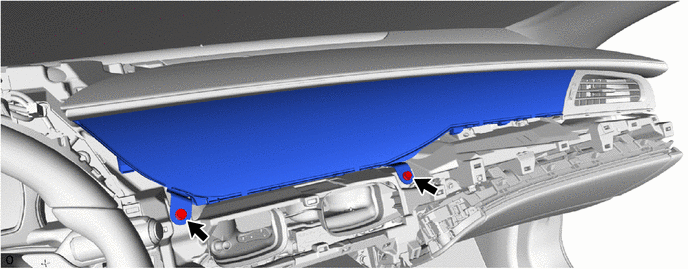
REMOVE MULTI-DISPLAY ASSEMBLY
-
Remove the 2 bolts.
-
Hold area 1 shown in the illustration and move it toward the rear of the vehicle to detach the clip.

Place Hands Here 
Remove in this Direction Note
If excessive force is applied to the multi-display assembly, it may become damaged.
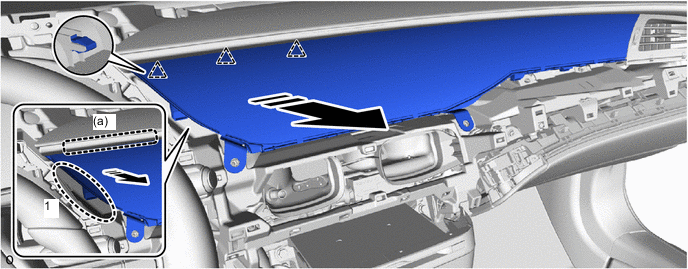
Tech Tips
The top area of the instrument panel (a) can be easily detached by lifting it up slightly from the bottom as shown in the illustration.
-
While pulling towards the rear of the vehicle, detach the clip in the order shown in the illustration.
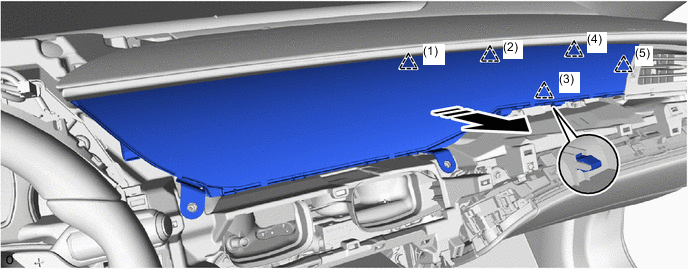
Remove in this Direction - - Note
If excessive force is applied to the multi-display assembly, it may become damaged.
-
Incline the multi-display assembly as shown in the illustration and remove it
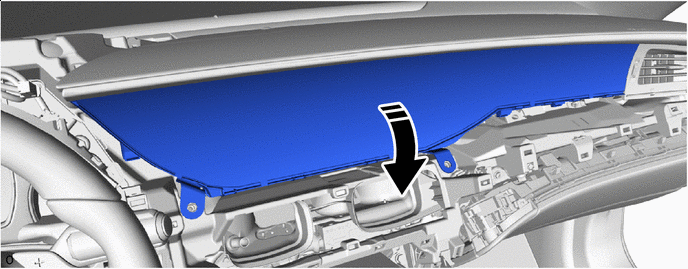
Remove in this Direction - - Note
If excessive force is applied to the multi-display it may become damaged.
-
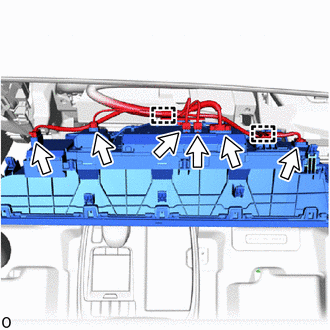
Detach the 2 clamps, disconnect each connector and remove the multi-display assembly.
-