PROCEDURE
- Click here
REMOVE LUGGAGE COMPARTMENT MAT SUB-ASSEMBLY
- Click here
REMOVE LUGGAGE COMPARTMENT FLOOR MAT
- Click here
REMOVE TOOL BOX
- Click here
REMOVE LOWER INNER LUGGAGE COMPARTMENT TRIM COVER
- Click here
REMOVE LUGGAGE COMPARTMENT TRIM COVER RH
- Click here
REMOVE ROPE HOOK ASSEMBLY
- Click here
REMOVE REAR FLOOR FINISH PLATE
- Click here
REMOVE FRONT LUGGAGE COMPARTMENT TRIM COVER
-
w/o Rear Air Conditioning System:
-
w/ Rear Air Conditioning System:
-
- Click here
REMOVE NO. 1 LUGGAGE COMPARTMENT LIGHT ASSEMBLY
- Click here
REMOVE REAR LUGGAGE COMPARTMENT TRIM COVER
- Click here
REMOVE SIDE TRIM BOX
- Click here
REMOVE LUGGAGE COMPARTMENT TRIM COVER ASSEMBLY RH
- Click here
REMOVE REAR LUGGAGE COMPARTMENT TRAY BRACKET RH
- Click here
REMOVE SUSPENSION CONTROL ECU
- Click here
REMOVE CLEARANCE WARNING ECU ASSEMBLY
- Click here
REMOVE STEREO COMPONENT EQUALIZER ASSEMBLY
- Click here
REMOVE STEREO COMPONENT AMPLIFIER ASSEMBLY WITH BRACKET
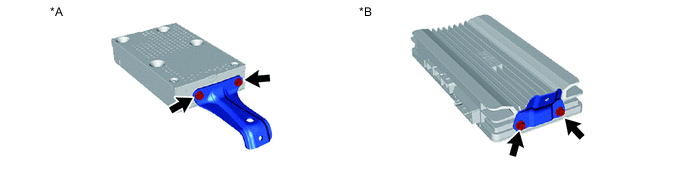
-
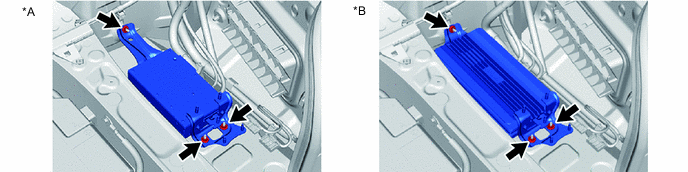
*A for 12 Speakers *B for 24 Speakers Remove the 3 nuts.
Tip:
If the removed nut is the same shape as that shown in the illustration, replace it the supplied replacement part.
-
Pull out the stereo component amplifier assembly with bracket.
-
for 12 Speakers:
-
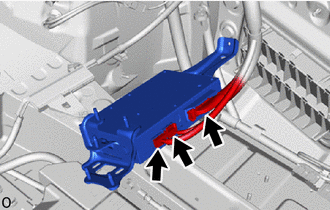
Disconnect the 3 connectors and remove the stereo component amplifier assembly with bracket.
-
-
for 24 Speakers:
-
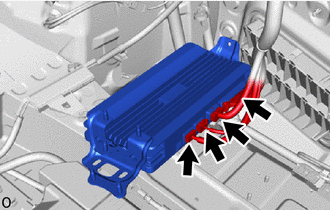
Disconnect the 4 connectors and remove the stereo component amplifier assembly with bracket.
-
-
- Click here
REMOVE NO. 1 AMPLIFIER BRACKET
-
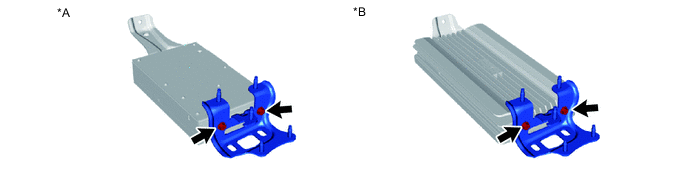
*A for 12 Speakers *B for 24 Speakers Remove the 2 screws and No. 1 amplifier bracket.
-
- Click here
REMOVE NO. 2 AMPLIFIER BRACKET
-
*A for 12 Speakers *B for 24 Speakers Remove the 2 screws and No. 2 amplifier bracket.
-
- Click here
REMOVE STEREO COMPONENT AMPLIFIER ASSEMBLY