MAYDAY BATTERY REMOVAL
PROCEDURE
-
REMOVE REAR CONSOLE BOX POCKET
-
REMOVE RADIO REMOTE TUNING SWITCH ASSEMBLY
-
REMOVE SHIFT LEVER KNOB SUB-ASSEMBLY
-
REMOVE SHIFTING HOLE COVER ASSEMBLY
-
REMOVE UPPER CONSOLE BOX
-
REMOVE BOX PANEL SUB-ASSEMBLY
-
REMOVE FRONT DOOR SCUFF PLATE LH
-
REMOVE FRONT DOOR OPENING TRIM COVER LH
-
REMOVE FRONT DOOR NO. 2 OPENING TRIM COVER LH
-
REMOVE NO. 1 INSTRUMENT PANEL UNDER COVER SUB-ASSEMBLY
-
REMOVE HOOD LOCK CONTROL LEVER SUB-ASSEMBLY
-
REMOVE NO. 1 INSTRUMENT PANEL SAFETY PAD SUB-ASSEMBLY
-
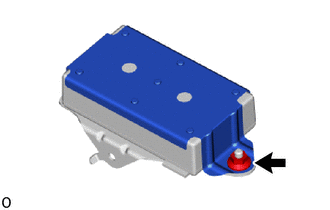
REMOVE MAYDAY BATTERY WITH BRACKET
-
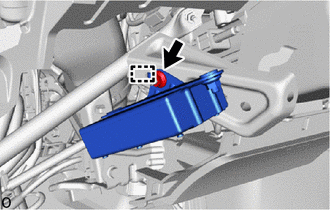
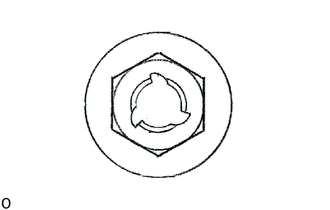
Remove the nut.
Tech Tips
If the removed nut is the same shape as that shown in the illustration, replace it the supplied replacement part.
-
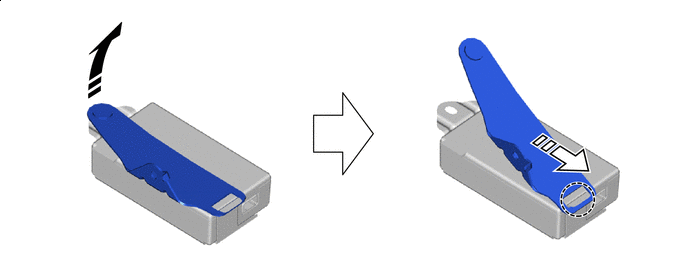
Detach the guide and the mayday battery with bracket.
-
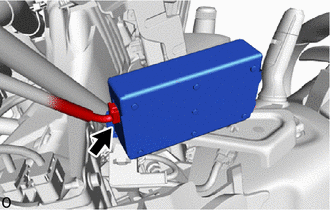
Disconnect the connector and remove the mayday battery with bracket.
-
-
REMOVE NO. 3 TELEPHONE BRACKET
-
Remove the nut.
Tech Tips
If the removed nut is the same shape as that shown in the illustration, replace it the supplied replacement part.
-
Tilt the No. 3 telephone bracket and detach the claw to remove the No. 3 telephone bracket as shown in the illustration.

Remove in this Direction (1) 
Remove in this Direction (2)
-
-
REMOVE NO. 4 TELEPHONE BRACKET
-
Remove the No. 4 telephone bracket.
-
-
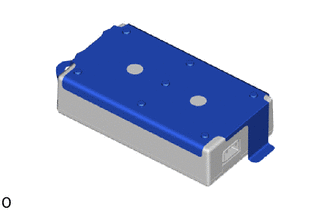
REMOVE MAYDAY BATTERY