SHIFT LEVER REMOVAL
PROCEDURE
-
REMOVE SHIFT LEVER CAP
-
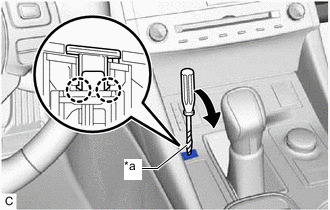
*a Protective Tape Using a screwdriver with its tip wrapped with protective tape, disengage the 2 claws to remove the shift lever cap from the shift position indicator.
Note
Do not damage the shift lever cap and shift position indicator.
-
-
REMOVE FRONT EXHAUST PIPE ASSEMBLY (TWC: Rear Catalyst)
-
REMOVE FRONT NO. 1 FLOOR HEAT INSULATOR
-
SEPARATE FLOOR SHIFT GEAR SHIFTING ROD SUB-ASSEMBLY
-
Move the shift lever to N.
-
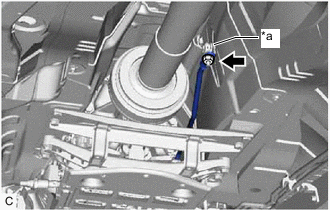
*a Lever Remove the nut and separate the floor shift gear shifting rod sub-assembly from the lever of the transmission floor shift assembly.
-
-
REMOVE CONSOLE BOX ASSEMBLY
-
REMOVE NO. 1 CONSOLE BOX DUCT
-
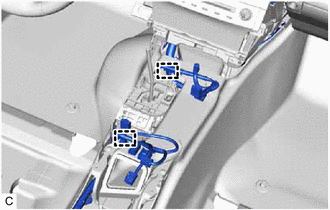
Disconnect the 2 clamps from the No. 1 console box duct.
-
Remove the 2 clips and No. 1 console box duct.
-
-
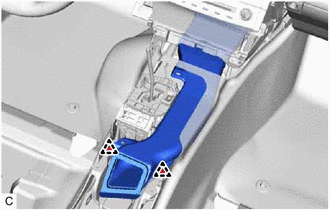
REMOVE TRANSMISSION FLOOR SHIFT ASSEMBLY
-
Disconnect the transmission control switch connector.
-
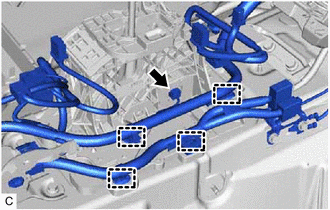
Disconnect the 4 clamps from the transmission floor shift assembly.
-
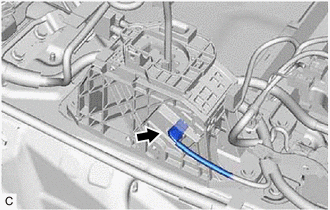
Disconnect the shift lock control ECU connector.
-
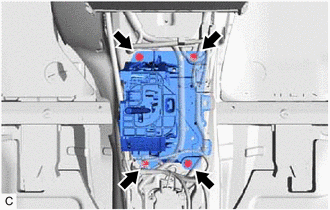
Remove the 4 bolts and transmission floor shift assembly from the vehicle body.
-