WASTE GATE VALVE ACTUATOR REMOVAL
PROCEDURE
-
REMOVE NO. 1 ENGINE COVER SUB-ASSEMBLY
-
REMOVE AIR CLEANER CAP WITH AIR CLEANER HOSE
-
REMOVE INTAKE AIR CONNECTOR
-
REMOVE NO. 2 AIR CLEANER HOSE
-
REMOVE NO. 5 EXHAUST MANIFOLD HEAT INSULATOR
-
REMOVE OUTLET COMPRESSOR ELBOW
-
REMOVE INTAKE AIR RESONATOR
-
REMOVE NO. 1 EXHAUST MANIFOLD HEAT INSULATOR
-
REMOVE WASTE GATE VALVE ACTUATOR WITH BRACKET ASSEMBLY
Note
After removal and installation of the waste gate valve actuator with bracket assembly, make sure to check the travel of the waste gate valve actuator.
-
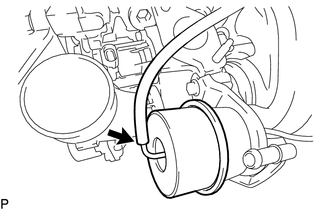
Disconnect the vacuum transmitting hose assembly from the waste gate valve actuator with bracket assembly.
-
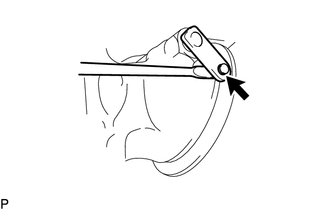
Remove the E-washer from the waste gate valve actuator with bracket assembly link pin.
Note
Do not reuse the E-washer.
-
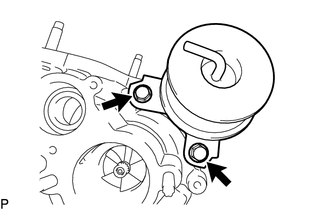
Remove the 2 bolts and waste gate valve actuator with bracket assembly.
Note
Do not drop or subject any component of the turbocharger sub-assembly to impact. If any component of the turbocharger sub-assembly is dropped or subjected to a strong impact, replace it with a new one.
Tech Tips
Adjustment washers may be installed between the waste gate valve actuator with bracket assembly and compressor housing with bearing sub-assembly.
-