UPPER INSTRUMENT PANEL REASSEMBLY
PROCEDURE
-
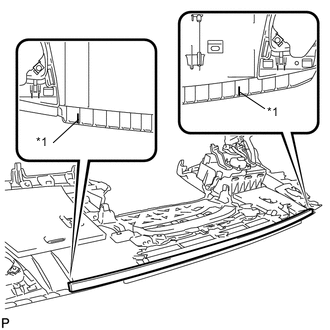
INSTALL NO. 4 INSTRUMENT PANEL CUSHION
-
Using hot-melt glue, install a new No. 4 instrument panel cushion as shown in the illustration.
-
-
INSTALL NO. 3 INSTRUMENT PANEL CUSHION
-
Using hot-melt glue, install a new No. 3 instrument panel cushion as shown in the illustration.
-
-
INSTALL NO. 2 INSTRUMENT PANEL CUSHION
-
Using hot-melt glue, install a new No. 2 instrument panel cushion as shown in the illustration.
-
-
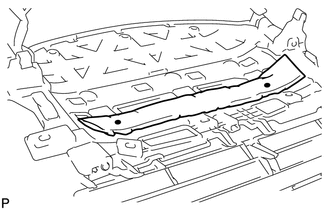
INSTALL INSTRUMENT PANEL CUSHION
-
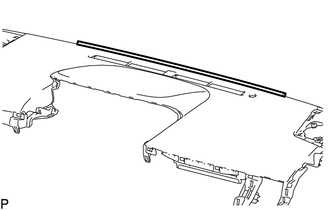
Text in Illustration *1 Marking Line Align the marking lines on the upper instrument panel with the ends of the instrument panel cushion and install a new instrument panel cushion as shown in the illustration.
-
-
INSTALL NO. 1 INSTRUMENT PANEL CUSHION
-
Install a new No. 1 instrument panel cushion.
-
-
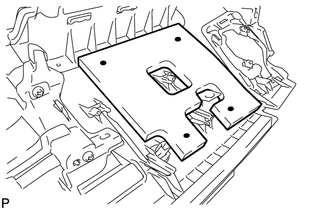
INSTALL INSTRUMENT PANEL SAFETY PAD RETAINER
-
Install the instrument panel safety pad retainer with the 5 screws <D>.
-
-
INSTALL INSTRUMENT PANEL PASSENGER AIRBAG ASSEMBLY
-
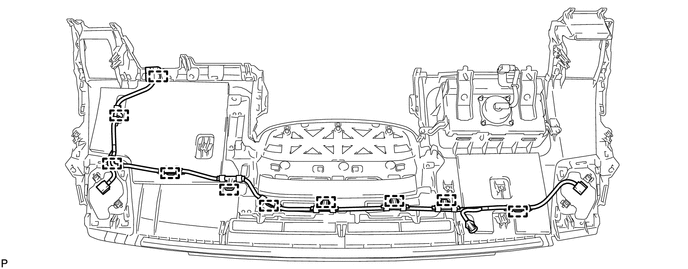
INSTALL NO. 2 INSTRUMENT PANEL WIRE
-
Engage each clamp to install the No. 2 instrument panel wire.
-
-
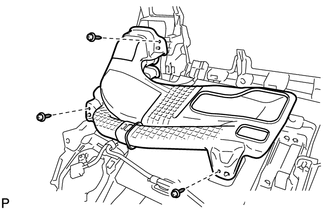
INSTALL NO. 3 HEATER TO REGISTER DUCT SUB-ASSEMBLY
-
Install the No. 3 heater to register duct sub-assembly with the 3 screws <D>.
-
-
INSTALL NO. 1 HEATER TO REGISTER DUCT SUB-ASSEMBLY
-
Install the No. 1 heater to register duct sub-assembly with the 3 screws <D>.
-
-
INSTALL AUTOMATIC LIGHT CONTROL SENSOR