FUEL INJECTOR REMOVAL
CAUTION / NOTICE / HINT
PROCEDURE
PRECAUTION
Note:After turning the ignition switch off, waiting time may be required before disconnecting the cable from the negative (-) battery terminal. Therefore, make sure to read the disconnecting the cable from the negative (-) battery terminal notice before proceeding with work.
DISCHARGE FUEL SYSTEM PRESSURE
DISCONNECT CABLE FROM NEGATIVE BATTERY TERMINAL
Note:When disconnecting the cable, some systems need to be initialized after the cable is reconnected.
Click hereClick hereClick hereClick hereClick hereClick here
REMOVE NO. 1 ENGINE COVER
REMOVE AIR CLEANER CAP SUB-ASSEMBLY
DISCONNECT FUEL TUBE SUB-ASSEMBLY
-

Remove the No. 2 fuel pipe clamp.
-
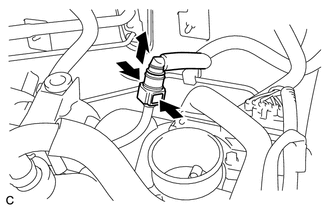
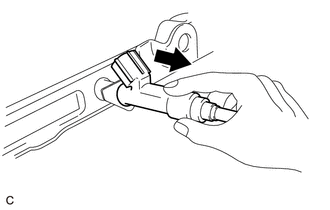
Pinch the retainer of the fuel tube connector, and then pull the fuel tube connector off of the fuel pipe.
Note:Make sure to read the disconnecting the fuel tube connector notice before proceeding with work.
-
REMOVE FUEL DELIVERY PIPE
Make sure that there are no deposits such as sand or grit near the fuel injector assembly, and if there are any deposits, clean them away.
Note:Do not allow foreign matter to enter any other components.
-
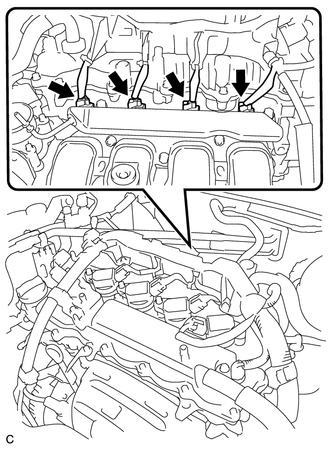
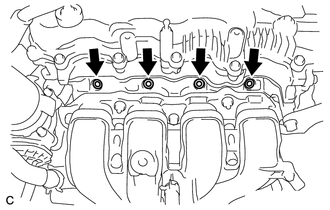
Disconnect the 4 fuel injector assembly connectors.
-
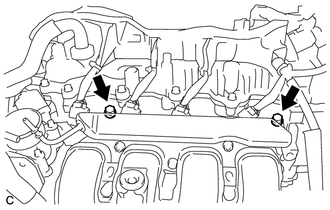
Remove the 2 bolts and fuel delivery pipe with the 4 fuel injector assemblies.
Note:Do not allow foreign matter to enter the cylinder head.
REMOVE FUEL DELIVERY SPACER
-
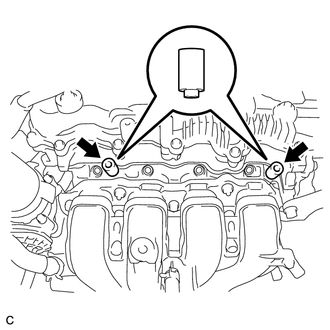
Remove the 2 fuel delivery spacers from the cylinder head.
-
REMOVE FUEL INJECTOR ASSEMBLY
-
Pull the 4 fuel injector assemblies out of the fuel delivery pipe.
Note:Do not allow foreign matter to enter the fuel delivery pipe.
Remove the O-ring from each fuel injector assembly.
For reinstallation, attach a tag or label with the corresponding cylinder number to each fuel injector assembly shaft.
Note:Protect the fuel injector assemblies by covering them with plastic bags.
-
Remove the 4 injector vibration insulators.
-