RADIO ANTENNA CORD REMOVAL
PROCEDURE
-
REMOVE UPPER INSTRUMENT PANEL ASSEMBLY
-
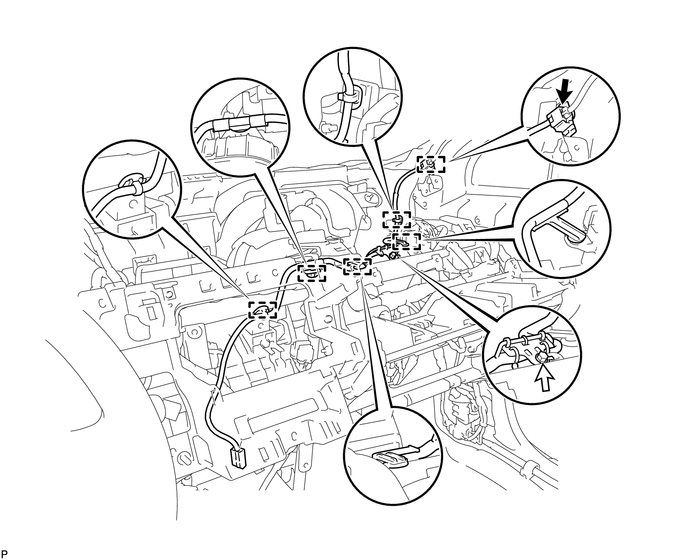
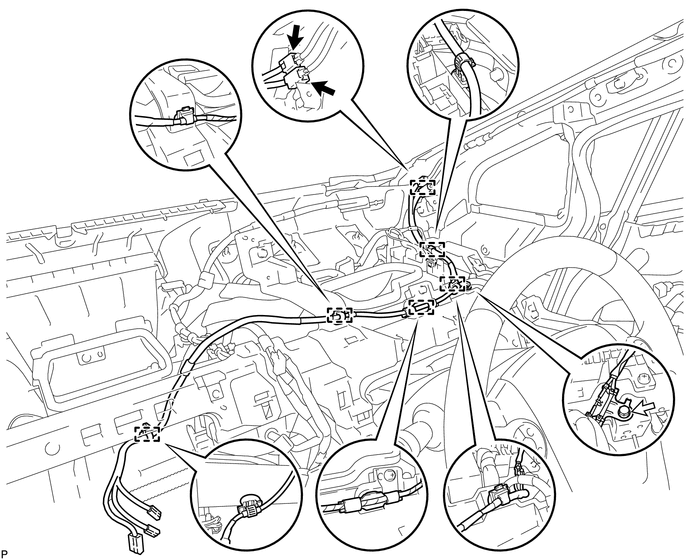
REMOVE ANTENNA CORD SUB-ASSEMBLY (for LHD)
-
w/o Navigation System:
-
Disconnect the connector.
-
Remove the bolt.
-
Disengage the 6 clamps and remove the antenna cord sub-assembly.
-
-
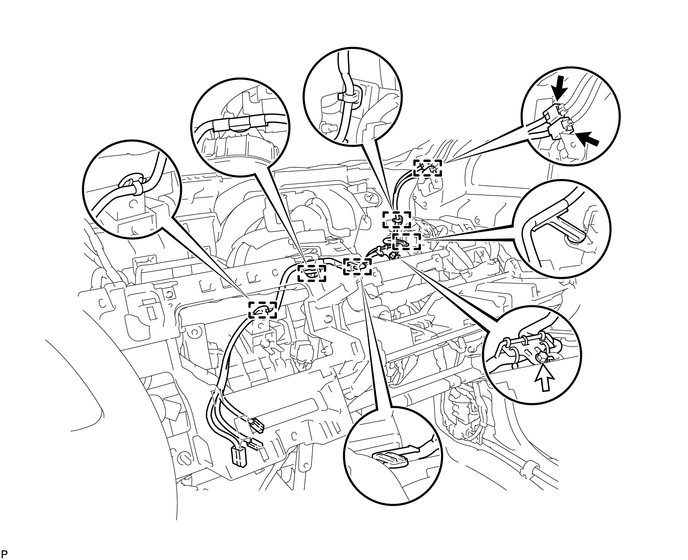
w/ Navigation System:
-
Disconnect the 2 connectors.
-
Remove the bolt.
-
Disengage the 6 clamps and remove the antenna cord sub-assembly.
-
-
-
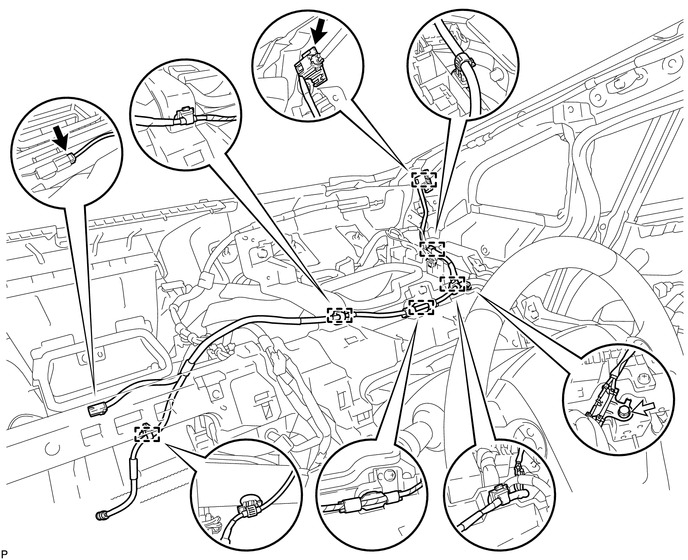
REMOVE ANTENNA CORD SUB-ASSEMBLY (for RHD)
-
for Plug Type Antenna Cord:
-
Disconnect the 2 connectors.
-
Remove the bolt.
-
Disengage the 6 clamps and remove the antenna cord sub-assembly.
-
-
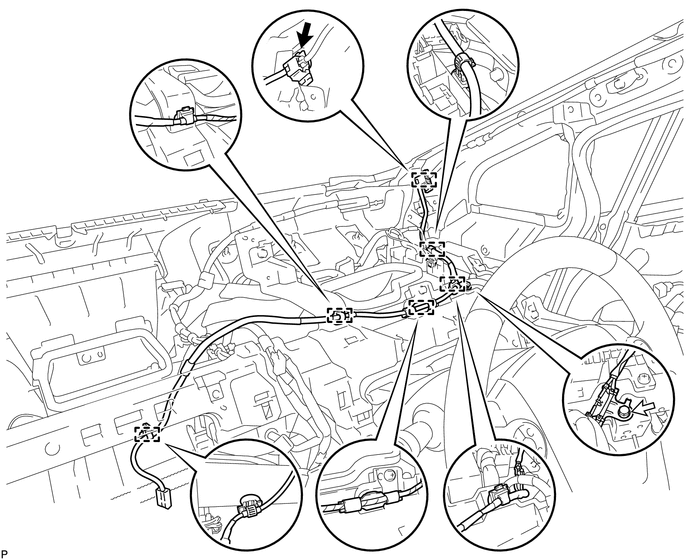
for Connector Type Antenna Cord:
-
Disconnect the connector.
-
Remove the bolt.
-
Disengage the 6 clamps and remove the antenna cord sub-assembly.
-
-
w/ Navigation System:
-
Disconnect the 2 connectors.
-
Remove the bolt.
-
Disengage the 6 clamps and remove the antenna cord sub-assembly.
-
-
-
REMOVE ROOF HEADLINING ASSEMBLY
-
REMOVE NO. 2 ANTENNA CORD SUB-ASSEMBLY
-
Peel back the tape used to secure the antenna cord only to the extent that allows removal of the No. 2 antenna cord sub-assembly.
Tech Tips
Tape is not available as a supply part. Try to leave as much tape as possible on the roof headlining so that the tape can be reused.
-
Remove the No. 2 antenna cord sub-assembly from the roof headlining.
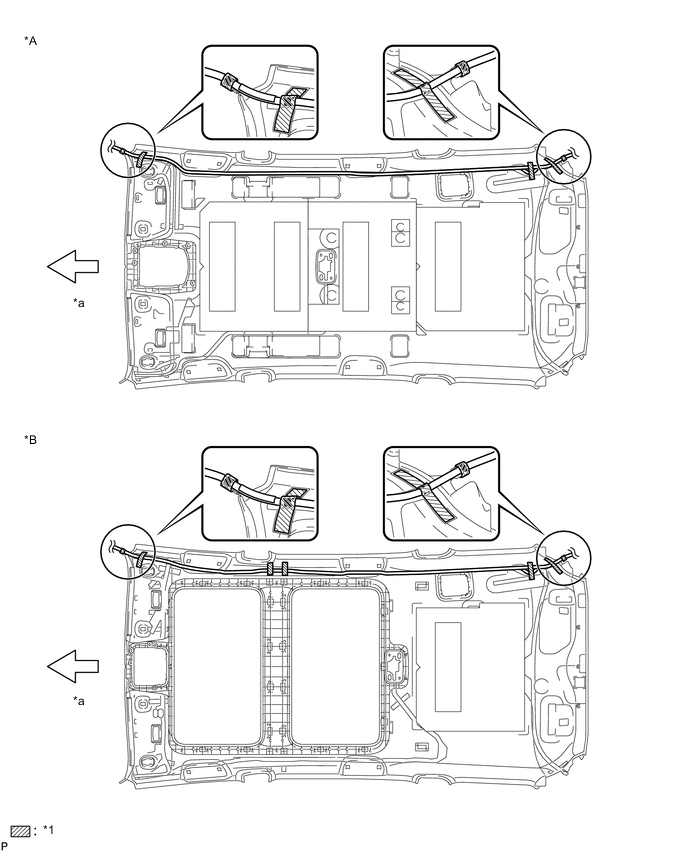
Text in Illustration *A for Standard Roof *B for Glass Roof *1 Tape - - *a Front - -
-