REAR CRANKSHAFT OIL SEAL INSTALLATION
PROCEDURE
INSTALL REAR ENGINE OIL SEAL
Using height adjustment attachments and plate lift attachments, place the engine assembly on a flat, level surface.
Note:Using height adjustment attachments and plate lift attachments, place the engine assembly horizontally.
Using an engine sling device and engine lift, secure the engine assembly before servicing.
-
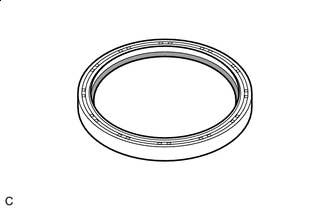

Apply engine oil
Apply engine oil to the lip of a new rear engine oil seal.
-
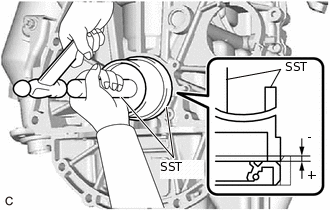
Using SST and a hammer, tap in the rear engine oil seal until its surface is flush with the rear engine oil seal edge.
Standard Depth
-0.5 to 1.0 mm (-0.0197 to 0.0394 in.)
09223-15020
09950-70010
09951-07200
Note:Do not tap in the rear engine oil seal at an angle.
INSTALL FLYWHEEL SUB-ASSEMBLY
Using SST, hold the crankshaft pulley.
09960-10010
09962-01000
09963-01000
Clean the 6 bolts and 6 bolt holes.
-
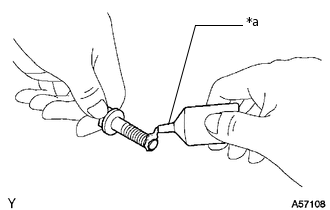
*a
Adhesive 1324
Apply adhesive to 2 or 3 threads at the tip of each of the 6 bolts.
Adhesive
Toyota Genuine Adhesive 1324, Three Bond 1324 or equivalent
-
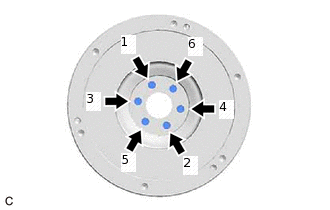
Install and uniformly tighten the 6 bolts in several steps in the sequence shown in the illustration.
78 N*m
795 kgf*cm
58 ft.*lbf
Note:Do not start the engine for at least 1 hour after installing the flywheel sub-assembly.
INSTALL CLUTCH DISC ASSEMBLY