OIL PRESSURE SWITCH REMOVAL
CAUTION / NOTICE / HINT
CAUTION:
To prevent burns, do not remove the engine oil pressure switch assembly while the engine is hot.
PROCEDURE
-
REMOVE NO. 1 ENGINE UNDER COVER ASSEMBLY (for 2WD)
-
REMOVE TRANSMISSION UNDER COVER (for 2WD)
-
REMOVE NO. 2 ENGINE UNDER COVER ASSEMBLY (for 2WD)
-
REMOVE FRONT SUSPENSION MEMBER BRACE (for 2WD)
-
REMOVE STRUT BAR BRACKET SUPPORT SUB-ASSEMBLY (for 2WD)
-
REMOVE NO. 1 ENGINE UNDER COVER ASSEMBLY (for AWD)
-
REMOVE TRANSMISSION UNDER COVER (for AWD)
-
REMOVE NO. 2 ENGINE UNDER COVER ASSEMBLY (for AWD)
-
REMOVE FRONT SUSPENSION MEMBER BRACE (for AWD)
-
REMOVE STRUT BAR BRACKET SUPPORT SUB-ASSEMBLY (for AWD)
-
REMOVE OIL FILLER CAP ASSEMBLY
-
DRAIN ENGINE OIL
-
REMOVE ENGINE OIL PRESSURE SWITCH ASSEMBLY
-
for 2WD:
-
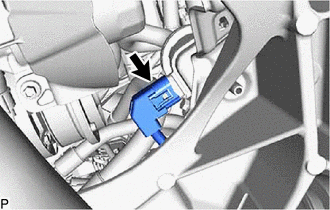
Disconnect the water pump connector.
-
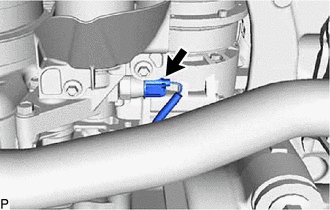
Disconnect the engine oil pressure switch connector.
-
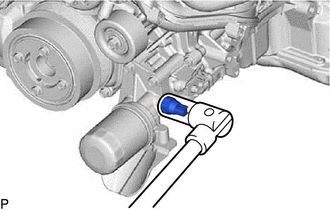
Using a 24 mm deep socket wrench, remove the engine oil pressure switch assembly.
-
-
for AWD:
-
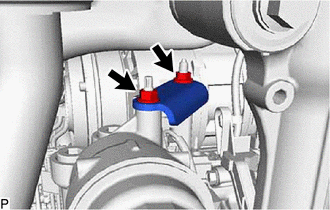
Remove the 2 nuts and oil filter bracket.
-
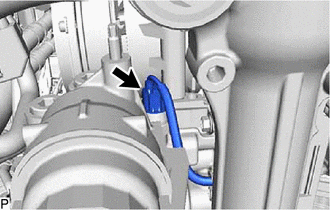
Disconnect the engine oil pressure switch connector.
-
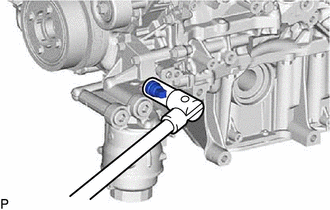
Using a 24 mm deep socket wrench, remove the engine oil pressure switch assembly.
-
-