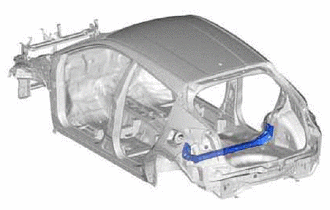
REAR FLOOR UPPER CENTER CROSSMEMBER ASSEMBLY REPLACEMENT
REMOVAL
Symbol Meaning

Remove Weld Points

Cut with Disc Sander etc.
Remove the A and B.
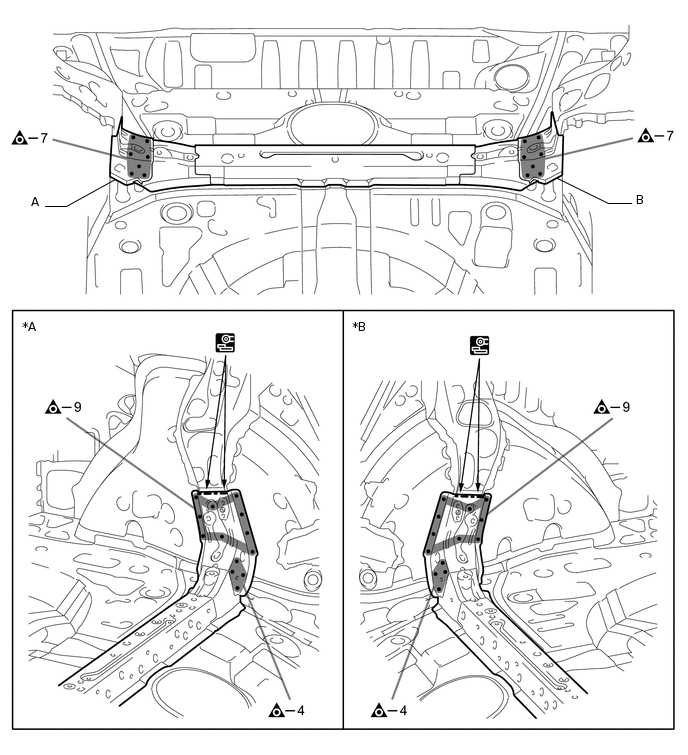
*A
LH Side
*B
RH Side
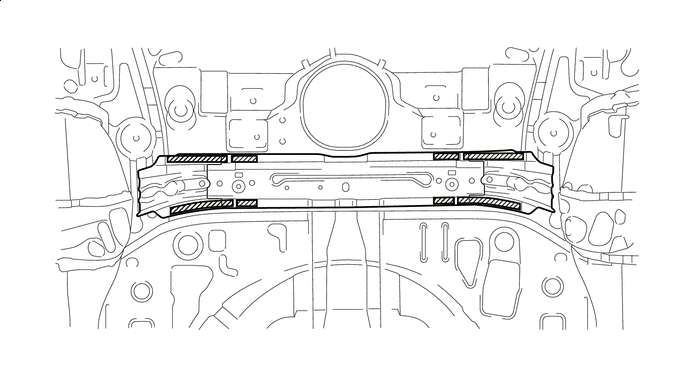
Roughly cut open the panel so that the adhesive can be reached. Cut through the adhesive with a cut chisel to remove the panel.
Tip:In cases where the adhesive cannot be removed with a cut chisel, heat the adhesive with an industrial heater gun or gas burner taking care not to cause panel deformation by overheating.


Adhesive
-
-
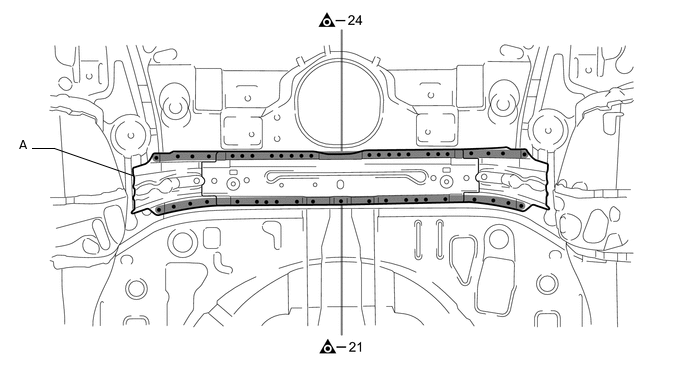
Remove the A.
INSTALLATION
Symbol Meaning
Remove Weld Points

Plug Weld

Fillet Weld
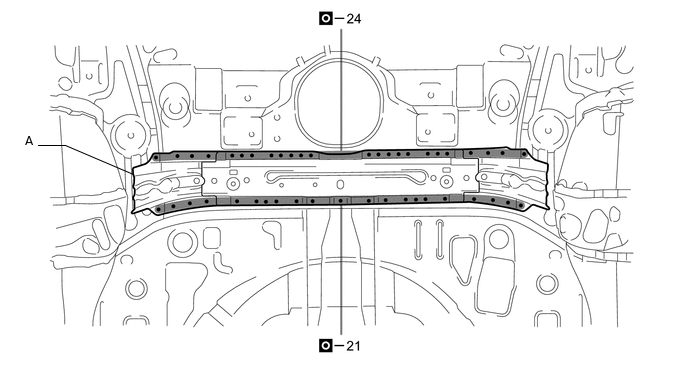
Temporarily install the new parts and measure each part of the new parts in accordance with the body dimension diagram. (See the body dimensions)
Remove A and B from the new parts.
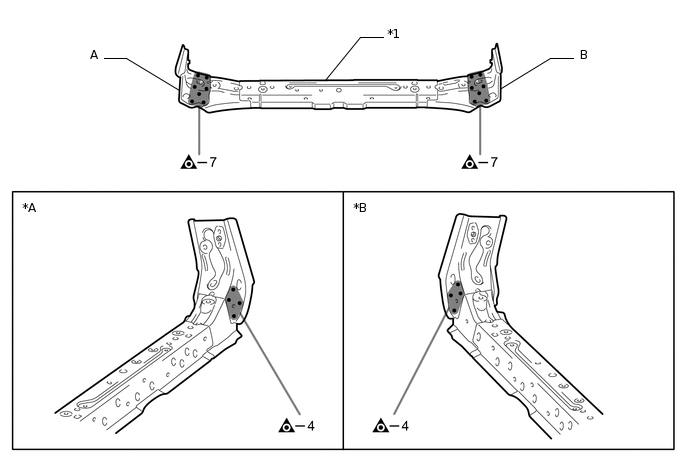
*A
LH Side
*B
RH Side
*1
CENTER FLOOR CROSS MEMBER NO. 2
-
-
Apply adhesive (3MTM AutomixTM Panel Bonding Adhesive #8115).
Tip:Apply a light coat of adhesive around the plug welding points.
Apply enough adhesive to the panels.
Adhesive
-
-
Weld the A to the vehicle side.
Weld the A and B to the vehicle side.
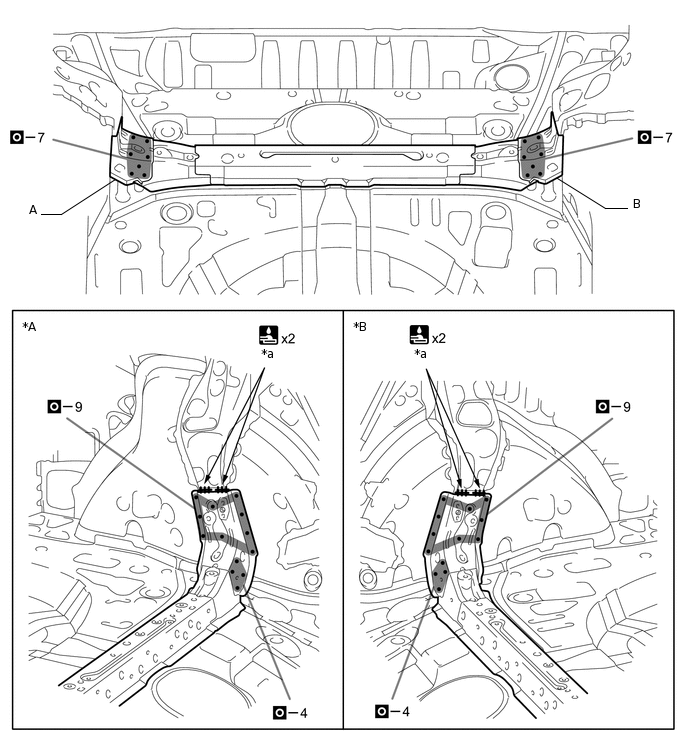
*A
LH Side
*B
RH Side
*a
27 mm (1.06 in.)
-
-
After welding, apply body sealer to the corresponding parts. (See the painting/coating)
After applying the top coat, apply anti-rust agent to the internal panel portion of the closed section structural weld points.