HEADLIGHT ASSEMBLY DISASSEMBLY
CAUTION / NOTICE / HINT
Use the same procedure for the RH and LH sides.
The procedure listed below is for the LH side.
PROCEDURE
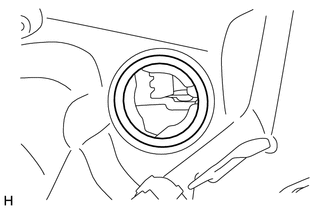
REMOVE LOCKING CAP
-
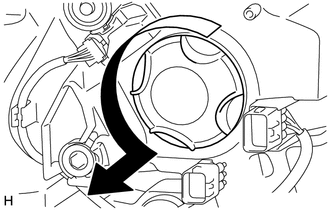
Turn the locking cap in the direction indicated by the arrow to remove it.
-
REMOVE NO. 1 HEADLIGHT BULB
-
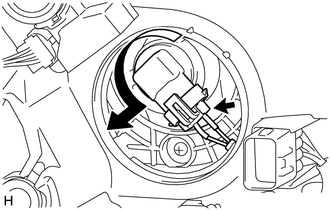
Disconnect the connector.
Turn the No. 1 headlight bulb in the direction indicated by the arrow to remove it.
Note:Do not touch the glass part of the bulb.
-
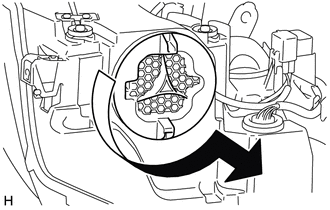
REMOVE HEADLIGHT LEVELING MOTOR LH
-
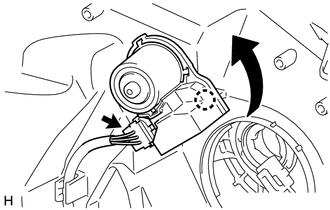
Disconnect the connector.
Detach the claw and rotate the headlight leveling motor LH in the direction of the arrow shown in the illustration.
Tip:For the headlight leveling motor RH, rotate it in the opposite direction of the arrow shown in the illustration.
-
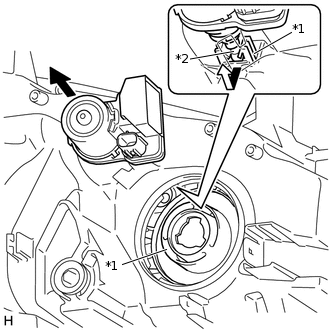
*1
LED Unit
*2
End of Headlight Leveling Motor LH
Hold the LED unit in place, and then pull out the end of the headlight leveling motor LH to disconnect it from the LED unit and remove the headlight leveling motor LH.
-
REMOVE HEADLIGHT LEVELING MOTOR BASE PACKING
-
Remove the headlight leveling motor base packing.
-
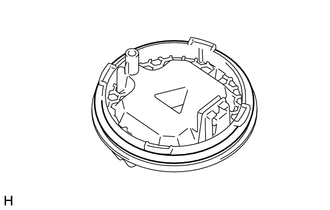
REMOVE HEADLIGHT LIGHT CONTROL ECU SUB-ASSEMBLY LH
-
Turn the headlight light control ECU sub-assembly LH in the direction indicated by the arrow to disconnect the headlight light control ECU sub-assembly LH.
-
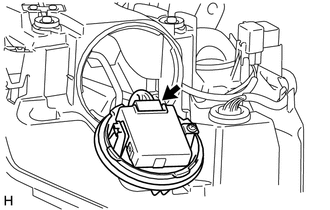
Disconnect the connector and remove the headlight light control ECU sub-assembly LH.
-
REMOVE LIGHT CONTROL ECU
-
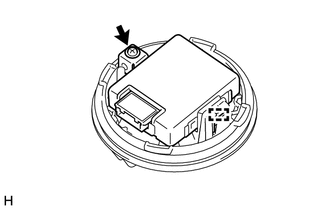
Remove the screw.
Detach the guide and remove the light control ECU.
-
REMOVE HEADLIGHT GASKET
-
Remove the headlight gasket.
-
REMOVE FRONT BUMPER BAR REINFORCEMENT LH
-
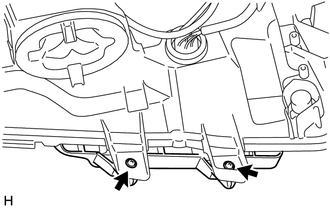
Remove the 2 screws and front bumper bar reinforcement LH.
-