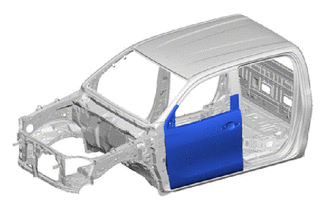
FRONT DOOR OUTER PANEL(for Double Cab) CUT AND JOIN REPLACEMENT SECTIONS
-
REMOVAL
Symbol Meaning 
Remove Weld Points 
Cut and Join Location
-
After grinding off the hemming location, remove the outer panel.
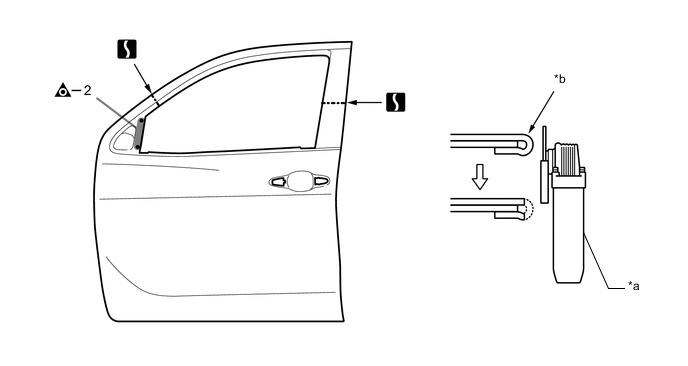
*a Disc Sander *b Hemming Location
-
-
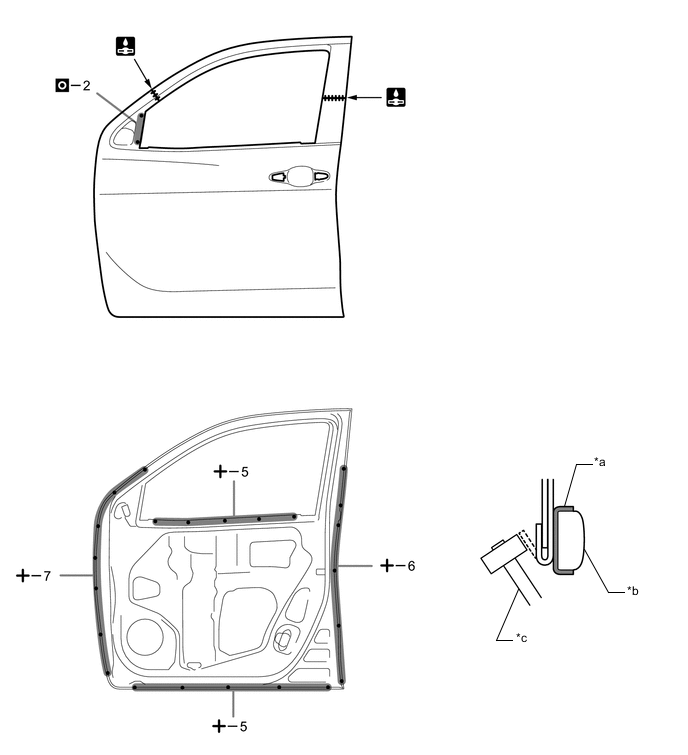
INSTALLATION
Symbol Meaning 
Plug Weld 
Butt Weld 
Spot MIG Weld 
Body Sealer
-
Before temporarily installing the new parts, apply body sealer to the reinforcement, side impact protection beam and backside of the new parts.
Note
Do not close the drain hole.
Tech Tips
Apply sealer evenly about 10 mm (0.39 in.) from the flange and 3 mm (0.12 in.) in diameter on the outer panel and apply just enough sealer for the reinforcement to make contact.
*1 FRONT DOOR PANEL OUTER - - *a Drain Hole *b 10 mm (0.39 in.) -
Bend the flange hem with a wooden hammer and dolly.
Tech Tips
Bend the panel gradually so as not to distort it.
*a Cloth Tape *b Dolly *c Wooden Hammer - - -
After welding, apply body sealer to the corresponding parts. (See the painting/coating)
-
After applying the top coat, apply anti-rust agent to the internal panel portion of the closed section structural weld points.
-