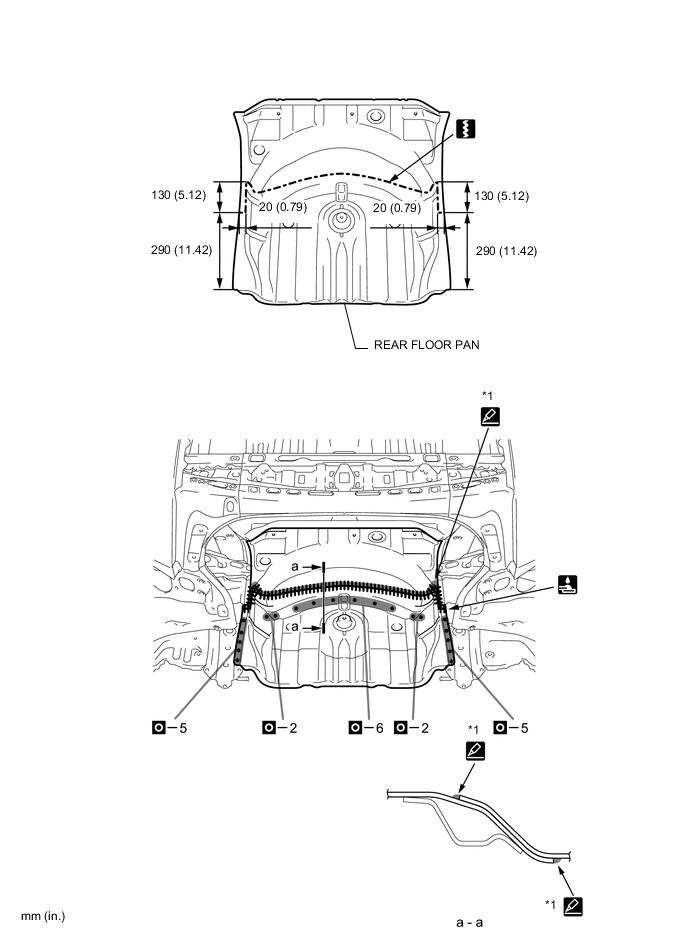
REAR FLOOR PAN CUT AND JOIN REPLACEMENT SECTIONS
-
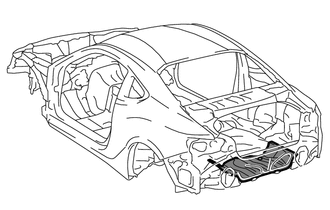
With the body lower back panel removed.
-
REMOVAL
Symbol meaning 
Remove Weld Points 
Remove Weld Points 
Remove Weld Points 
Cut with Disc Sander etc. 
Cut Location
-
After removing the rear floor side panel and rear bumper bracket, remove the rear floor pan.
REMOVAL POINT
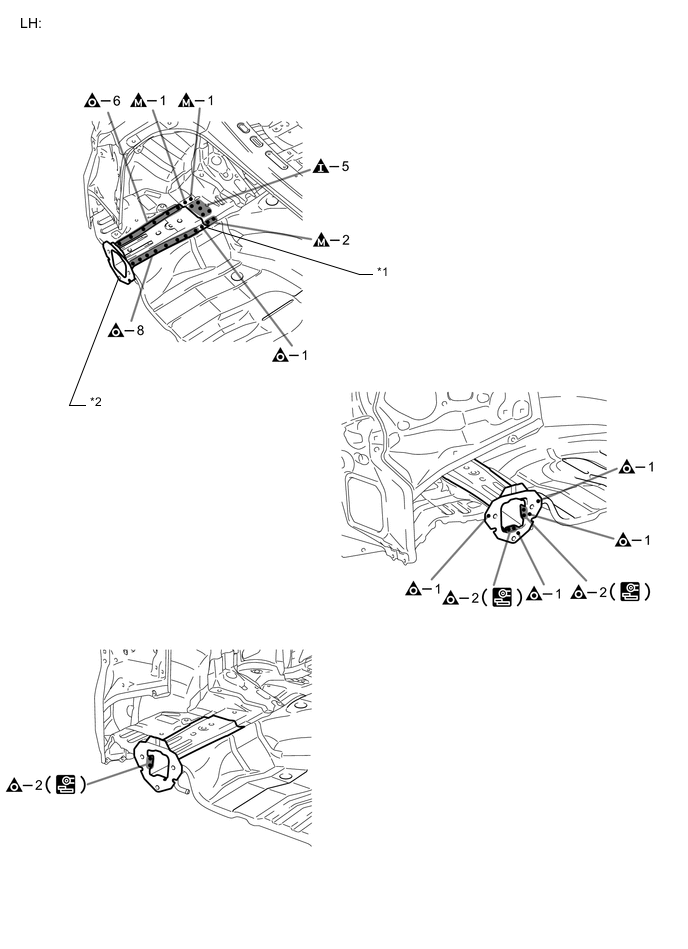
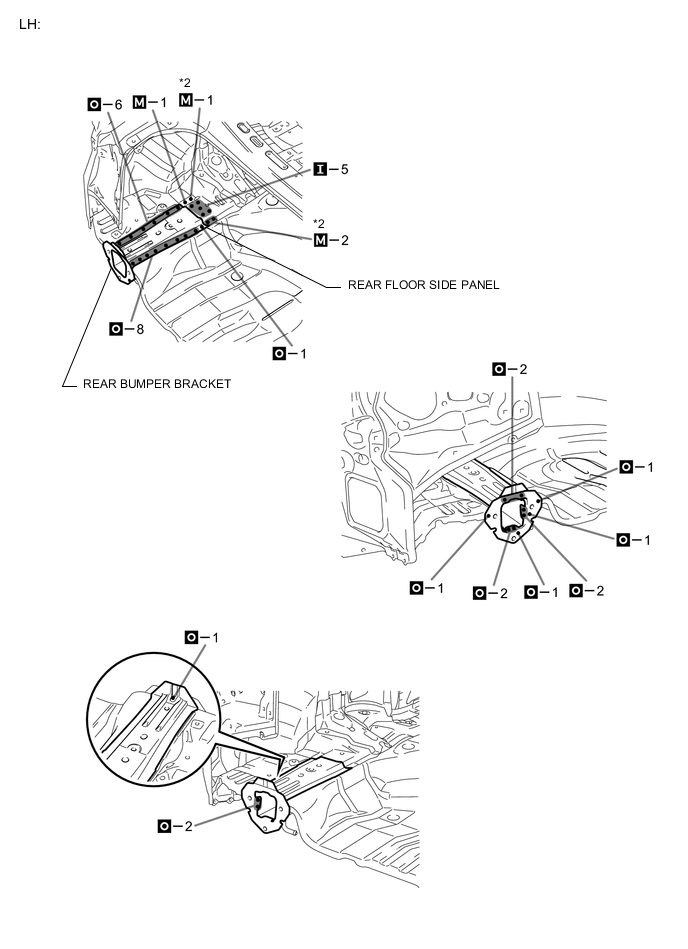
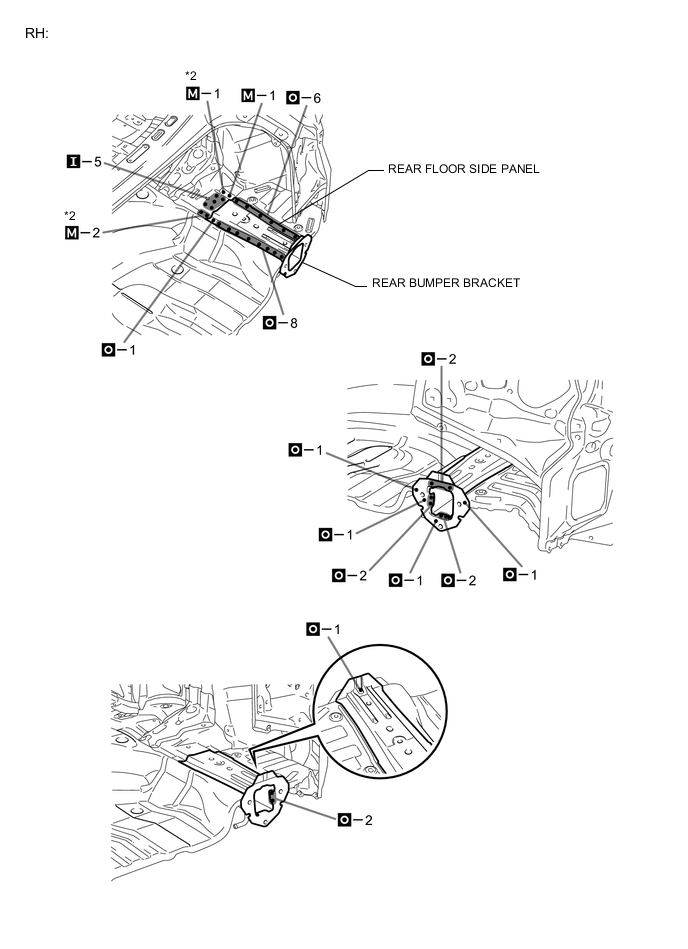
*1 REAR FLOOR SIDE PANEL *2 REAR BUMPER BRACKET 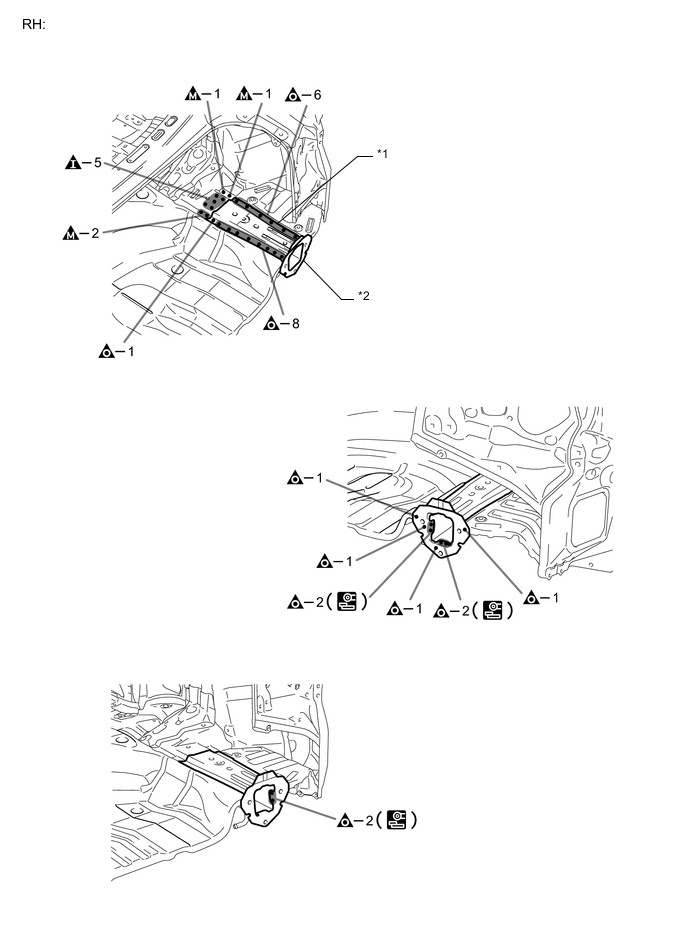
*1 REAR FLOOR SIDE PANEL *2 REAR BUMPER BRACKET 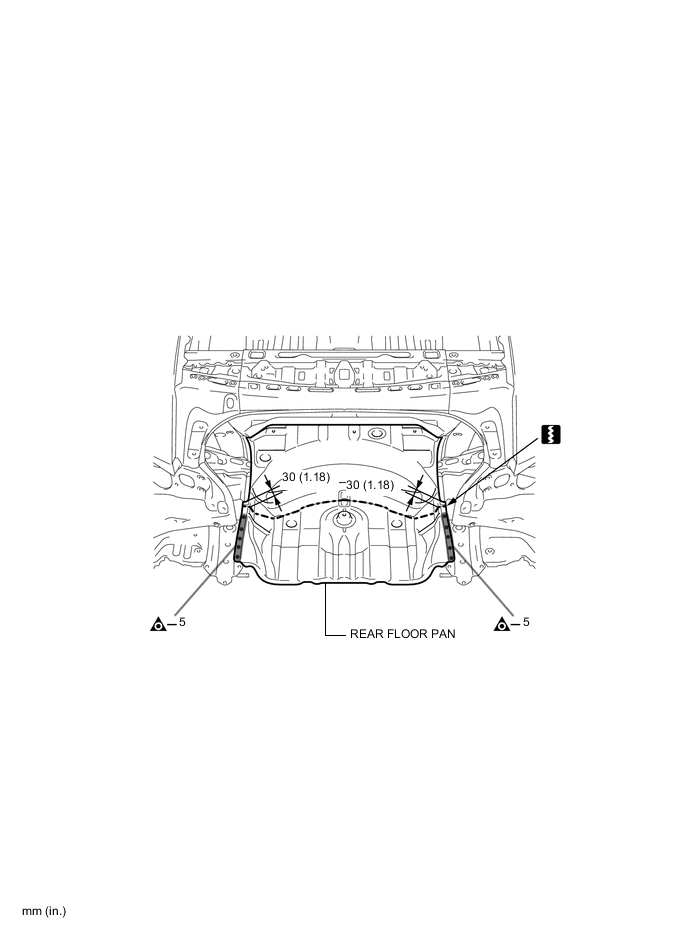
-
-
INSTALLATION
Symbol meaning 
Plug Weld 
Plug Weld 
Plug Weld Cut Location 
Fillet Weld 
Body Sealer
-
Cut the new part so that it overlaps the previous cut location.
-
When welding *2, make a hole on a new part for plug welding and weld the panel with the panel behind completely.
-
*1: Perform plug-welding in the area where the panel are overlapped. Apply body sealer to both sides of each panel.
Tech Tips
-
Confirm that the panels are securely welded together.
-
Apply body sealer in an even, continuous bead.
-
-
After welding the rear floor pan to the vehicle side, install the rear floor side panel and rear bumper bracket.
-
After welding, apply body sealer and undercoating to the corresponding parts. (See the painting / coating)
-
After applying the top coat, apply anti-rust agent to the internal panel portion of the closed section structural weld points.
INSTALLATION POINT
-