MULTI-DISPLAY INSTALLATION
PROCEDURE
-
INSTALL MULTI-DISPLAY ASSEMBLY
-
INSTALL MULTI-DISPLAY CONTROLLER BRACKET A
-
for 8 Inch:
-
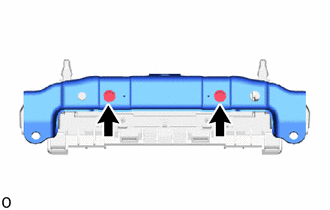
Temporarily install the multi-display controller bracket A with the 2 screws.
-
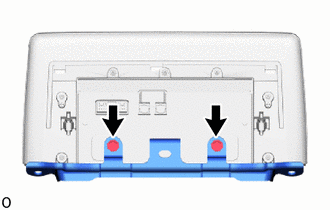
Install the 2 screws and tighten the 2 screws used to temporarily install the bracket.
-
-
for 10.3 Inch:
-
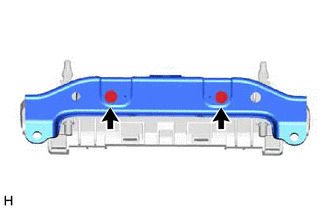
Temporarily install the multi-display controller bracket A with the 2 screws.
-
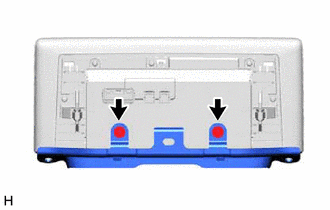
Install the 2 screws and tighten the 2 screws used to temporarily install the bracket.
-
-
-
INSTALL MULTI-DISPLAY ASSEMBLY WITH BRACKET
-
for 8 Inch:
-
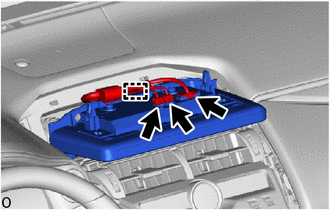
Connect the 3 connector and attach the clamp.
-
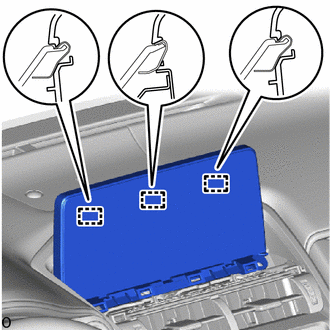
Set the 3 guides.
-
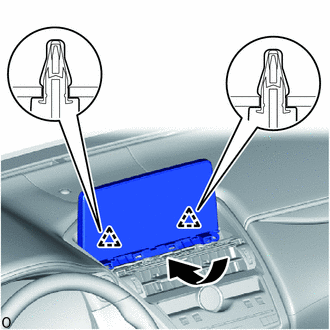
Move the multi-display assembly with bracket as shown in the illustration to attach the 2 clips.
-
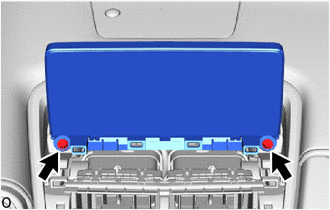
Install the 2 bolts and multi-display assembly with bracket.
-
-
for 10.3 Inch:
-
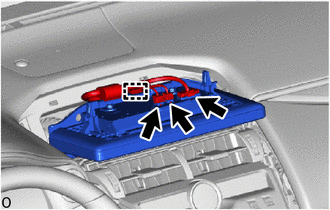
Connect the 3 connector and attach the clamp.
-
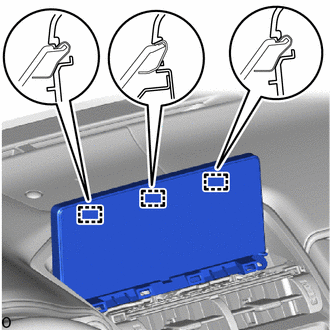
Set the 3 guides.
-
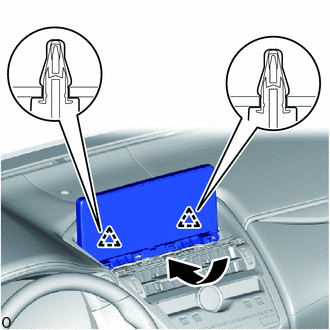
Move the multi-display assembly with bracket as shown in the illustration to attach the 2 clips.
-
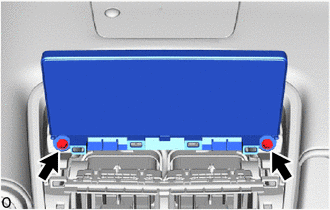
Install the 2 bolts and multi-display assembly with bracket.
-
-
-
INSTALL INSTRUMENT PANEL FINISH PLATE
-
CONNECT CABLE TO NEGATIVE BATTERY TERMINAL
Note
When disconnecting the cable, some systems need to be initialized after the cable is reconnected.