UPPER INSTRUMENT PANEL DISASSEMBLY
CAUTION / NOTICE / HINT
Use the same procedure for RHD and LHD vehicles.
The procedure listed below is for LHD vehicles.
PROCEDURE
REMOVE BOX BOTTOM MAT
-
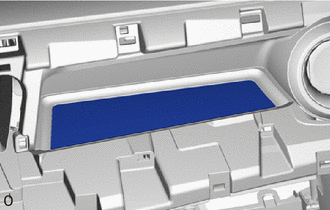
Remove the box bottom mat.
-
REMOVE INSTRUMENT CLUSTER FINISH PANEL GARNISH
-


Protective Tape
Apply protective tape as shown in the illustration.
Using moulding remover B, detach the 2 clips and remove the instrument cluster finish panel garnish.
-
REMOVE NO. 1 HEATER TO REGISTER DUCT SUB-ASSEMBLY
-
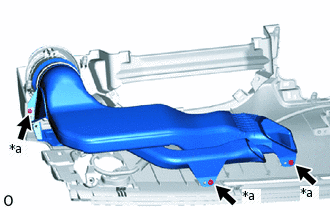
*a
Screw <A>
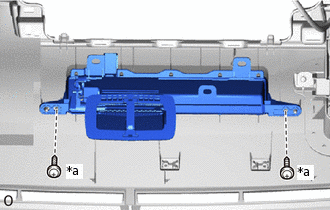
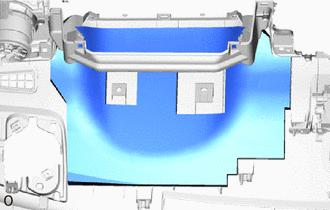
Remove the 3 screws <A> and No. 1 heater to register duct sub-assembly.
-
REMOVE NO. 2 HEATER TO REGISTER DUCT SUB-ASSEMBLY
-
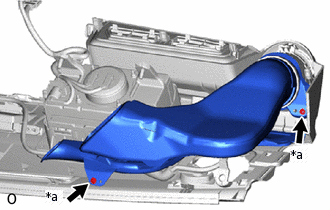
*a
Screw <A>
Remove the 2 screws <A> and No. 2 heater to register duct sub-assembly.
-
REMOVE NO. 2 INSTRUMENT PANEL REGISTER ASSEMBLY
Tip:Use the same procedure to remove the No. 2 instrument panel register assembly on the other side.
-
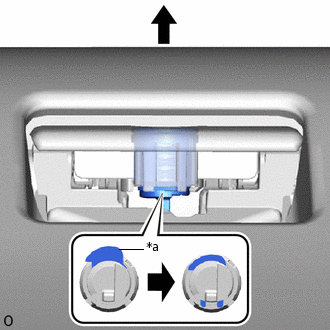
Detach the 3 claws and remove the No. 2 instrument panel register assembly.
-
REMOVE NO. 2 INSTRUMENT PANEL WIRE (w/ Speaker)
-
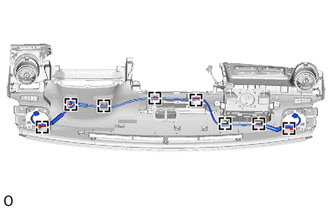
Detach the 8 wire harness clamps and remove the No. 2 instrument panel wire.
-
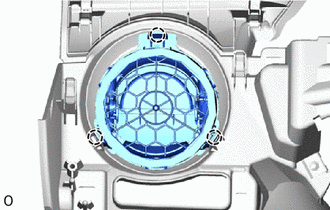
REMOVE NAVIGATION ANTENNA ASSEMBLY (w/ Navigation Antenna)
REMOVE CENTER INSTRUMENT PANEL REGISTER CONNECTOR
-
*a
Screw <A>
Remove the 2 screws <A> and center instrument panel register connector.
-
REMOVE INSTRUMENT PANEL PASSENGER AIRBAG ASSEMBLY
for Single Type:
for Dual Type:
REMOVE NO. 2 INSTRUMENT PANEL WIRE
for Single Type:
for Dual Type:
REMOVE NO. 1 INSTRUMENT PANEL CUSHION
Remove the 2 No. 1 instrument panel cushions.

REMOVE NO. 4 INSTRUMENT PANEL CUSHION
-
Remove the No. 4 instrument panel cushion.
-
REMOVE GLOVE COMPARTMENT DOOR LOCK CYLINDER ASSEMBLY (w/ Lock Cylinder)
-
*a
Stopper
Push the stopper to release the lock, and then push the glove compartment door lock cylinder assembly and remove it from the glove compartment door assembly.
-