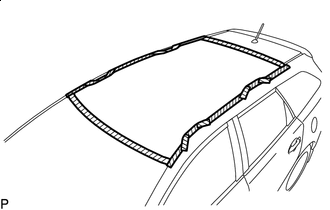
ROOF WINDOW FIX GLASS(for Wagon) REMOVAL
PROCEDURE
REMOVE SLIDING ROOF HOUSING ASSEMBLY
REMOVE ROOF RACK ASSEMBLY LH
REMOVE ROOF RACK ASSEMBLY RH
Tip:Use the same procedure as for the LH side.
REMOVE NO. 1 ROOF WINDOW GLASS SUB-ASSEMBLY
-

Protective Tape
Apply protective tape to the area around the installation position of the No. 1 roof window glass sub-assembly on the vehicle body to prevent it from being scratched.
Using a knife, cut off the front moon roof moulding and rear moon roof moulding as shown in the illustration.
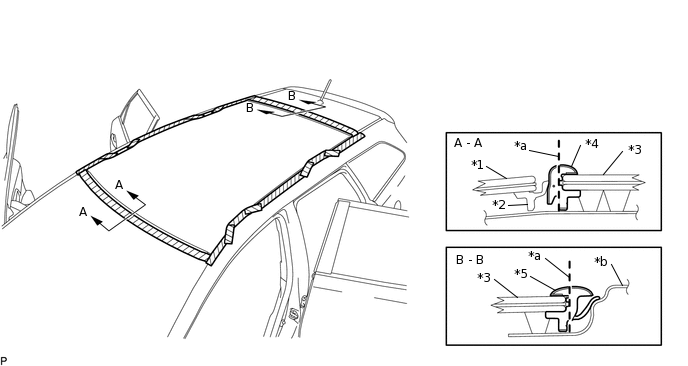
*1
Windshield Glass Sub-assembly
*2
Windshield Outside Moulding
*3
Roof Window Glass
*4
Front Moon Roof Moulding
*5
Rear Moon Roof Moulding
-
-
*a
Cut
*b
Vehicle Body
Note:Be careful not to damage the roof window glass, windshield outside moulding and vehicle body.
-
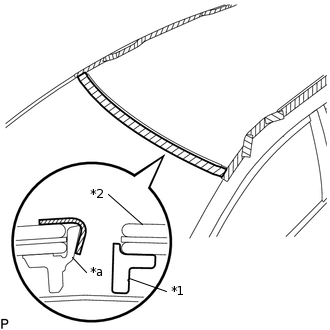
*1
Front Moon Roof Moulding
*2
Roof Window Glass
*a
Windshield Outside Moulding Lip
Protective Tape
Turn back the windshield outside moulding lip and hold it with protective tape.
-
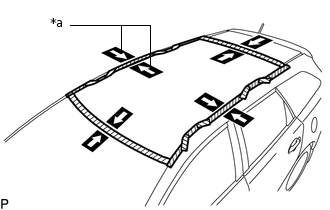
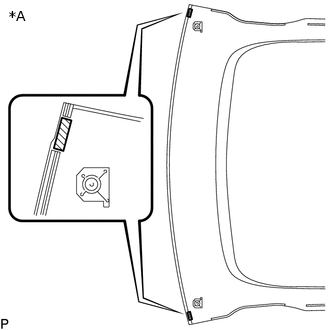
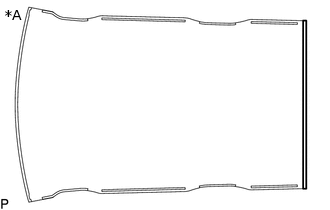
*a
Matchmark
Place matchmarks on the No. 1 roof window glass sub-assembly and vehicle body at the locations indicated in the illustration.
Tip:Matchmarks are not necessary if the roof window glass is not going to be reused.
-
*1
Roof Window Clip
*a
Piano Wire
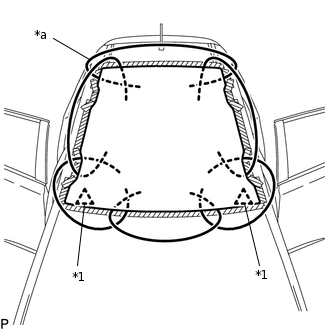
Pass a piano wire between the vehicle body and No. 1 roof window glass sub-assembly from the interior.
Note:Do not pull the piano wire in a vertical direction, but pull it in a horizontal direction.
Tie both wire ends to wooden blocks or similar objects that can serve as handles.
Cut off the adhesive by pulling the piano wire around the No. 1 roof window glass sub-assembly.
Note:When removing the No. 1 roof window glass sub-assembly, take care not to damage the paint or interior and exterior ornaments.
-
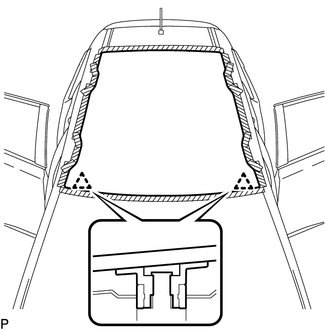
Using suction cups, disengage the 2 roof window clips and remove the No. 1 roof window glass sub-assembly.
Note:To prevent the No. 1 roof window glass sub-assembly from falling when performing this operation, be sure to hold the No. 1 roof window glass sub-assembly using suction cups.
Be careful not to drop the No. 1 roof window glass sub-assembly.
Leave as much adhesive on the vehicle body as possible when removing the No. 1 roof window glass sub-assembly.
-
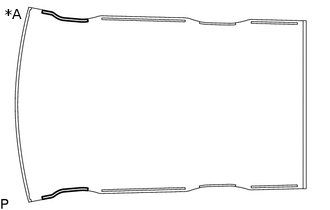
REMOVE WINDSHIELD HEADER PROTECTOR
When reusing the roof window glass:
-
*A
Back Side
Using a scraper, remove the 2 windshield header protectors.
Note:Be careful not to damage the roof window glass.
Be sure to replace the windshield header protectors with new ones.
-
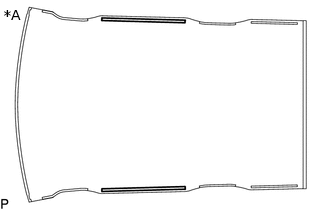
REMOVE FRONT MOON ROOF MOULDING
When reusing the roof window glass:
-

*A
Back Side
Using a scraper, remove the front moon roof moulding.
Note:Be careful not to damage the roof window glass.
Be sure to replace the front moon roof moulding with a new one.
-
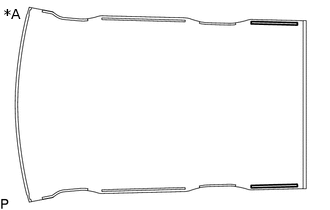
REMOVE REAR MOON ROOF MOULDING
When reusing the roof window glass:
-
*A
Back Side
Using a scraper, remove the rear moon roof moulding.
Note:Be careful not to damage the roof window glass.
Be sure to replace the rear moon roof moulding with a new one.
-
REMOVE SLIDING ROOF HOUSING DAM
When reusing the roof window glass:
-
*A
Back Side
Using a scraper, remove the 2 sliding roof housing dams.
Note:Be careful not to damage the roof window glass.
Be sure to replace the sliding roof housing dams with new ones.
-
REMOVE NO. 1 ROOF WINDOW DAM
When reusing the roof window glass:
-
*A
Back Side
Using a scraper, remove the 2 No. 1 roof window dams.
Note:Be careful not to damage the roof window glass.
Be sure to replace the No. 1 roof window dams with new ones.
-
REMOVE NO. 2 ROOF WINDOW DAM
When reusing the roof window glass:
-

*A
Back Side
Using a scraper, remove the 2 No. 2 roof window dams.
Note:Be careful not to damage the roof window glass.
Be sure to replace the No. 2 roof window dams with new ones.
-
REMOVE NO. 3 ROOF WINDOW DAM
When reusing the roof window glass:
-
*A
Back Side
Using a scraper, remove the 2 No. 3 roof window dams.
Note:Be careful not to damage the roof window glass.
Be sure to replace the No. 3 roof window dams with new ones.
-
CLEAN ROOF WINDOW GLASS
Using a scraper, remove any remaining adhesive residue from the roof window glass.
Note:Be careful not to damage the roof window glass.
-
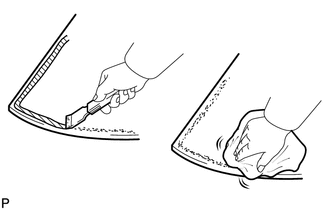
Clean the outer circumference of the roof window glass with a non-residue solvent.
Note:Do not touch the roof window glass surface after cleaning it.
Be careful not to damage the roof window glass.
Even if using a new roof window glass, clean it with a non-residue solvent.
CLEAN VEHICLE BODY
-
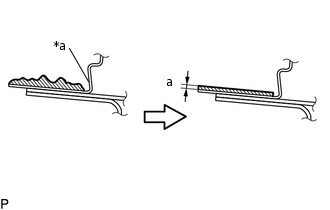
*a
Vehicle Body
Adhesive
Clean and shape the contact surfaces of the vehicle body.
Standard Dimension
Area
Dimension
a
1.0 mm (0.0394 in.) or more
Using a knife, cut away excess adhesive on the contact surfaces of the vehicle body as shown in the illustration.
Note:Be careful not to damage the vehicle body.
Tip:Leave as much adhesive on the vehicle body as possible.
Clean the contact surfaces of the vehicle body with a piece of cloth saturated with non-residue solvent.
Tip:Even if all the adhesive has been removed, clean the vehicle body.
-