ULTRASONIC SENSOR(for Front) INSTALLATION
PROCEDURE
INSTALL NO. 1 ULTRASONIC SENSOR
Attach the 4 claws to install the No. 1 ultrasonic sensor as shown in the illustration.
 Note:
Note:-
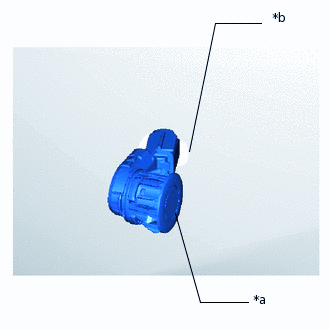
*a
No. 1 ultrasonic sensor direction
*b
Keyhole direction
The No. 1 ultrasonic sensor direction is the same as the keyhole direction.
Do not damage the bumper when inserting the No. 1 ultrasonic sensor.
Tip:The illustration shows the No. 1 ultrasonic sensor for the LH corner and front sensor RH. The horizontal orientation of the No. 1 ultrasonic sensor for the RH corner and front sensor LH is opposite that of the image shown in the illustration.
Use the same procedure for all No. 1 ultrasonic sensors.
-
Connect the 4 connectors.
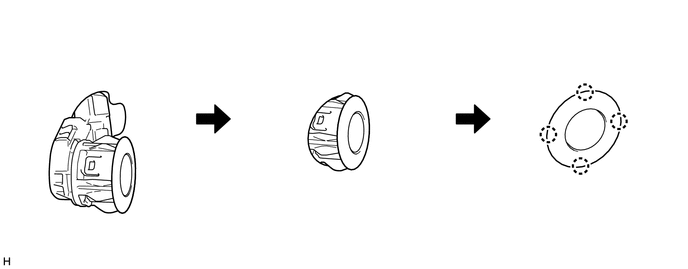
INSTALL ULTRASONIC SENSOR CLIP
Tip:The illustration shows the ultrasonic sensor clip for the LH corner and front RH. The horizontal orientation of the ultrasonic sensor clip for the RH corner and front LH is opposite that of the image shown in the illustration.
Use the same procedure for all ultrasonic sensor clips.
Attach the clamp.
Attach the 2 claws to install the ultrasonic sensor clip.
INSTALL FRONT BUMPER COVER