CURTAIN SHIELD AIRBAG ASSEMBLY REMOVAL
Tech Tips
-
Use the same procedure for the RH and LH sides.
-
The procedure listed below is for the LH side.
-
REMOVE ROOF HEADLINING ASSEMBLY
-
for Single Cab:
-
for Extra Cab:
-
for Double Cab:
-
-
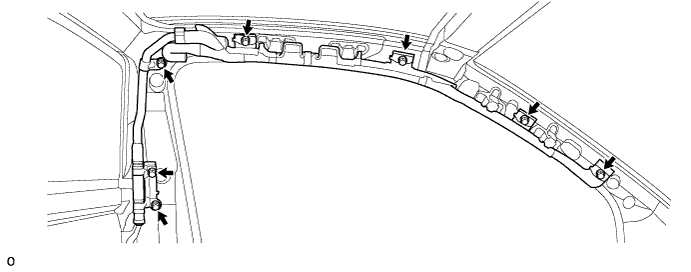
REMOVE CURTAIN SHIELD AIRBAG ASSEMBLY LH (for Single Cab)
-
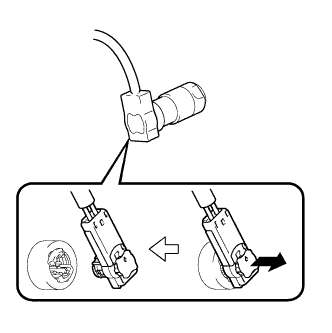
Disconnect the connector.
Note
When handling the airbag connector, take care not to damage the airbag wire harness.
-
Remove the 7 bolts.
-
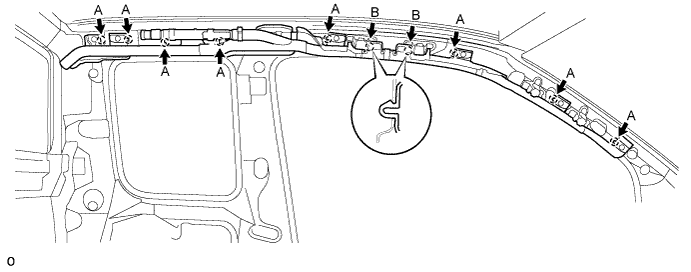
Detach the 6 claws (labeled A).
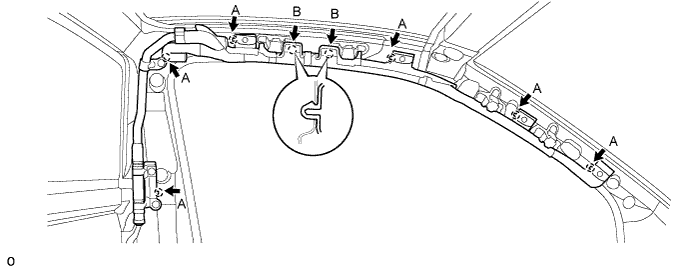
-
Using a moulding remover B, detach the 2 claws (labeled B) and remove the curtain shield airbag assembly LH.
-
-
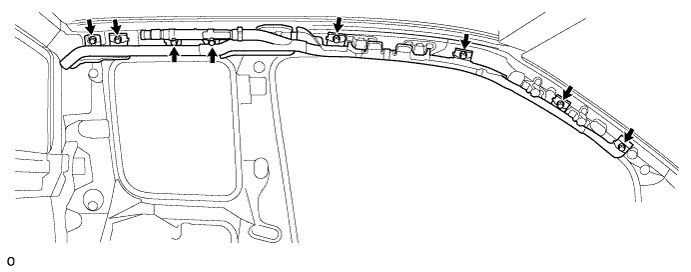
REMOVE CURTAIN SHIELD AIRBAG ASSEMBLY LH (for Extra Cab)
-
Disconnect the connector.
Note
When handling the airbag connector, take care not to damage the airbag wire harness.
-
Remove the 8 bolts.
-
Detach the 8 claws (labeled A).
-
Using a moulding remover B, detach the 2 claws (labeled B) and remove the curtain shield airbag assembly LH.
-
-
REMOVE CURTAIN SHIELD AIRBAG ASSEMBLY LH (for Double Cab)
-
Disconnect the connector.
Note
When handling the airbag connector, take care not to damage the airbag wire harness.
-
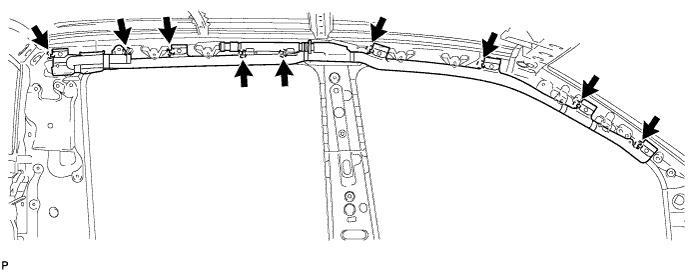
Remove the 9 bolts.

-
Detach the 9 claws and remove the curtain shield airbag assembly LH.
-