ULTRASONIC SENSOR(for Rear) INSTALLATION
PROCEDURE
INSTALL ULTRASONIC SENSOR RETAINER
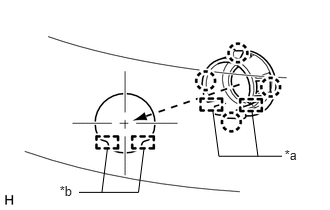
Tip:Align the slit of the ultrasonic sensor retainer with the protrusion of the rear bumper cover and install the ultrasonic sensor retainer.
Pay attention to the protrusions of the rear bumper cover as the orientation of the retainer changes depending on the installation position.
Use the same procedure for both ultrasonic sensor retainers.
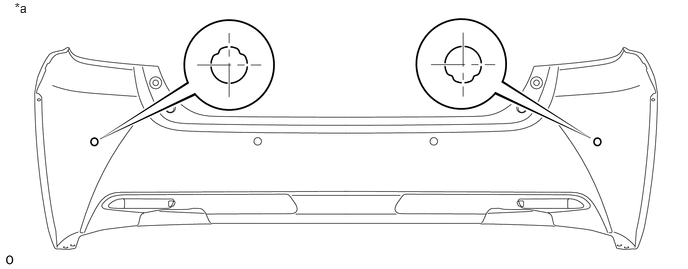
Table 1. Text in Illustration *a
Rear View of Rear Bumper
-
-
-
Attach the 4 claws to install the ultrasonic sensor retainer to the rear bumper cover.
Note:Do not damage the bumper cover with the protrusion when installing the retainer.
Table 2. Text in Illustration *a
Slit
*b
Protrusion
INSTALL ULTRASONIC SENSOR CLIP
Tip:Use the same procedure for both ultrasonic sensor clips.
-
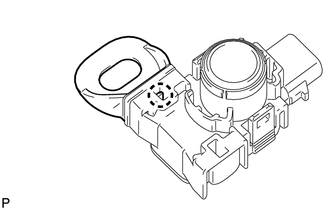
Attach the claw to install the ultrasonic sensor clip.
-
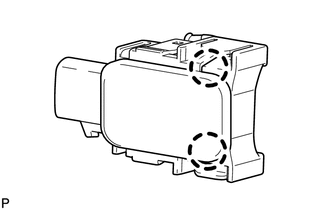
INSTALL NO. 1 ULTRASONIC SENSOR
 Tip:
Tip:Use the same procedure for all ultrasonic sensors.
Attach the 2 claws to install the ultrasonic sensor.
INSTALL NO. 4 FLOOR WIRE
When using a new rear bumper cover:
Clean the rear bumper cover surface.
When reusing the rear bumper cover:
Wipe off any tape adhesive residue with cleaner.
Attach the 2 clamps to install the No. 4 floor wire.
Connect the 4 connectors.
Install 3 new pieces of tape as shown in the illustration.
Tip:Align the tape with the mark-off line of the rear bumper.

Table 3. Text in Illustration *1
Tape
-
-
INSTALL REAR BUMPER COVER
INSTALL NO. 1 FLOOR UNDER COVER