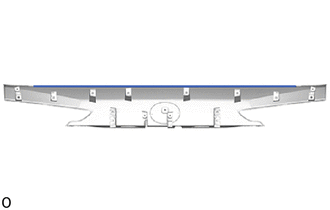
BACK DOOR OUTSIDE GARNISH REASSEMBLY
PROCEDURE
-
INSTALL NUT
-
Install the 2 nuts.
-
-
INSTALL SYMBOL EMBLEM
-
INSTALL BACK DOOR OUTSIDE GARNISH PROTECTOR
-
Clean the back door outside garnish surface.
-
Remove the double-sided tape from the back door outside garnish sub-assembly.
-
Wipe off any tape adhesive residue with cleaner.
-
-
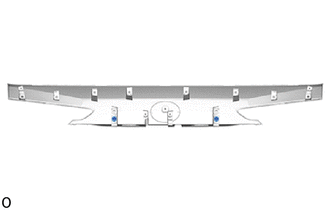
Install a new back door outside garnish protector.
-
Remove the peeling paper from the face of the back door outside garnish protector.
Tech Tips
After removing the peeling paper, keep the exposed adhesive free from foreign matter.
-
Install the back door outside garnish protector as shown in the illustration.
Tech Tips
Press the back door outside garnish protector firmly to install it.
-
-
-
INSTALL BACK DOOR NO. 1 GARNISH RETAINER
-
Install the 2 back door No. 1 garnish retainers.
-
-
INSTALL BACK DOOR UPPER OUTSIDE GARNISH LH
-
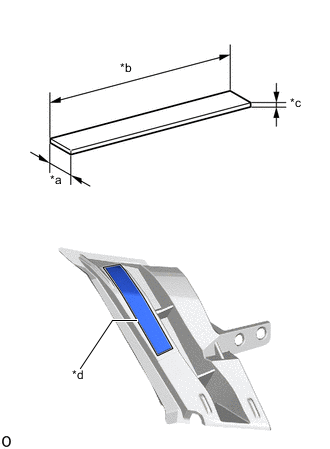
*a 7.0 mm (0.276 in.) *b 50.0 mm (1.969 in.) *c 1.0 mm (0.039 in.) *d Scribed Line Clean the back door outside garnish surface.
-
Remove the double-sided tape from the back door upper outside garnish LH.
-
Wipe off any tape adhesive residue with cleaner.
-
-
Paste double-sided tape to back door upper outside garnish LH.
-
Prepare double-sided tape in the size specified in the illustration.
-
Remove the peeling paper from the face of the double-sided tape.
Tech Tips
After removing the peeling paper, keep the exposed adhesive free from foreign matter.
-
Align the double-sided tape with the scribed line and apply it.
-
-
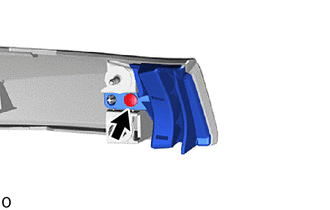
Install the back door upper outside garnish LH with the screw.
-
-
INSTALL BACK DOOR UPPER OUTSIDE GARNISH RH
Tech Tips
Use the same procedure described for the LH side.