FUEL TANK REMOVAL
PROCEDURE
REMOVE FRONT EXHAUST PIPE ASSEMBLY
REMOVE FUEL SUCTION WITH PUMP AND GAUGE TUBE ASSEMBLY
DRAIN FUEL
REMOVE FRONT FLOOR CENTER COVER LH
-
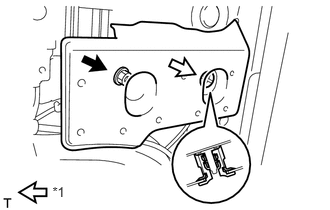
Remove the nut, detach the grommet and remove the front floor center cover LH.
Table 1. Text in Illustration *1
Grommet
-
REMOVE FRONT FLOOR CENTER COVER RH
-
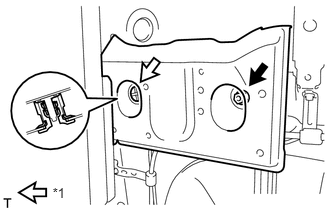
Remove the nut, detach the grommet and remove the front floor center cover RH.
Table 2. Text in Illustration *1
Grommet
-
REMOVE REAR FLOOR SIDE MEMBER COVER LH
-
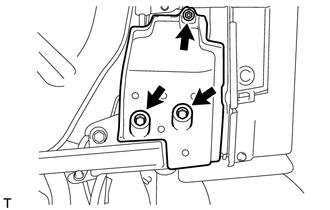
Remove the nut, 2 bolts and rear floor side member cover LH.
-
REMOVE REAR FLOOR SIDE MEMBER COVER RH
-
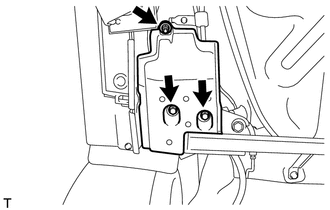
Remove the nut, 2 bolts and rear floor side member cover RH.
-
REMOVE REAR FLOOR SIDE MEMBER BRACE SUB-ASSEMBLY
-
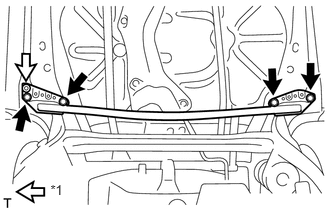
Remove the 4 bolts, detach the clip and remove the rear floor side member brace sub-assembly.
Table 3. Text in Illustration *1
Clip
-
REMOVE NO. 1 FUEL TANK PROTECTOR
-
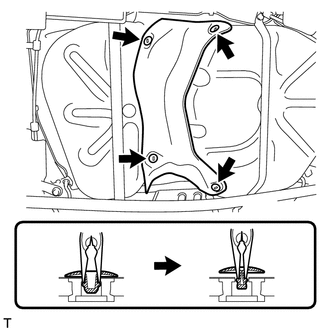
Using needle-nose pliers, remove the 4 clips and No. 1 fuel tank protector.
-
Remove the fuel tank protector cushion.
-
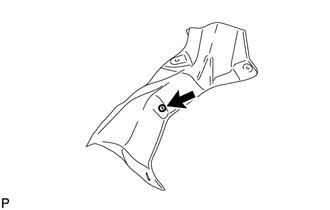
DISCONNECT FUEL TANK TO FILLER PIPE HOSE
-
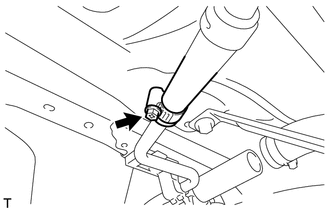
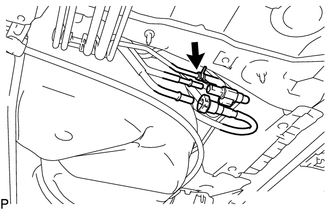
Loosen the hose clamp bolt, and then disconnect the fuel tank to filler pipe hose from the fuel tank filler pipe.
-
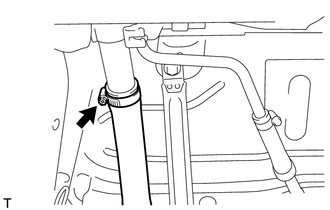
REMOVE FUEL TANK ASSEMBLY
-
Loosen the hose clamp bolt, and then disconnect the breather hose from the fuel tank filler pipe.
-
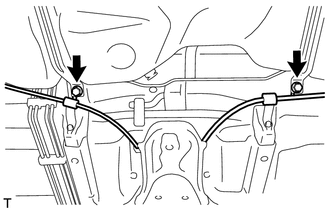
Remove the 2 bolts and disconnect the parking brake cable.
-
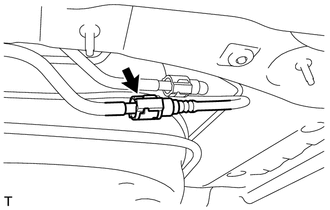
Disconnect the fuel tank return tube sub-assembly from the fuel return tube (Click here).
-
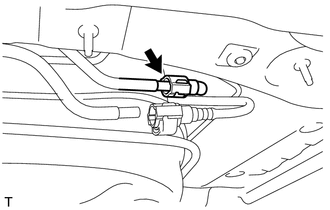
Disconnect the fuel tank main tube sub-assembly from the fuel main tube (Click here).
-
w/ Combustion Type Power Heater:
Slide the clamp and disconnect the No. 2 fuel tank main tube sub-assembly from the No. 2 fuel main tube.
Using a engine lifter, support the fuel tank assembly.
-
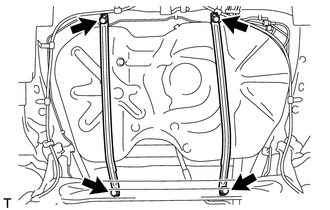
Remove the 4 bolts, No. 1 fuel tank band sub-assembly RH and No. 1 fuel tank band sub-assembly LH.
Lower the engine lifter to remove the fuel tank assembly.
Note:Do not drop the fuel tank assembly.
When removing the fuel tank assembly, tilt it slightly to prevent it from interfering with the suspension arm or other surrounding parts.
-
REMOVE NO. 1 FUEL TANK CUSHION
-
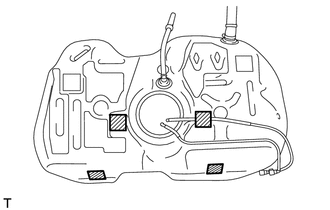
Remove the 4 No. 1 fuel tank cushions.
-
REMOVE NO. 2 FUEL TANK CUSHION
-
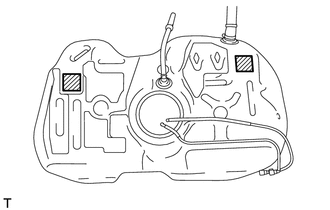
Remove the 2 No. 2 fuel tank cushions.
-
REMOVE FUEL TANK TO FILLER PIPE HOSE
-

Loosen the hose clamp bolt, and then remove the fuel tank to filler pipe hose.
-
REMOVE NO. 2 FUEL TANK MAIN TUBE SUB-ASSEMBLY (w/ Combustion Type Power Heater)
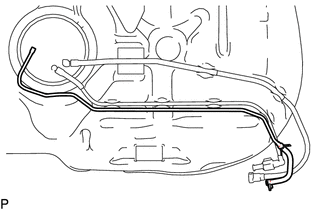
REMOVE FUEL TANK MAIN TUBE SUB-ASSEMBLY
-
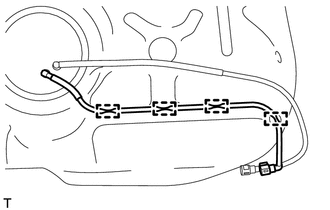
Detach the fuel tank main tube sub-assembly from the 4 clamps and remove it.
-
REMOVE FUEL TANK RETURN TUBE SUB-ASSEMBLY
-
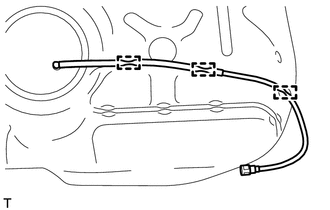
Detach the fuel tank return tube sub-assembly from the 3 clamps and remove it.
-