ULTRASONIC SENSOR(for Wagon Rear Side) REMOVAL
PROCEDURE
REMOVE REAR BUMPER ASSEMBLY
REMOVE NO. 1 ULTRASONIC SENSOR
Tip:Use the same procedure for all No. 1 ultrasonic sensors.
Disengage the clamp.
Disconnect the connector.
-
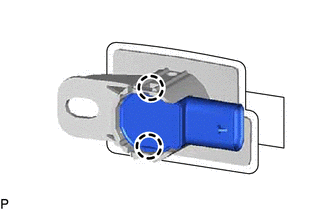
Disengage the 2 claws to remove the No. 1 ultrasonic sensor.
Tip:This illustration is for the LH corner. The orientation for the RH corner is the opposite of the LH corner.
REMOVE NO. 3 ULTRASONIC SENSOR
Tip:Use the same procedure for all No. 3 ultrasonic sensors.
Disengage the clamp.
Disconnect the connector.
-
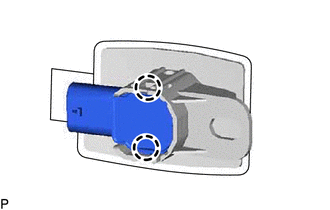
Disengage the 2 claws to remove the No. 3 ultrasonic sensor.
Tip:This illustration is for the LH side. The orientation for the back sensor RH side is the same as the back sensor LH side.
REMOVE NO. 1 ULTRASONIC SENSOR RETAINER
Tip:Use the same procedure for all No. 1 ultrasonic sensor retainers.
-
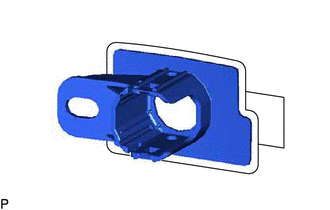
Remove the No. 1 ultrasonic sensor retainer from the rear bumper assembly.
Tip:This illustration is for the LH corner. The orientation for the RH corner is the opposite of the LH corner.
Remove the old double-sided tape from the rear bumper assembly.
-
REMOVE NO. 3 ULTRASONIC SENSOR RETAINER
Tip:Use the same procedure for all No. 3 ultrasonic sensor retainers.
-

Remove the No. 3 ultrasonic sensor retainer from the rear bumper assembly.
Tip:This illustration is for the LH side. The orientation for the RH side is the same as the LH side.
Remove the old double-sided tape from the rear bumper assembly.
-