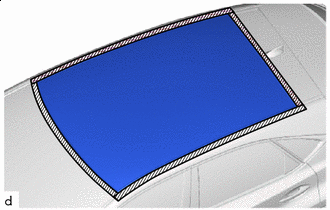
ROOF WINDOW FIX GLASS REMOVAL
PROCEDURE
-
REMOVE ROOF HEADLINING ASSEMBLY
-
REMOVE SLIDING ROOF HOUSING ASSEMBLY
-
REMOVE NO. 1 ROOF WINDOW GLASS SUB-ASSEMBLY
Note
Be careful not to damage the No. 1 roof window glass sub-assembly as the roof window clips are installed to the No. 1 roof window glass sub-assembly.
-

Protective Tape Apply protective tape to the outer surface of the vehicle body to prevent scratches.
-
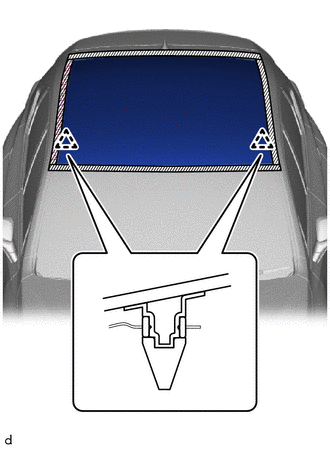
Using a knife, cut off the roof window upper moulding as shown in the illustration.
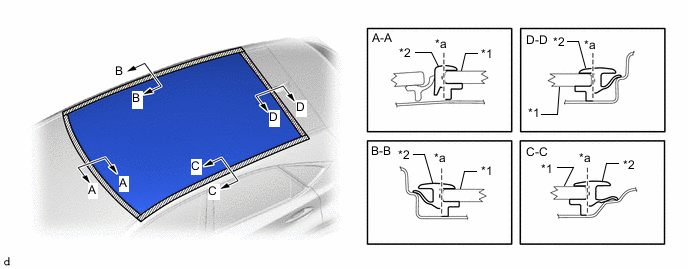
*1 No. 1 Roof Window Glass Sub-assembly *2 Roof Window Upper Moulding *a Cut Area - - Note
Do not damage the body with the knife.
Tech Tips
After partially disconnecting the part, pull by hand to finish removing it.
-
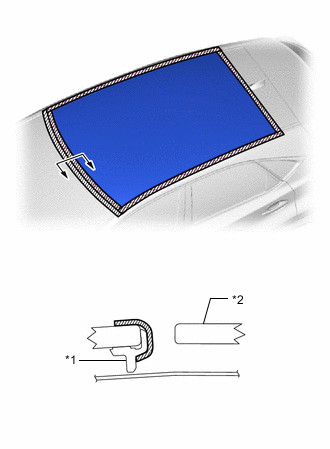
*1 Windshield Outside Moulding *2 No. 1 Roof Window Glass Sub-assembly Protective Tape Turn back the windshield outside moulding lip and hold it with protective tape.
-
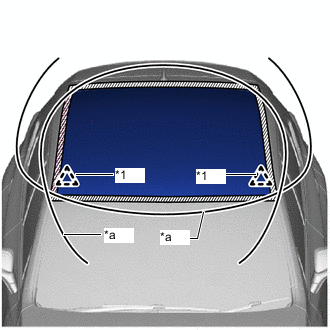
*1 Roof Window Clip *a Piano Wire Insert a piano wire (approx. 0.6 mm) at the locations shown in the illustration.
-
Pull on the ends of the piano wire alternately and leave the stoppers when cutting through the adhesive.
Note
-
Do not forcefully brush the piano wire against the windshield glass.
-
Be careful as the piano wire will break if it crosses itself.
-
-
Install the suction cups to the No. 1 roof window glass sub-assembly.
-
Using suction cups, detach the 2 roof window clips and remove the No. 1 roof window glass sub-assembly.
Note
Make sure that the No. 1 roof window glass sub-assembly does not fall.
-