REAR FLOOR PAN ASSEMBLY REPLACEMENT
-
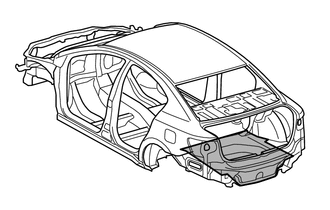
With the body lower back panel removed.
-
REMOVAL
Symbol Meaning 
Remove Weld Points
-
After removing the rear floor side panel, remove the rear floor pan.
-
Remove the rear floor pan reinforcement at the same time.
REMOVAL POINT

*A LH Side *B RH Side *1 Rear Floor Side Panel - - 
*A LH Side *B RH Side *1 Rear Floor Pan Reinforcement - - -
-
INSTALLATION
Symbol Meaning 
Plug Weld 
Fillet Weld
-
Before temporarily installing the new parts, weld the spare wheel carrier bracket, rear floor pan reinforcement and weld bolts with the standard number of welding points.
-
After welding the rear floor pan to the vehicle side, install the rear floor side panel.
-
After welding, apply body sealer and undercoating to the corresponding parts. (See the painting/coating)
-
After applying the top coat, apply anti-rust agent to the internal panel portion of the closed section structural weld points.
INSTALLATION POINT
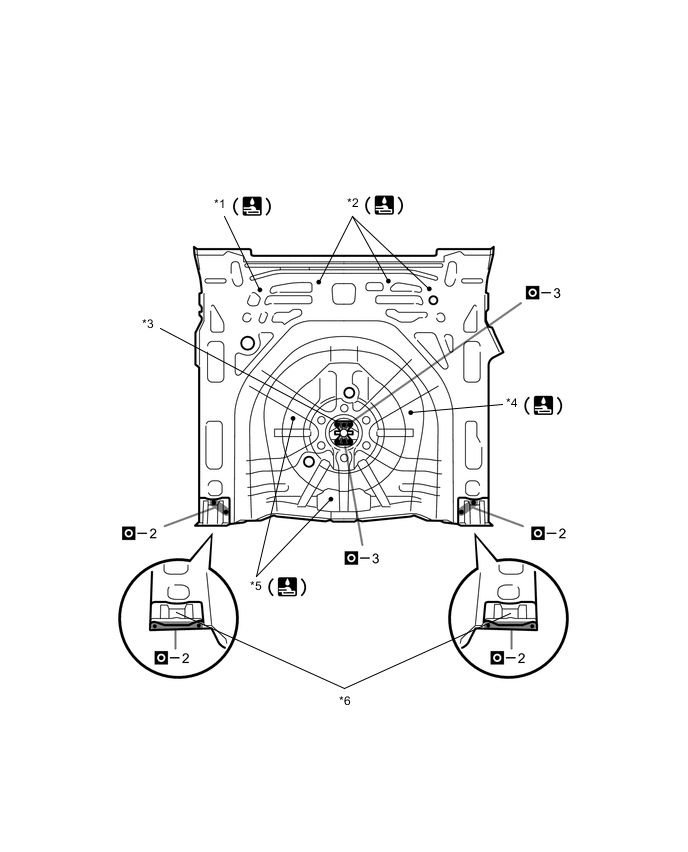
*1 Electric Parking Brake: Weld Bolt *2 Wagon: Weld Bolts *3 Spare Wheel Carrier Bracket *4 Weld Bolt *5 Weld Bolts *6 Rear Floor Pan Reinforcement 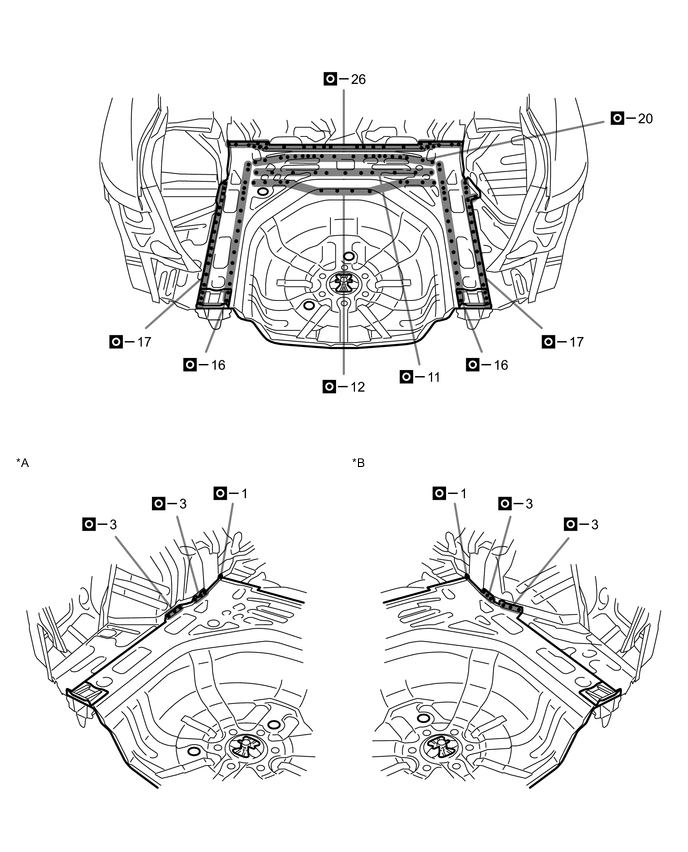
*A LH Side *B RH Side 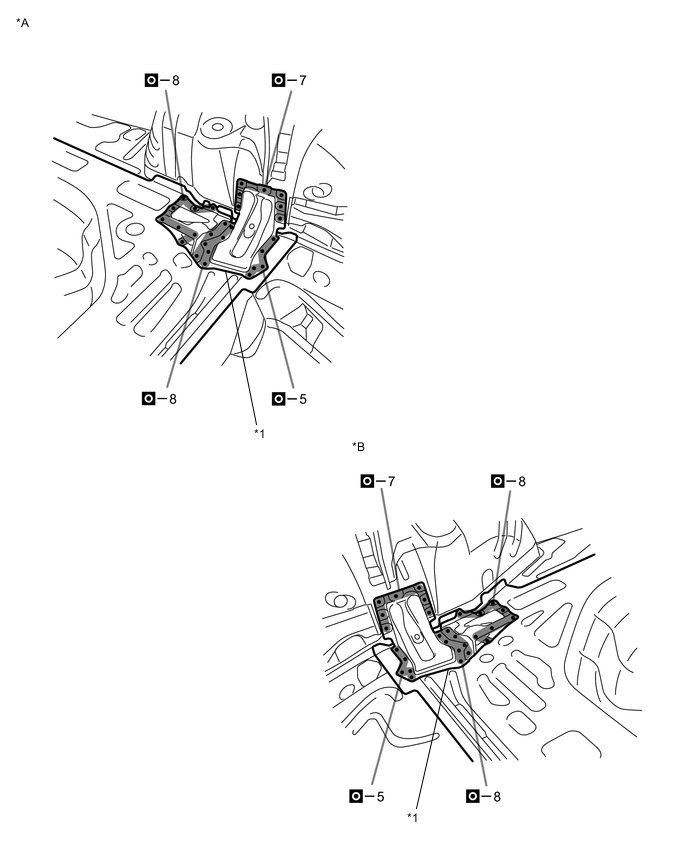
*A LH Side *B RH Side *1 Rear Floor Side Panel - - -