FRONT APRON TO COWL SIDE MEMBER ASSEMBLY REPLACEMENT
-
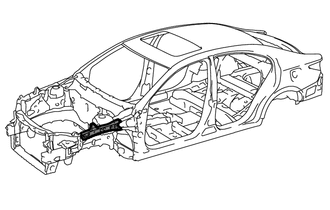
With the front fender front apron, cowl top to apron brace and cowl top side panel removed.
-
REMOVAL
Symbol meaning 
Remove Weld Points 
Remove Weld Points
-
After removing the front apron to cowl side member lower front, remove the front spring support reinforcement No. 2 and front apron to cowl side member upper.
REMOVAL POINT
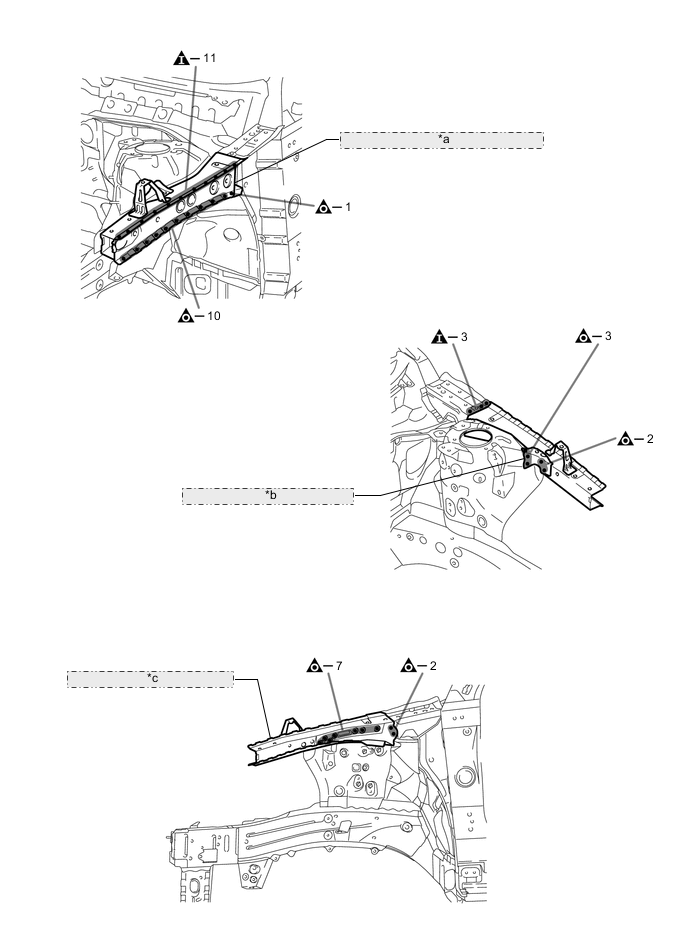
*a FRONT APRON TO COWL SIDE MEMBER LOWER FRONT *b FRONT SPRING SUPPORT REINFORCEMENT NO.2 *c FRONT APRON TO COWL SIDE MEMBER UPPER -
-
INSTALLATION
Symbol meaning 
Plug Weld 
Plug Weld
-
Inspect the fitting of the related parts around the new parts before welding. This affects the appearance of the finish.
-
Temporarily install the new parts and measure each part of the new parts in accordance with the body dimension diagram. (See the body dimensions)
-
After welding the front spring support reinforcement No. 2, front apron to cowl side member upper, front fender bracket rear to the vehicle side, install the front apron to cowl side member lower front.
-
After welding, apply body sealer to the corresponding parts. (See the painting / coating)
-
After applying the top coat, apply anti-rust agent to the internal panel portion of the closed section structural weld points.
INSTALLATION POINT
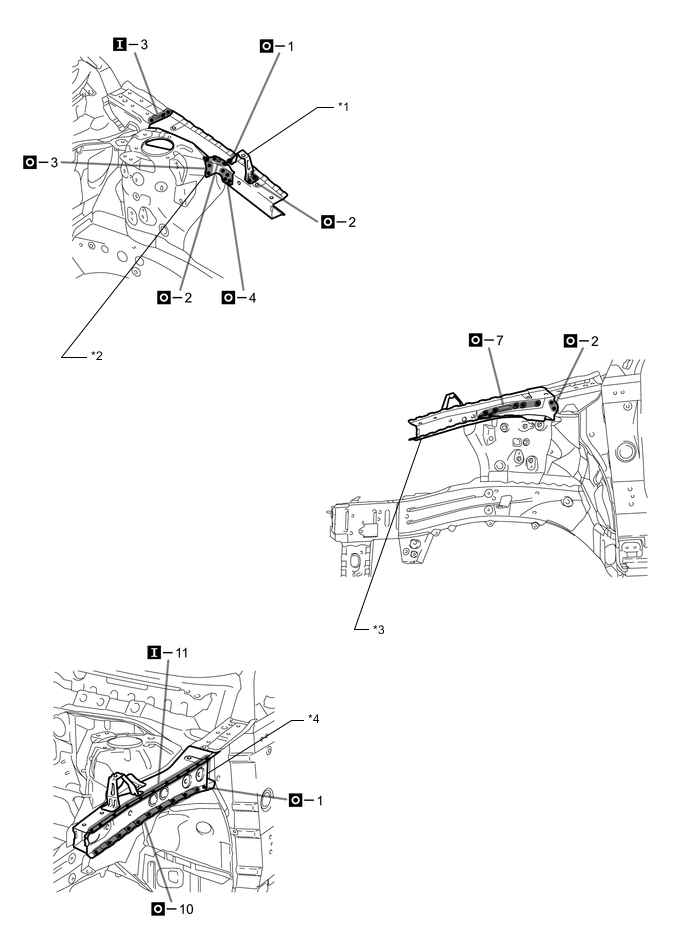
*1 FRONT FENDER BRACKET REAR *2 FRONT SPRING SUPPORT REINFORCEMENT NO.2 *3 FRONT APRON TO COWL SIDE MEMBER UPPER *4 FRONT APRON TO COWL SIDE MEMBER LOWER FRONT -