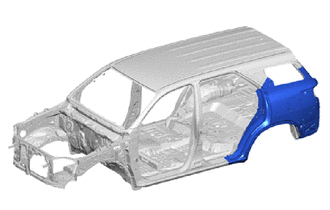
QUARTER PANEL CUT AND JOIN REPLACEMENT SECTIONS
-
REMOVAL
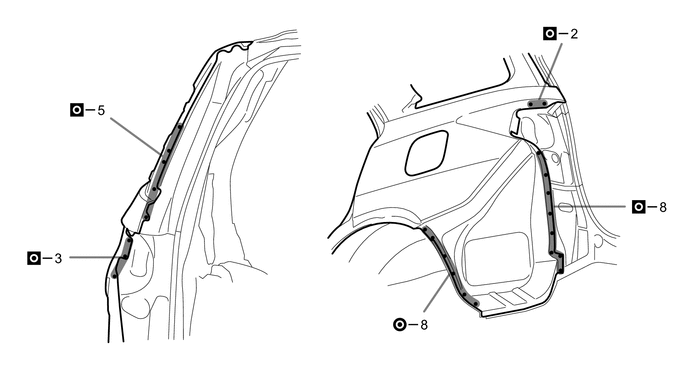
Symbol Meaning 
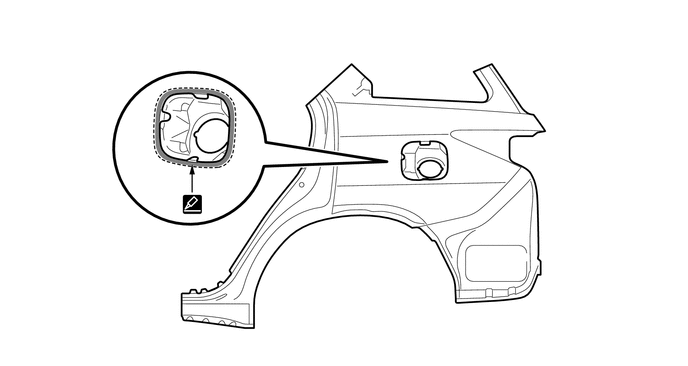
Remove Weld Points 
Cut and Join Location 
Cut Location for Supply Parts
-
Be careful when cutting as foamed sealing material is located near the cutting position.
Tech Tips
Remove the remaining foamed sealing material from the vehicles side.
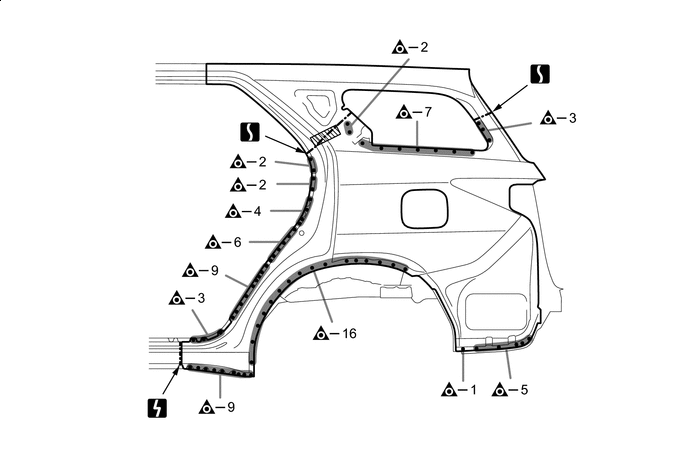

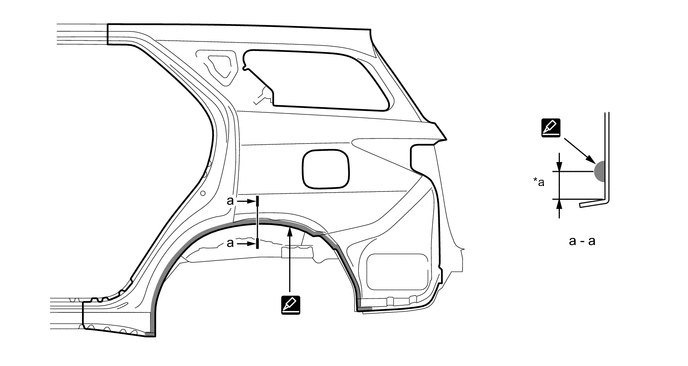
Foamed Sealing Material - - 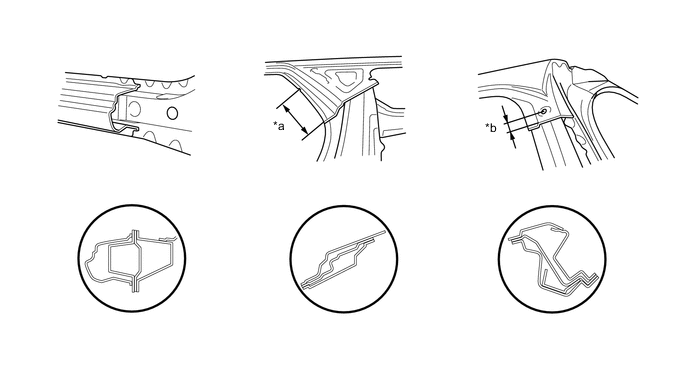
*a 255 mm (10.04 in.) *b 30 mm (1.18 in.) 
-
-
INSTALLATION
Symbol Meaning 
Spot Weld 
Plug Weld Cut and Join Location 
Butt Weld 
Body Sealer
-
Inspect the fitting of the related parts around the new parts before welding. This affects the appearance of the finish.
-
Temporarily install the new parts and measure each part of the new parts in accordance with the body dimension diagram. (See the body dimensions)
-
If the entire supply part is not needed, remove the part of the supply part that is needed.
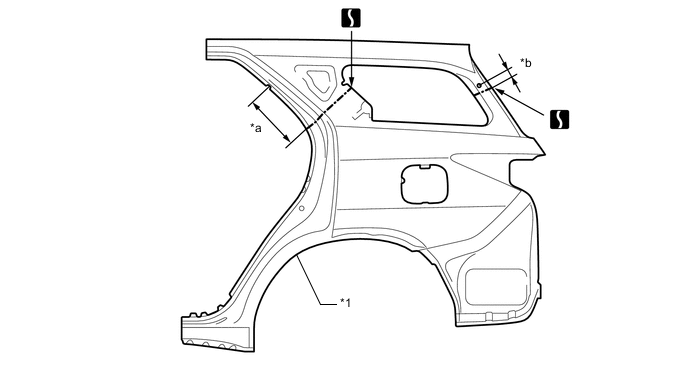
*1 QUARTER PANEL - - *a 255 mm (10.04 in.) *b 30 mm (1.18 in.) -
Before installing a new part, apply body sealer.
Tech Tips
Apply body sealer in an even, continuous bead.
-
Before temporarily installing the new parts, weld the quarter panel and fuel inlet box with the standard number of welding points.
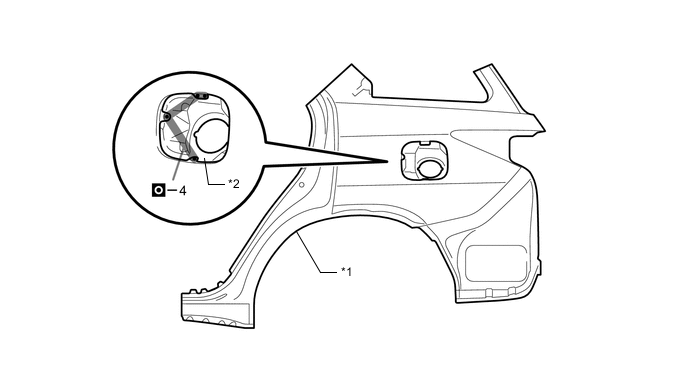
*1 QUARTER PANEL *2 FUEL INLET BOX -
Before installing a new part, apply body sealer.
Tech Tips
-
Apply body sealer evenly about 5 mm (0.20 in.) from the flange, avoiding any oozing.
-
Apply body sealer evenly, about 3 to 4 mm (0.12 to 0.16 in.) in diameter.
*a 5 mm (0.20 in.) - - 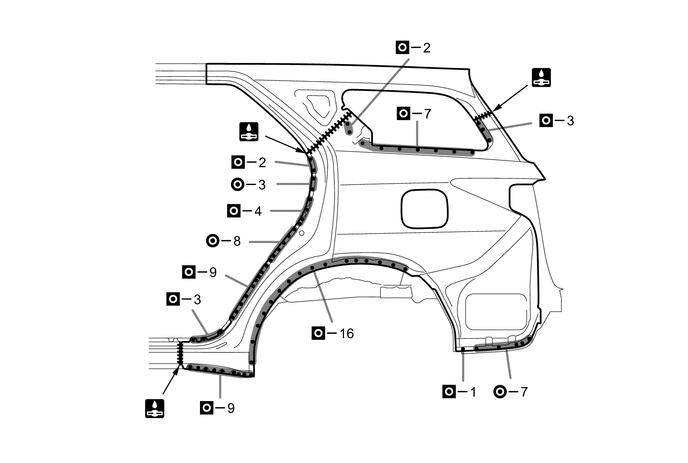
-
-
After welding, apply the foamed sealing material to the corresponding parts. (See the painting/coating)
-
After welding, apply body sealer to the corresponding parts. (See the painting/coating)
-
After applying the top coat, apply anti-rust agent to the internal panel portion of the closed section structural weld points.
-