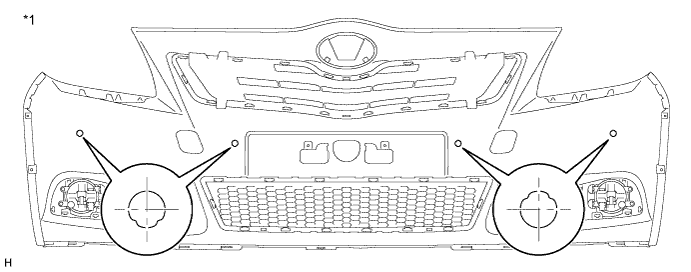
ULTRASONIC SENSOR (for Front) INSTALLATION

-
INSTALL NO. 1 ULTRASONIC SENSOR RETAINER
Tech Tips
-
Align the slit of the No. 1 ultrasonic sensor retainer with the protrusion of the front bumper cover and install the No. 1 ultrasonic sensor retainer.
-
Pay attention to the protrusions of the front bumper cover as the orientation of the retainer changes depending on the installation position.
-
Use the same procedure for all No. 1 ultrasonic sensor retainers.
Text in Illustration *1 Rear View of Front Bumper - -
-
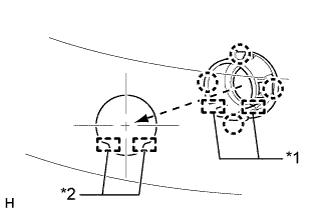
Text in Illustration *1 Slit *2 Protrusion Attach the 4 claws to install the No. 1 ultrasonic sensor retainer to the front bumper cover.
Note
Do not damage the bumper cover with the protrusion when installing the retainer.
-
-
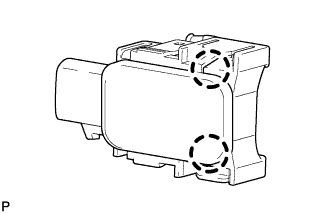
INSTALL NO. 1 ULTRASONIC SENSOR CLIP
Tech Tips
Use the same procedure for all No. 1 ultrasonic sensor clips.
-
Attach the claw to install the No. 1 ultrasonic sensor clip.
-
-
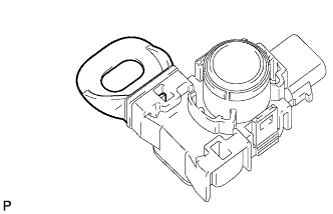
INSTALL NO. 1 ULTRASONIC SENSOR
Tech Tips
Use the same procedure for all No. 1 ultrasonic sensors.
-
Attach the 2 claws to install the No. 1 ultrasonic sensor.
-
-
INSTALL NO. 4 ENGINE ROOM WIRE
-
When using a new front bumper cover:
Clean the front bumper cover surface.
-
When reusing the front bumper cover:
Wipe off any tape adhesive residue with cleaner.
-
Attach the 7 clamps to install the No. 4 engine room wire.
-
Connect the 4 connectors.
-
Install 4 new pieces of tape as shown in the illustration.
Tech Tips
Align the tape with the mark-off line of the front bumper.
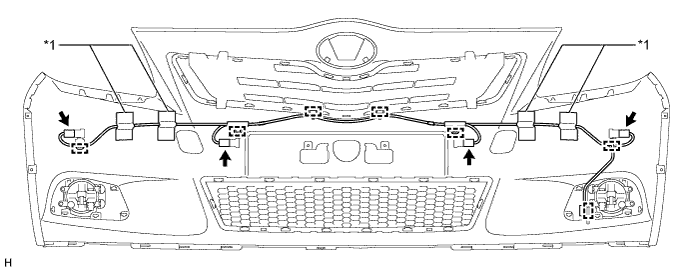
Text in Illustration *1 Tape - -
-
-
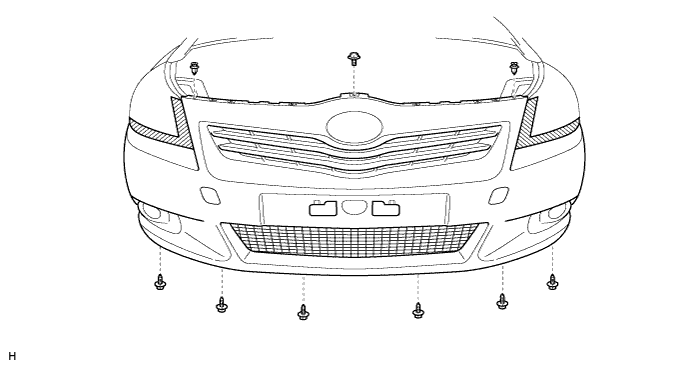
INSTALL FRONT BUMPER COVER
-
Install the front bumper cover.
-
w/ Headlight Cleaner System:
Connect the headlight cleaner hose.
-
w/ Fog Light:
Connect the 2 fog light connectors.
-
w/ TOYOTA Parking Assist-sensor System:
Connect the No. 4 engine room wire connector.
-
Attach the 6 claws to install the front bumper cover.

-
-
Install the bolt, 2 clips and 6 screws.
-
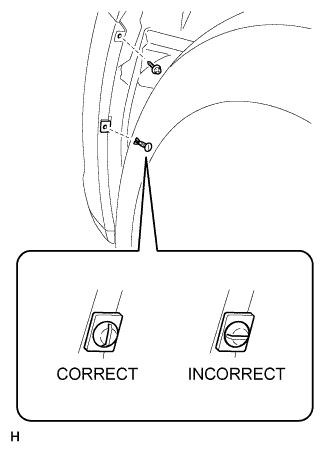
Install the pin hold clip.
Note
Insert the pin hold clip with the slot aligned vertically. Do not rotate the clip after inserting it. After installation, confirm that the slot is vertical.
Tech Tips
Use the same procedure for the RH side and LH side.
-
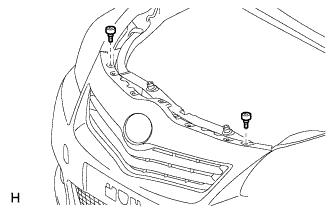
Install the screw.
Tech Tips
Use the same procedure for the RH side and LH side.
-
-
INSTALL RADIATOR GRILLE PROTECTOR
-
Install the 2 radiator grille protectors.
-
-
INSTALL RADIATOR SUPPORT OPENING COVER
-
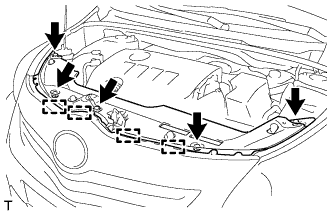
Attach the 4 hooks to install the radiator support opening cover.
-
Install the 5 clips.
-
-
INSTALL BATTERY SERVICE HOLE COVER
-
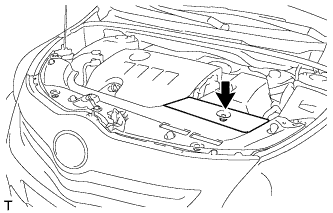
Install the battery service hole cover with the clip.
-
-
ADJUST FOG LIGHT ASSEMBLY
-
Adjust the fog light assembly Click here.
-