TRANSMISSION CONTROL CABLE REMOVAL

-
REMOVE NO. 1 ENGINE COVER
-
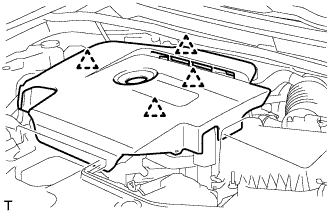
Hold the rear of the cover and slowly raise it to detach the clip on the rear of the cover. Continue to raise the cover to detach the 3 clips on the front and side of the cover and remove the cover.
Note
Attempting to disengage both front and rear clips at the same time may cause the cover to break.
-
-
REMOVE AIR CLEANER CAP AND HOSE
-
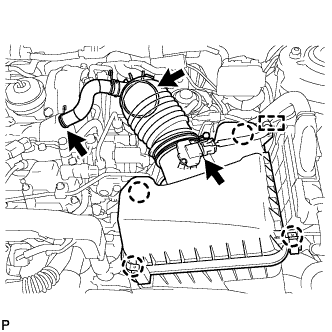
Detach the clamp and disconnect the mass air flow meter connector.
-
Disconnect the PCV hose.
-
Disconnect the air cleaner hose.
-
Detach the 4 clamps and remove the air cleaner cap.
-
-
REMOVE AIR CLEANER CASE SUB-ASSEMBLY
-
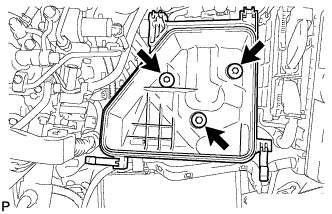
Remove the 3 bolts and air cleaner case.
-
-
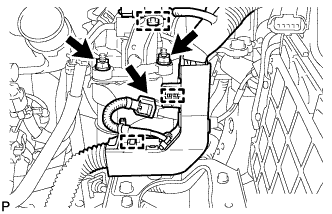
REMOVE FUEL FILTER SUPPORT
-
Disconnect the connector and detach the 2 wire harness clamps and connector clamp, and then disconnect the engine wire from the fuel filter support.
-
Remove 2 nuts and disconnect the fuel filter assembly.
-
Detach the connector clamp from the fuel filter support.
-
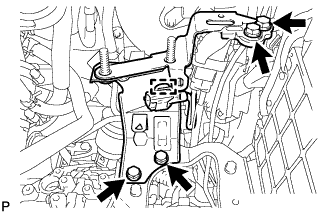
Remove the 4 bolts and fuel filter support.
-
-
REMOVE AIR CLEANER BRACKET
-
Remove the 3 bolts and air cleaner bracket.
-
-
REMOVE NO. 2 ENGINE UNDER COVER
-
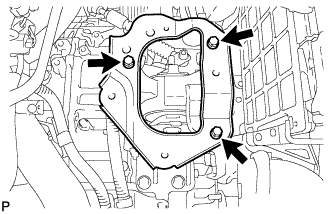
Remove the 4 clips and No. 2 engine under cover.
-
-
DISCONNECT AIR FUEL RATIO SENSOR CONNECTOR
-
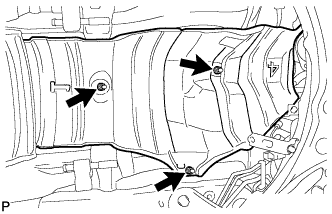
REMOVE FRONT EXHAUST PIPE ASSEMBLY
-
Remove the 2 bolts and 2 compression springs.
-
Disconnect the front exhaust pipe from the 3 exhaust pipe supports.
-
Remove the gasket.
-
-
REMOVE FRONT FLOOR NO. 2 HEAT INSULATOR
-
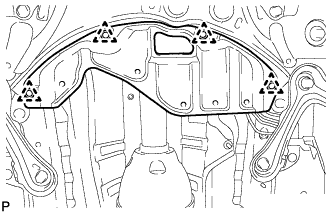
Remove the 3 nuts and heat insulator.
-
-
REMOVE FRONT FLOOR NO. 1 HEAT INSULATOR
-
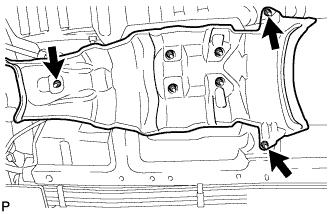
Remove the 3 nuts and heat insulator.
-
-
REMOVE LOWER NO. 1 INSTRUMENT PANEL FINISH PANEL
-
Remove the lower No. 1 instrument panel finish panel Click here.
-
-
REMOVE TRANSMISSION CONTROL CABLE ASSEMBLY
-
Move the shift lever to N.
-
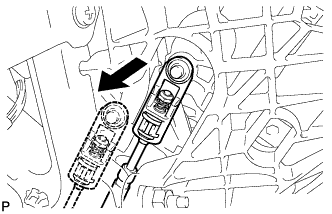
Disconnect the end of the transmission control cable from the shift lever.
-
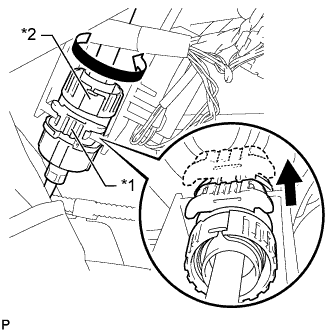
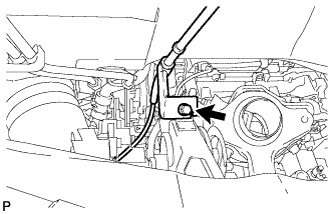
Text in Illustration *1 Stopper *2 Nut Pull out the stopper of the transmission control cable.
Note
Do not remove the stopper. If the stopper is removed, reinstall it to its original position.
-
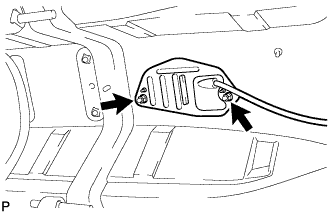
Rotate the nut counterclockwise approximately 180° and, while holding the nut in that position, disconnect the transmission control cable from the shift lever retainer.
Note
Do not over-rotate the nut as it will come off the internal spring and the transmission control cable will not be reusable.
-
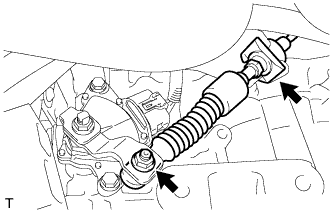
Remove the nut and disconnect the control cable from the control shaft lever.
-
Remove the clip and disconnect the transmission control cable from the control cable bracket.
-
Remove the bolt and disconnect the transmission control cable support.
-
Remove the 2 nuts and disconnect the transmission control cable assembly.
-
Pull out the transmission control cable assembly to remove it.
-