G-BOOK SYSTEM (w/ Telematics Transceiver) OPERATION CHECK

-
MANUAL MAINTENANCE CHECK
Tech Tips
-
Using the manual maintenance check, it is possible to perform a maintenance check of the G-BOOK device (inspection or repair of the device, or maintenance check after a vehicle repair), confirm if the customer is a registered member (when applying for or canceling the service, or changing the contract details). It is also possible to enable or disable the emergency call service.
-
The screen illustrations provided are samples only and may be different from actual screens.
-
Check GPS Reception
-
Check that the GPS mark is displayed on the present location screen.
Tech Tips
The purpose of the manual maintenance check is to confirm that the location information can be sent correctly. Therefore, the manual maintenance check should be performed in a wide-open area where GPS radio waves can be received. Do not perform the check in an area between buildings or in an indoor environment such as a workshop.
-
-
Perform Manual Maintenance Check
-
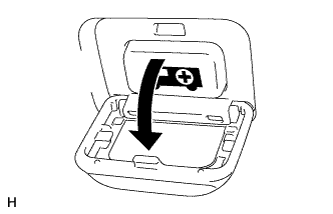
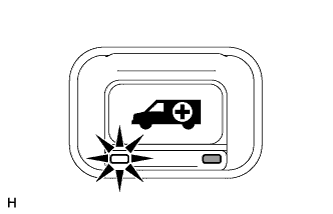
Open the emergency call switch panel cover.
-
Turn the engine switch on (ACC) or (IG).
-
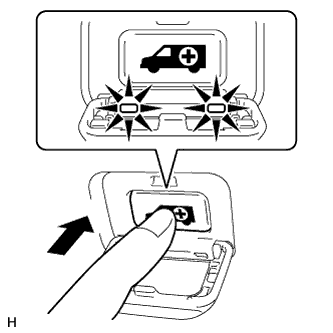
Press and hold the emergency call switch immediately after the red and green indicators come on.
-
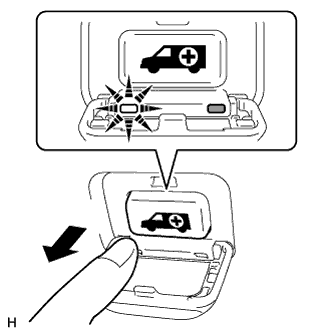
After the manual maintenance check starts, the green indicator will start blinking. Release the emergency call switch immediately after the green indicator starts blinking.
-
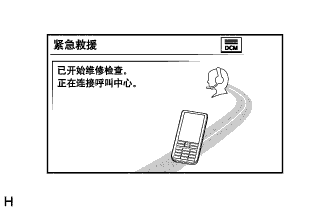
The system starts accessing the G-BOOK center.
-
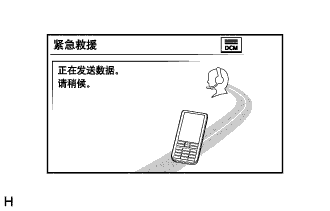
After connecting to the G-BOOK center, data communication is first performed to confirm where the vehicle is, that a manual maintenance check is being performed, and that the customer is registered to the G-BOOK center.
-
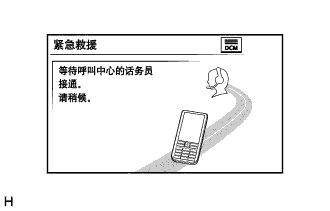
After data communication is completed, the system enters call mode.
-
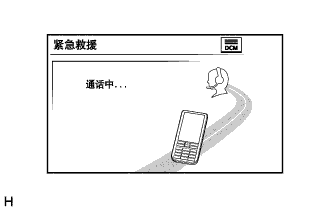
Try to talk to the G-BOOK center operator through the microphone to confirm that a call can be made normally and the call location is correct.
-
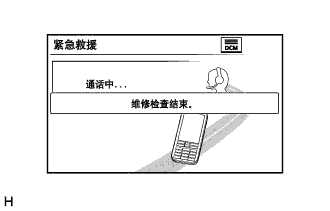
Finish the manual maintenance check after the call to the G-BOOK center operator ends.
-
Display the present location screen after finishing the manual maintenance check.
-
Check that the green indicator is illuminated.
Tech Tips
If the manual maintenance check cannot be finished normally, perform the inspections indicated by Problem Symptoms Table (performing "The G-BOOK center cannot be accessed even after a manual maintenance check is performed") Click here.
-
-
-
Emergency Call History
-
Enter diagnostic mode Click here.
-
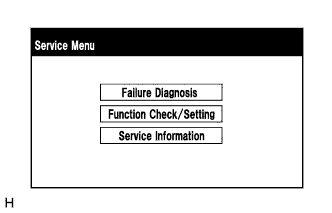
Select "Service Information" on the "Service Menu" screen.
-
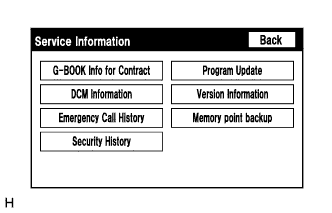
Select "Emergency Call History" on the "Service Information" screen.
-
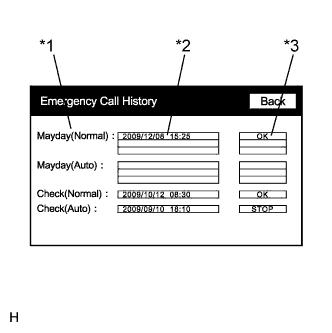
Emergency Call History
-
Check the call result.
Display Content *1: Type of call Displays the type of call. *2: Time and date of call Displays the time and date when a call is made in the form of year/month/day hour:minute. *3: Call result Displays the result of the communication with the G-BOOK center as follows:
-
"OK": Communication with the center finished normally.
-
"FAIL": Communication with the center did not finish normally.
-
"STOP": Communication with the center was interrupted.
-
"NO CONT": Membership registration has not been performed.
Tech Tips
-
If "FAIL" is displayed, perform a manual maintenance check and confirm that a call can be made normally.
-
If the manual maintenance check cannot be finished normally, perform the inspections indicated by Problem Symptoms Table (performing "The G-BOOK center cannot be accessed even after a manual maintenance check is performed") Click here.
-
-
-
-
Security History
-
Enter diagnostic mode Click here.
-
Select "Service Information" on the "Service Menu" screen.
-
Select "Security History" on the "Service Information" screen.
-
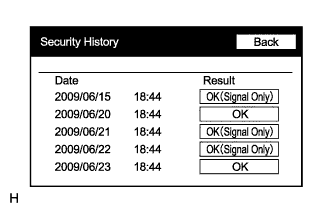
Security History
Displayed Content of Security History Screen Item Displayed Content Date Indicates the time and date when the vehicle automatic alarm is activated in the form of year/month/day hour:minute. Result
-
Displays the result of the call to the G-BOOK center when the vehicle automatic alarm is activated as follows:
-
"OK (Signal Only)": A security horn sounding signal was received but the call to the center failed.
-
"OK": A security horn sounding signal was received and the call to the center completed.
Tech Tips
-
If neither "OK" nor "OK (Signal Only)" is displayed after the security horn sounds, proceed to the inspection procedure for Security Horn Circuit Click here with Intrusion Sensor, Click here without Intrusion Sensor).
-
History will be recorded only for vehicles that have a contract for the G-BOOK service.
-
-