TRANSFER ASSEMBLY REMOVAL

-
REMOVE ENGINE ASSEMBLY WITH TRANSAXLE
Tech Tips
See the steps from "Precaution" through "Remove Engine Assembly with Transaxle" Click here.
-
REMOVE STARTER ASSEMBLY
-
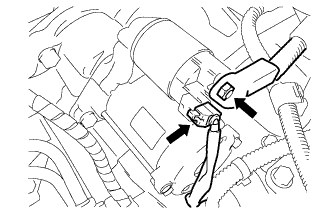
Disconnect the starter connector.
-
Turn back the terminal cap, remove the nut and disconnect the starter wire.
-
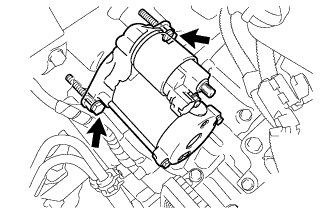
Remove the 2 bolts and starter.
-
-
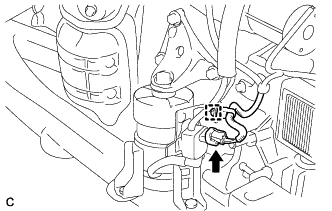
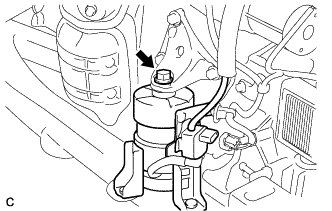
REMOVE RADIATOR PIPE CLAMP
-
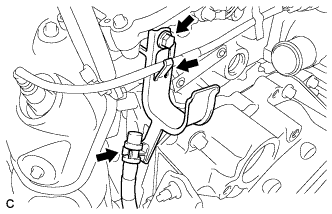
Separate the breather plug hose and sensor wire from the radiator pipe clamp.
-
Remove the bolt and radiator pipe clamp.
-
-
REMOVE FRONT NO. 1 STABILIZER BRACKET LH
-
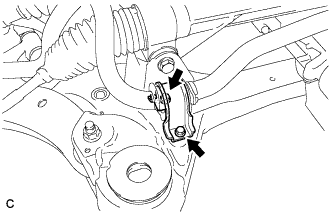
Remove the 2 bolts and the front No. 1 stabilizer bracket LH from the front frame assembly.
-
-
REMOVE FRONT NO. 1 STABILIZER BRACKET RH
Tech Tips
Perform the same procedure as for the LH side.
-
REMOVE FRONT STABILIZER BAR WITH FRONT STABILIZER LINK ASSEMBLY
-
Remove the front stabilizer bar with front stabilizer link assembly.
-
-
REMOVE STEERING LINK ASSEMBLY
-
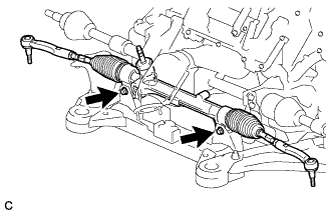
Remove the 2 bolts, 2 nuts and steering link assembly.
Note
Because the nut has its own stopper, do not turn the nut. Loosen the bolt with the nut secured.
-
-
REMOVE FRONT FRAME ASSEMBLY
-
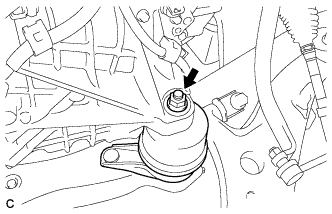
Remove the nut and separate the engine mounting insulator LH.
-
Disconnect the wire clamp and connector.
-
Remove the bolt and separate the front engine mounting insulator.
-
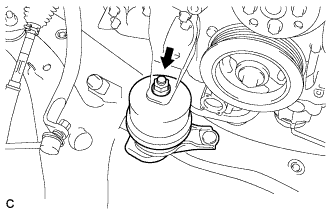
Remove the nut and separate the engine mounting insulator RH.
-
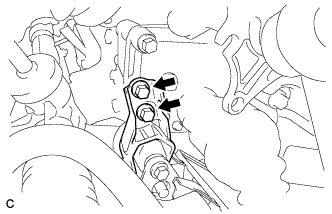
Remove the 2 bolts and separate the rear engine mounting insulator assembly.
Note
Do not remove the rear engine mounting insulator assembly through bolts. Doing so makes it difficult to install the rear engine mounting insulator assembly.
-
Remove the front frame assembly.
-
-
REMOVE MANIFOLD STAY
-
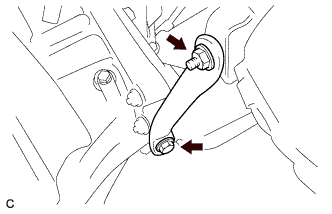
Remove the bolt, nut and manifold stay.
-
-
REMOVE TCM
-

Turn the lock lever and disconnect the connector from the TCM.
-
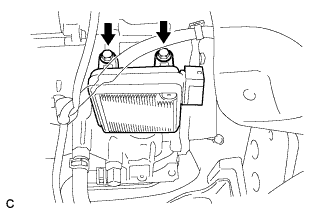
Remove the 2 bolts and TCM from the transaxle.
-
-
SEPARATE WIRE HARNESS
-
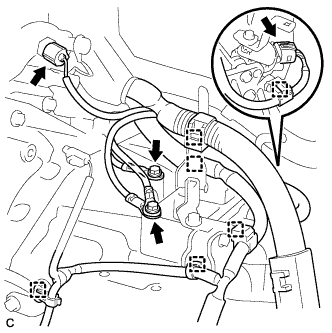
Remove the 2 bolts and disconnect the 2 wire harnesses.
-
Separate the 2 connectors and 6 wire harness clamps.
-
-
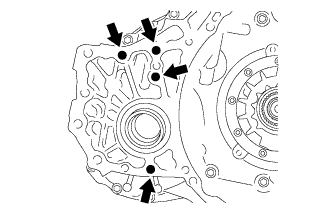
REMOVE TRANSFER STIFFENER PLATE RH
-
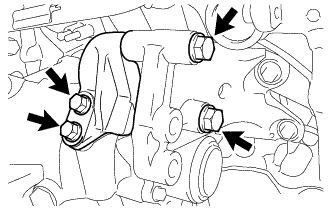
Remove the 4 bolts and transfer stiffener plate RH.
-
-
REMOVE AUTOMATIC TRANSAXLE ASSEMBLY
-
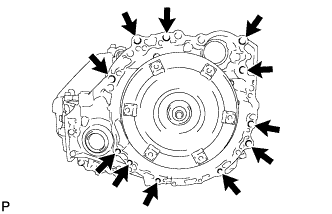
Remove the 11 bolts and transaxle.
Note
To prevent damage to the knock pins, do not pry between the transaxle and engine.
-
-
REMOVE TRANSFER ASSEMBLY
-
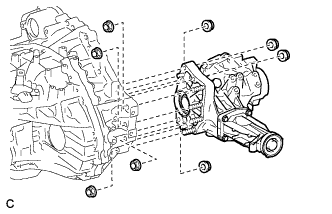
Remove the 8 nuts.
-
Using a plastic hammer, remove the transfer assembly from the transaxle assembly.
Note
-
Remove the transfer assembly from the transaxle assembly without tilting it.
-
During removal, do not hold the transfer assembly by the oil seals on either side of the assembly.
-
-
Remove the 4 transfer and transaxle setting stud bolts.
-
-
REMOVE PROPELLER SHAFT HEAT INSULATOR (w/ Heat Insulator)
-
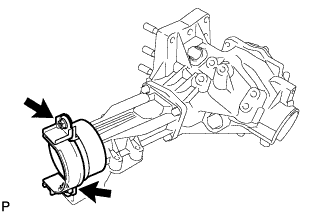
Remove the 2 nuts and propeller shaft heat insulator from the transfer assembly.
-