TRANSMISSION CONTROL CABLE REMOVAL

-
REMOVE INSTRUMENT PANEL REINFORCEMENT ASSEMBLY WITH AIR CONDITIONING UNIT ASSEMBLY
Tech Tips
See the steps from "Precaution" through "Remove Instrument Panel Reinforcement Assembly with Air Conditioning Unit Assembly" Click here.
-
REMOVE BATTERY
-
Disconnect the positive (+) cable from the positive (+) battery terminal.
-
Loosen the nut, and remove the bolt from the battery clamp.
-
Remove the battery and battery tray.
-
-
REMOVE V-BANK COVER SUB-ASSEMBLY
-
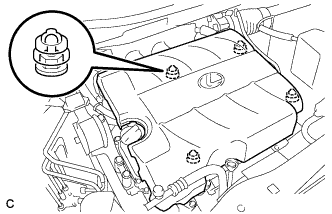
Hold the front of the V-bank cover sub-assembly and raise it to disengage the 2 retainers on the front of the V-bank cover sub-assembly. Continue to raise the V-bank cover sub-assembly to disengage the 2 retainers on the rear of the V-bank cover sub-assembly and remove the V-bank cover sub-assembly.
Note
Attempting to disengage both front and rear retainers at the same time may cause the V-bank cover sub-assembly to break.
-
-
REMOVE INLET NO. 2 AIR CLEANER
-
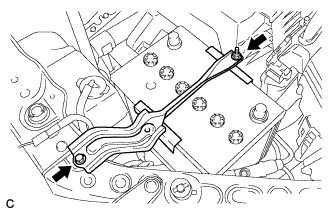
Disconnect the 2 vacuum hose clamps from the No. 2 air cleaner inlet.
-
Remove the 2 bolts and No. 2 air cleaner inlet.
-
-
REMOVE INLET NO. 1 AIR CLEANER
-
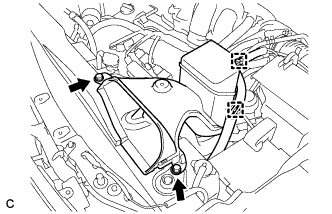
Disconnect the vacuum hose clamp from the No. 1 air cleaner inlet.
-
Remove the bolt and No. 1 air cleaner inlet.
-
-
REMOVE AIR CLEANER ASSEMBLY
-
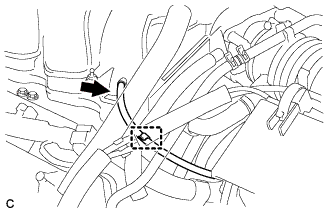
Separate the mass air flow meter connector and wire harness clamp.
-
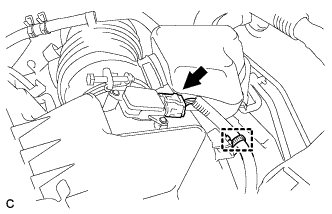
Separate the vacuum hose from the intake air surge tank assembly.
-
Separate the vacuum hose from the hose clamp.
-
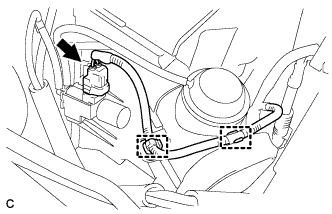
Separate the vacuum switching valve connector and 2 wire harness clamps.
-
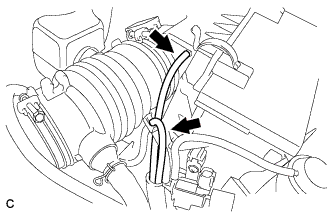
Separate the 2 vacuum hoses.
-

Text in Illustration *1 Ventilation Hose *2 Fuel Vapor Feed Hose Separate the ventilation hose and the fuel vapor feed hose.
-
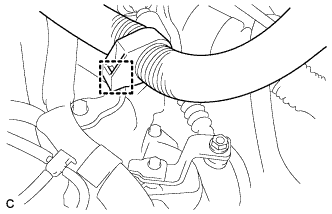
Loosen the hose clamp and separate the air cleaner hose from the throttle body.
-
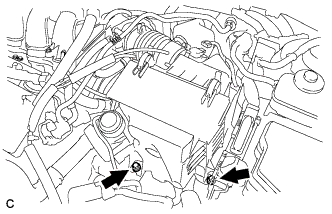
Remove the 2 bolts and remove the air cleaner assembly.
-
-
REMOVE TRANSMISSION CONTROL CABLE ASSEMBLY
-
Move the shift lever to N.
-
Disconnect the wire harness clamp.
-
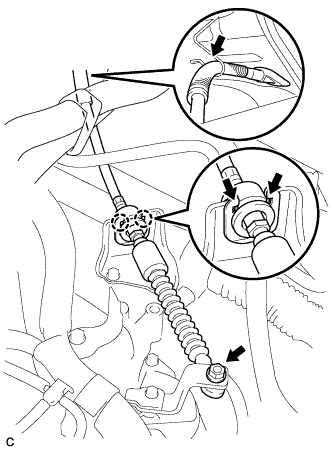
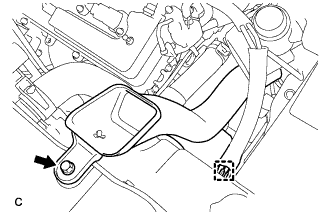
Remove the nut from the control shaft lever.
-
Using a screwdriver, disengage the 4 claws, disconnect the control cable with clip from the control cable bracket.
-
Remove the clip.
-
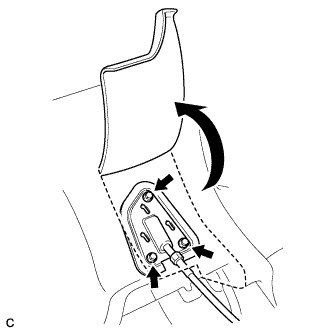
Turn back the carpet.
-
Remove the 3 bolts and pull out the transmission control cable assembly from the body.
-