PURGE VALVE INSTALLATION

-
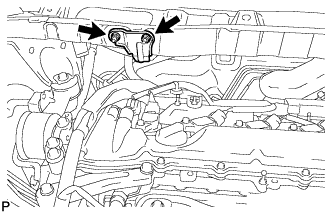
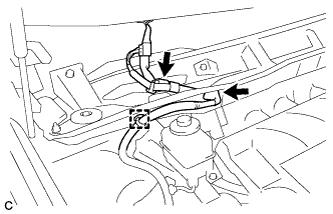
INSTALL NO. 2 VACUUM SWITCHING VALVE ASSEMBLY
-
Install the No. 2 vacuum switching valve assembly.
-
Connect the connector and 2 fuel vapor feed hoses.
-
-
INSTALL OUTER COWL TOP PANEL SUB-ASSEMBLY (for LHD)
-
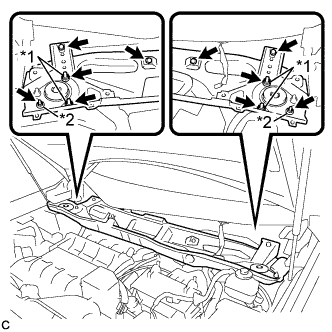
Install the outer cowl top panel sub-assembly with the 4 bolts, 4 nuts*1 and 2 nuts*2.
- Torque:
- Nut*1
- 85 N*m { 867 kgf*cm, 63 ft.*lbf }
- Nut*2
- 5.5 N*m { 56 kgf*cm, 49 in.*lbf }
- Bolt
- 5.5 N*m { 56 kgf*cm, 49 in.*lbf }
-
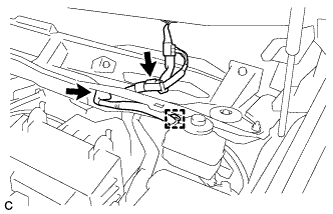
Engage the grommet and clamp to install the wire harness.
-
Connect the connector (w/ Windshield Deicer).
-
-
INSTALL HOSE BRACKET (for LHD)
-
Install the hose bracket to the outer cowl top panel sub-assembly with the 2 nuts.
- Torque:
- 9.0 N*m { 92 kgf*cm, 80 in.*lbf }
-
-
INSTALL OUTER COWL TOP PANEL SUB-ASSEMBLY (for RHD)
-
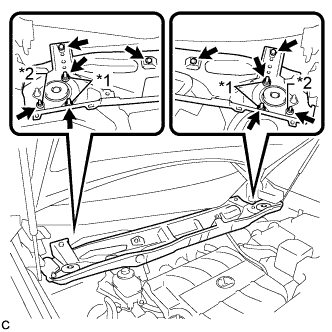
Install the outer cowl top panel sub-assembly with the 4 bolts, 4 nuts*1 and 2 nuts*2.
- Torque:
- Nut*1
- 85 N*m { 867 kgf*cm, 63 ft.*lbf }
- Nut*2
- 5.5 N*m { 56 kgf*cm, 49 in.*lbf }
- Bolt
- 5.5 N*m { 56 kgf*cm, 49 in.*lbf }
-
Engage the grommet and clamp to install the wire harness.
-
Connect the connector (w/ Windshield Deicer).
-
-
INSTALL WINDSHIELD WIPER MOTOR AND LINK ASSEMBLY