CAMSHAFT OIL CONTROL VALVE REMOVAL

-
REMOVE ENGINE ROOM SIDE COVER
-
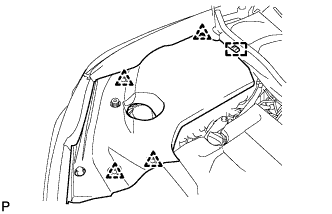
Remove the 4 clips.
-
Disengage the guide and remove the engine room side cover.
-
-
REMOVE ENGINE ROOM SIDE COVER LH
-
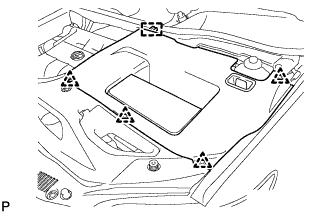
Remove the 4 clips.
-
Disengage the guide and remove the engine room side cover LH.
-
-
REMOVE COOL AIR INTAKE DUCT SEAL
-

Remove the 6 clips and cool air intake duct seal.
-
-
REMOVE NO. 1 ENGINE COVER SUB-ASSEMBLY
-
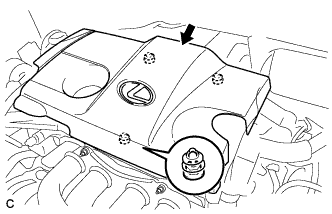
Lift the rear of the No. 1 engine cover sub-assembly to detach the cover from the 2 pins, and then lift the front of the No. 1 engine cover sub-assembly to detach the cover from the pin and remove the No. 1 engine cover sub-assembly.
Note
Attempting to disengage both front and rear clips at the same time may cause the No. 1 engine cover sub-assembly to break.
-
-
SEPARATE ENGINE WIRE
-
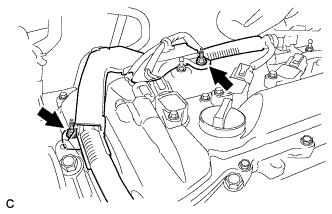
Remove the 2 nuts and separate the engine wire.
-
-
REMOVE CAMSHAFT TIMING OIL CONTROL VALVE ASSEMBLY
-
Camshaft timing oil control valve assembly (for exhaust side)
-
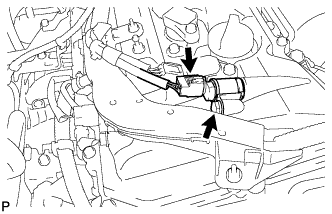
Disconnect the oil control valve connector.
-
Remove the bolt and oil control valve.
-
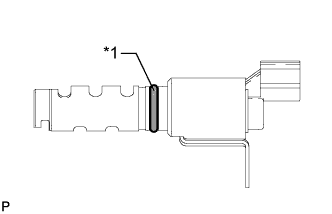
Text in Illustration *1 O-ring Remove the O-ring from the oil control valve.
-
-
Camshaft timing oil control valve assembly (for intake side)
-
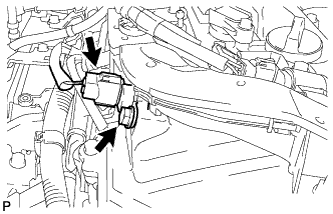
Disconnect the oil control valve connector.
-
Remove the bolt and oil control valve.
-
Text in Illustration *1 O-ring Remove the O-ring from the oil control valve.
-
-