RADIATOR REMOVAL
PROCEDURE
-
REMOVE AIR CLEANER CASE SUB-ASSEMBLY
-
Disengage the clamp, and disconnect the mass air flow meter connector.
-
Remove the 3 bolts.
-
Loosen the hose clamp, and disconnect the hose.
-
Remove the air cleaner case sub-assembly.
-
-
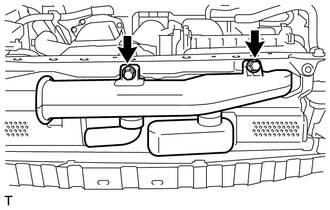
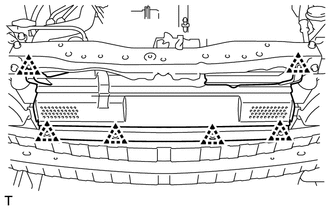
REMOVE FRONT BUMPER COVER
-
REMOVE NO. 1 ENGINE UNDER COVER
-
DRAIN ENGINE COOLANT
-
DISCONNECT OUTLET RADIATOR HOSE
-
REMOVE RADIATOR RESERVE TANK ASSEMBLY
-
Remove the 2 bolts and radiator reserve tank assembly.
-
-
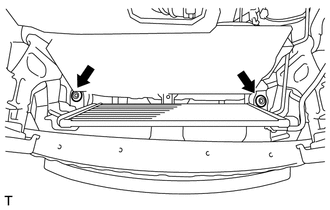
REMOVE AIR CLEANER DUCT
-
Remove the 2 bolts and air cleaner duct.
-
-
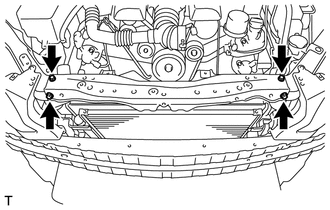
REMOVE RADIATOR COVER PLATE
-
Remove the 6 clips and radiator cover plate.
-
-
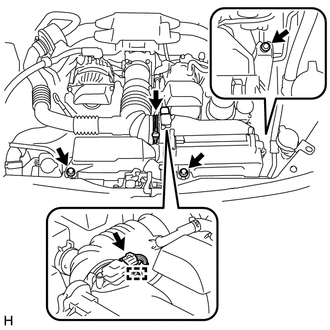
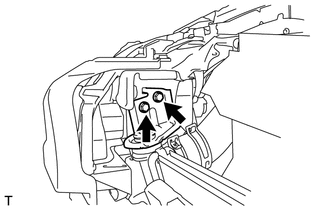
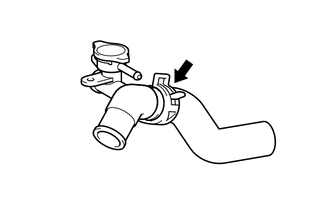
REMOVE WATER FILLER SUB-ASSEMBLY
-
Disconnect the radiator cap hose.
-
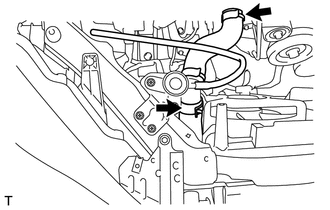
Detach the 2 water hose clamps.
-
Disconnect the inlet radiator hose and No. 1 radiator hose.
Tech Tips
Since the radiator hose must be attached in the correct position, apply matchmarks before removing it.
-
Remove the 4 bolts and the water filler sub-assembly with water filler bracket.
-
-
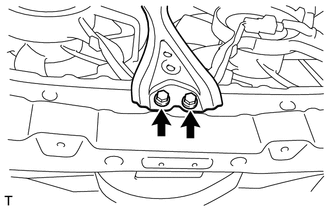
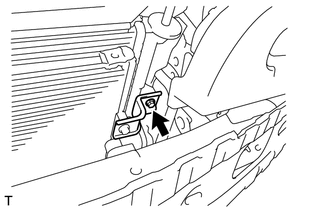
REMOVE HOOD LOCK ASSEMBLY (for LHD)
-
REMOVE HOOD LOCK ASSEMBLY (for RHD)
-
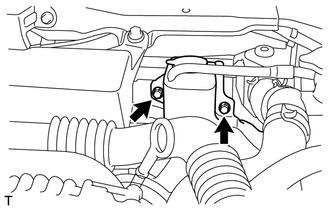
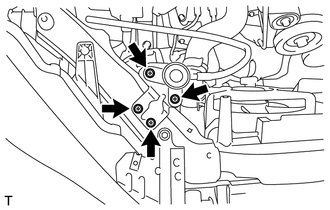
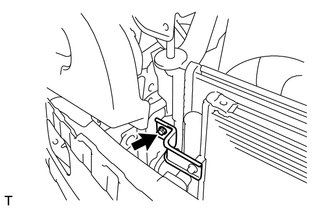
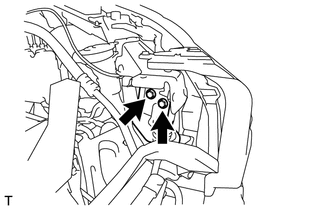
REMOVE RADIATOR SUPPORT SUB-ASSEMBLY
-
Remove the 2 bolts.
-
Remove the 4 bolts and radiator support sub-assembly.
-
-
SEPARATE COOLER CONDENSER ASSEMBLY
-
Remove the bolt.
-
Remove the bolt.
-
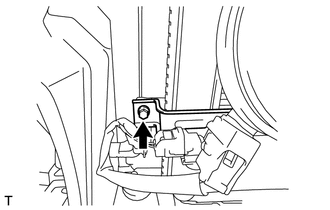
Remove the bolt.
-
Remove the bolt A.
-
Remove the bolt B and separate the cooler condenser assembly from the radiator assembly.
-
-
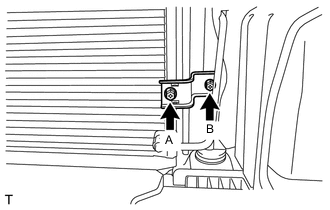
REMOVE FAN SHROUD
-
REMOVE RADIATOR ASSEMBLY
-
Remove the 2 bolts and radiator support RH.
-
Remove the 2 bolts and radiator support LH.
-
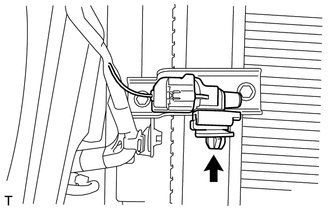
Detach the claw and disconnect the thermistor assembly.
-

Text in Illustration *1 Cooler condenser assembly *2 Cardboard or Blanket *3 Radiator assembly While lifting the outlet radiator hose, remove the radiator assembly.
Note
Insert cardboard or a blanket between the radiator assembly and the cooler condenser assembly to protect the cooler condenser assembly.
-
Remove the 2 radiator support cushions.
-
-
REMOVE INLET RADIATOR HOSE
-
Remove the clamp and the inlet radiator hose from the water filler sub-assembly.
Tech Tips
Since the radiator hose must be attached in the correct position, apply matchmarks before removing it.
-
-
REMOVE NO. 1 RADIATOR HOSE
-
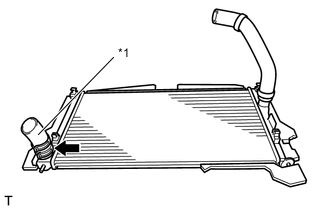
Text in Illustration *1 No. 1 radiator hose Remove the clamp and No. 1 radiator hose from the radiator assembly.
Tech Tips
Since the radiator hose must be attached in the correct position, apply matchmarks before removing it.
-
-
REMOVE OUTLET RADIATOR HOSE
-
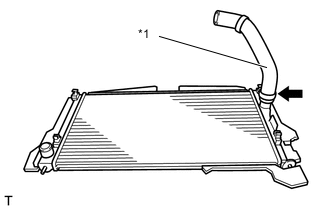
Text in Illustration *1 Outlet radiator hose Remove the clamp and outlet radiator hose from the radiator assembly.
Tech Tips
Since the radiator hose must be attached in the correct position, apply matchmarks before removing it.
-
-
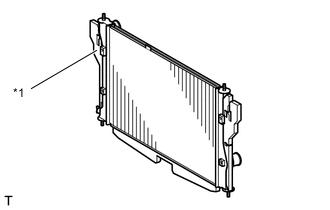
REMOVE RADIATOR PACKING (UPPER)
-
Text in Illustration *1 Radiator Packing Remove the radiator packing.
-
-
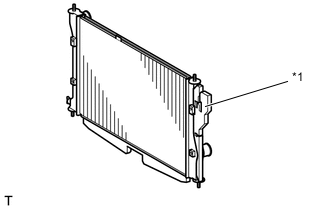
REMOVE NO. 1 RADIATOR PACKING
-
Text in Illustration *1 No. 1 Radiator Packing Remove the No. 1 radiator packing.
-
-
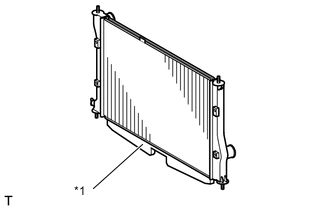
REMOVE NO. 2 RADIATOR PACKING
-
Text in Illustration *1 No. 2 Radiator Packing Remove the No. 2 radiator packing.
-
-
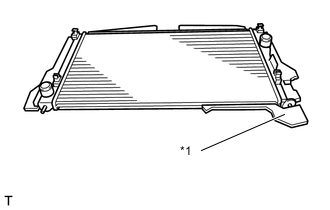
REMOVE RADIATOR PACKING (LOWER)
-
Text in Illustration *1 Radiator Packing Remove the radiator packing.
-