COOLING FAN MOTOR REMOVAL
PROCEDURE
-
REMOVE AIR CLEANER CASE SUB-ASSEMBLY
-
REMOVE FRONT BUMPER COVER
-
REMOVE AIR CLEANER DUCT
-
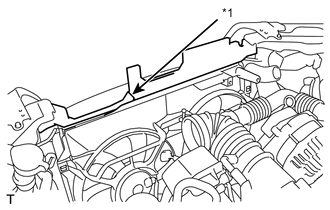
REMOVE RADIATOR COVER PLATE
-
REMOVE RADIATOR RESERVE TANK ASSEMBLY
-
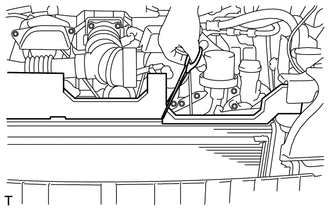
REMOVE WATER FILLER SUB-ASSEMBLY
-
Remove the 4 bolts and separate the water filler sub-assembly.
-
-
DISCONNECT HOOD LOCK ASSEMBLY (for LHD)
-
DISCONNECT HOOD LOCK ASSEMBLY (for RHD)
-
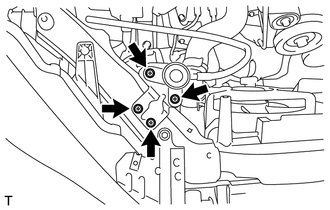
REMOVE RADIATOR SUPPORT SUB-ASSEMBLY
-
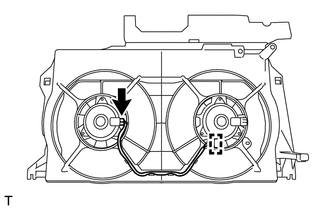
REMOVE FAN SHROUD
-
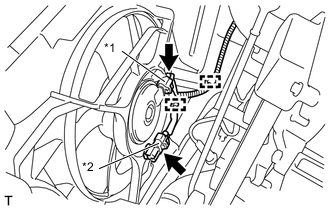
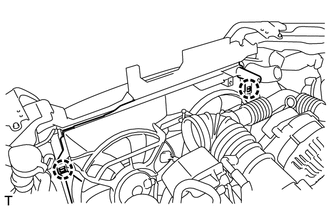
Text in Illustration *1 Cooling fan motor connector *2 No. 2 cooling fan motor connector (with Air Conditioning System) Disconnect the 2 wire harness clamps and the 2 cooling fan motor connectors.
Note
Be careful not to damage the connectors.
-
Mark the sponge on the upper surface of the fan shroud, and use scissors, etc. to cut the sponge.
Tech Tips
Cut the radiator packing at the position between the corner of the radiator packing and the edge of the fun shroud.
Text in Illustration *1 Cutting Line -

Detach the 2 claws and separate the fan shroud from the radiator assembly.
Text in Illustration *1 Cardboard or Blanket *2 Fan shroud Tech Tips
Insert a cardboard or a blanket between the radiator assembly and the fan shroud to protect the radiator assembly.
-
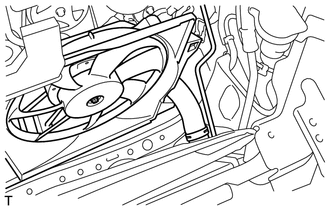
Remove the fan shroud from the radiator assembly.
Note
Do not apply any excessive force to the outlet radiator hose, inlet radiator hose, No. 1 radiator hose, pipe or water filler sub-assembly when removing the fan shroud.
-
-
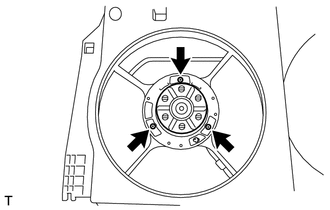
REMOVE FAN
-
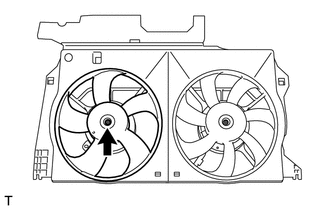
Remove the nut and fan.
-
-
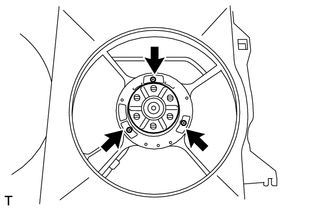
REMOVE NO. 2 FAN (w/ Air Conditioning System)
-
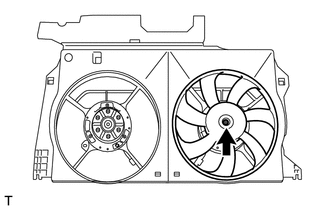
Remove the nut and No. 2 fan.
-
-
REMOVE COOLING FAN MOTOR (w/o Air Conditioning System)
-
Remove the 3 screws and cooling fan motor.
-
-
REMOVE COOLING FAN MOTOR (w/ Air Conditioning System)
-
Disengage the connector clamp, and disconnect the connector from cooling fan motor.
-
Remove the 3 screws and cooling fan motor.
-
-
REMOVE NO. 2 COOLING FAN MOTOR (w/ Air Conditioning System)
-
Remove the 3 screws and the No. 2 cooling fan motor.
-