HYBRID VEHICLE TRANSMISSION REMOVAL

-
PRECAUTION
-
REMOVE ENGINE WITH TRANSMISSION
-
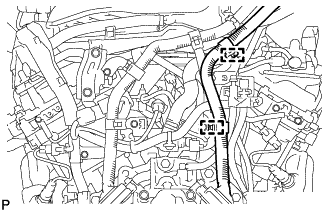
DISCONNECT CONNECTOR
-
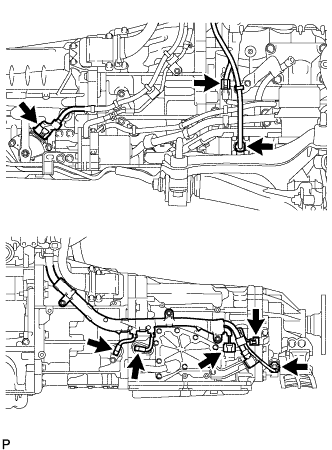
Disconnect the shift lever position sensor connector, transmission wire connector, oil pressure sensor connector, transmission speed sensor connector, O/P THERM connector, engine oil level sensor connector, motor revolution sensor connector and generator revolution sensor connector.
-
-
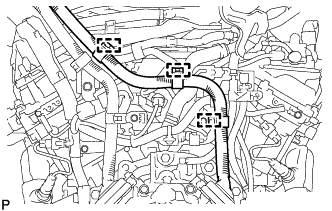
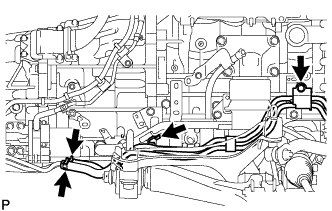
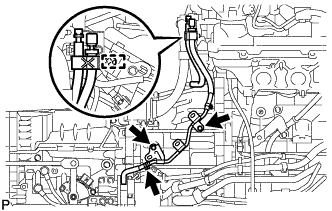
DISCONNECT WIRE HARNESS
-
Remove the bolt and ground cable.
-
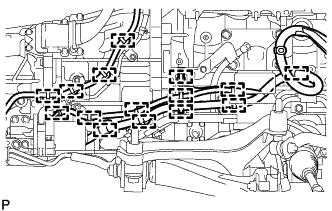
Disconnect the cable clamps.
-
for RHD:
Disconnect the 5 cable clamps.
-
for LHD:
Disconnect the 6 cable clamps.
-
-
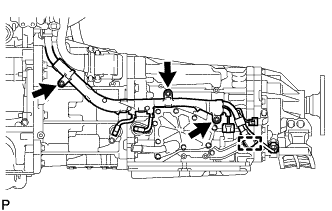
Remove the 3 bolts and disconnect the wire harness clamp from the hybrid vehicle transmission assembly.
-
Disconnect the 15 wire harness clamps and remove the wire harness from the hybrid vehicle transmission assembly.
-
-
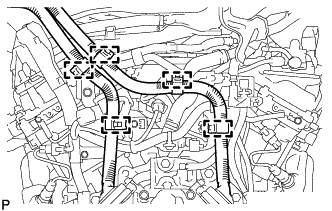
REMOVE GENERATOR CABLE
CAUTION:
Be sure to wear insulated gloves before removing the generator cable.
Note
-
Cover the holes where the cable was connected with tape or equivalent (non-residue type) to prevent entry of foreign objects or water.
-
When removing the generator cable, minimize bending of the transmission end of the cable.
-
for RHD:
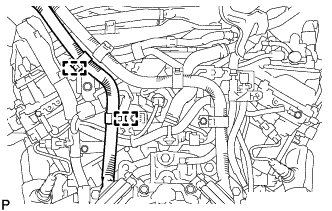
Remove the 2 generator cable clamps.
-
for LHD:
Remove the 4 generator cable clamps.
-
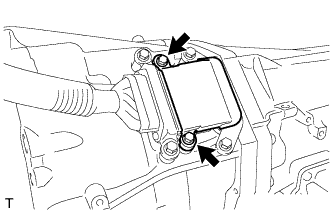
Using an insulated tool, remove the 2 bolts and connector cover.
-
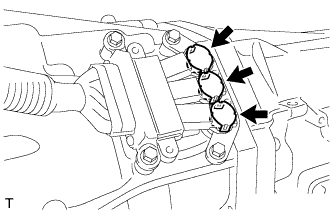
Using a screwdriver, remove the 3 terminal caps.
-
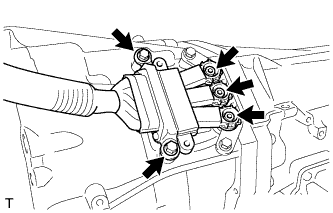
Using a 5 mm hexagon wrench, remove the 3 bolts.
-
Using an insulated tool, remove the 2 bolts.
-
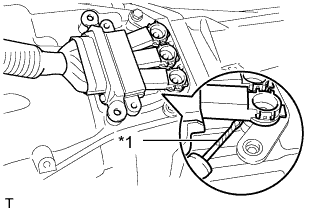
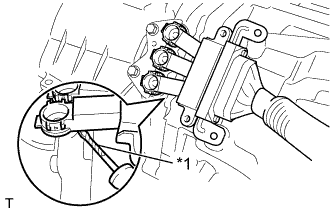
Text in Illustration *1 Protective Tape Using a screwdriver, disconnect the 3 terminal cables and remove the generator cable from the hybrid vehicle transmission assembly.
Tech Tips
Tape the screwdriver tip before use.
-
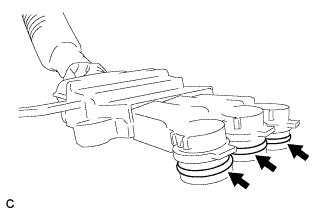
Remove the 3 O-rings from the 3 terminal cables.
-
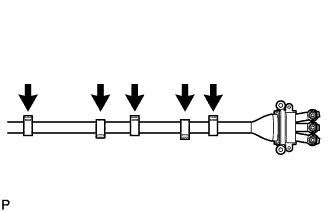
for LHD:
Remove the 5 clamps from the generator cable.
Note
Before removing the clamp, put matchmarks on the cables.
-
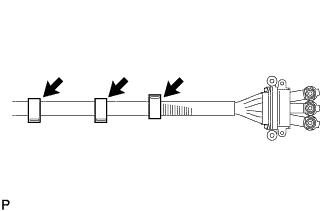
for RHD:
Remove the 3 clamps from the generator cable.
Note
Before removing the clamp, put matchmarks on the cables.
-
-
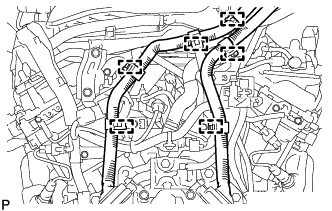
REMOVE MOTOR CABLE
CAUTION:
Be sure to wear insulated gloves before removing the motor cable.
Note
-
Cover the holes where the cable was connected with tape or equivalent (non-residue type) to prevent entry of foreign objects or water.
-
When removing the motor cable, minimize bending of the transmission end of the cable.
-
for RHD:
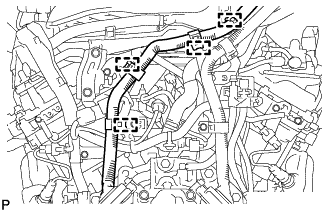
Remove the 3 motor cable clamps.
-
for LHD:
Remove the 2 motor cable clamps.
-
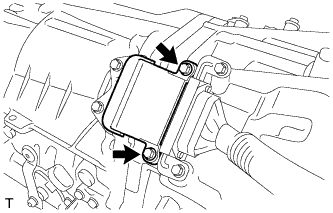
Using an insulated tool, remove the 2 bolts and connector cover.
-
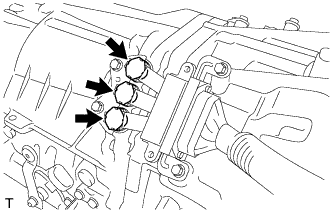
Using a screwdriver, remove the 3 terminal caps.
-
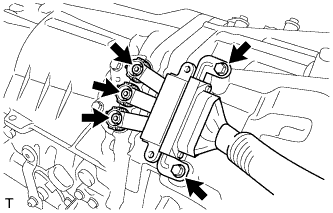
Using a 5 mm hexagon wrench, remove the 3 bolts.
-
Using an insulated tool, remove the 2 bolts.
-
Text in Illustration *1 Protective Tape Using a screwdriver, disconnect the 3 terminal cables and remove the motor cable from the hybrid vehicle transmission assembly.
Tech Tips
Tape the screwdriver tip before use.
-
Remove the 3 O-rings from the 3 terminal cables.
-
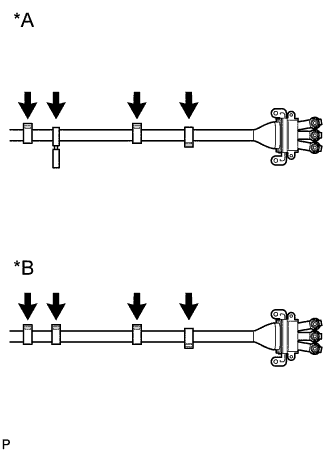
Text in Illustration *A for LHD *B for RHD Remove the 4 clamps from the motor cable.
Note
Before removing the clamp, put matchmarks on the cables.
-
-
REMOVE REAR ENGINE MOUNTING MEMBER
-
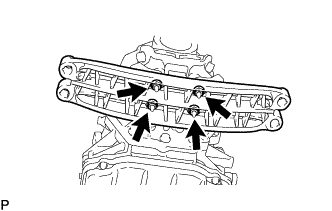
Remove the 4 nuts and rear engine mounting member from the rear No. 1 engine mounting insulator.
-
-
REMOVE REAR NO. 1 ENGINE MOUNTING INSULATOR
Tech Tips
Only perform this procedure when replacement of the engine mounting insulator is necessary.
-
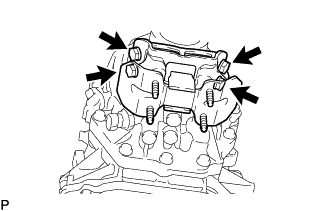
Remove the 4 bolts and rear No. 1 engine mounting insulator from the hybrid vehicle transmission assembly.
-
-
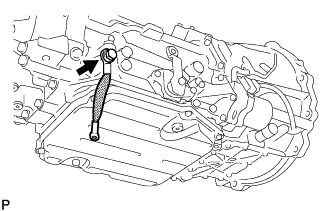
REMOVE TRANSMISSION CONTROL SHAFT LEVER
-

Remove the nut and transmission control shaft lever.
-
-
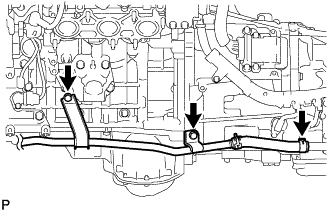
REMOVE OIL COOLER HOSE TUBE SUB-ASSEMBLY
-
Remove the 2 bolts, 2 clips and oil cooler tube sub-assembly.
-
-
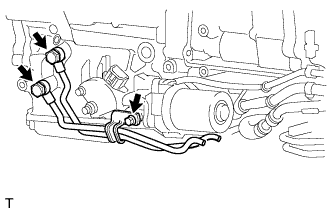
REMOVE WATER PIPE AND HOSE SUB-ASSEMBLY
-

for RH Side:
Remove the 3 bolts, clips and the water pipe and hose sub-assembly.
-
for LH Side:
Remove the 2 bolts, clip and the water pipe and hose sub-assembly.
-
-
REMOVE OIL COOLER UNION SUB-ASSEMBLY
-
Remove the 2 union bolts, bolt, 4 gaskets and oil cooler union sub-assembly.
-
-
REMOVE TRANSMISSION BREATHER HOSE SUB-ASSEMBLY
-
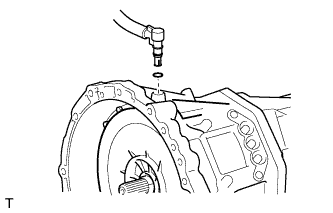
Using a screwdriver, remove the transmission breather plug.
-
Remove the O-ring.
-
Remove the 2 bolts, clamp and transmission breather hose.
-
Remove the clamp and transmission breather hose.
-
-
SUPPORT HYBRID VEHICLE TRANSMISSION ASSEMBLY
-
Support the hybrid vehicle transmission assembly with a transmission jack.
Note
-
In order to protect the oil pan, place attachments onto the transmission jack.
-
Make sure that the attachments and the oil pan are centered on the transmission jack.
-
Using an engine sling device and mini crane, hold the engine.
-
Using rope and attachments, securely set the hybrid vehicle transmission assembly on the transmission jack.
-
-
-
REMOVE STARTER HOLE INSULATOR
-
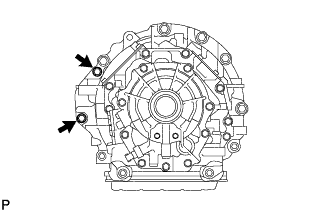
Remove the 2 bolts and starter hole insulator.
-
-
REMOVE FLYWHEEL HOUSING SIDE COVER
-
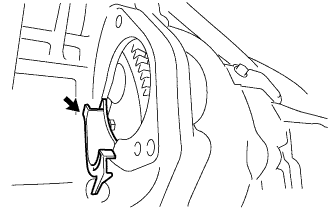
Remove the flywheel housing side cover.
-
-
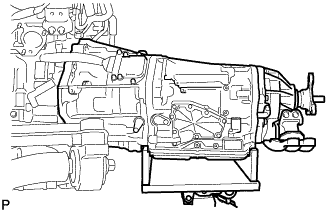
REMOVE HYBRID VEHICLE TRANSMISSION ASSEMBLY
-
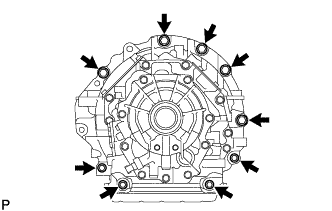
Remove the 9 bolts and hybrid vehicle transmission assembly.
Note
Do not use excessive force to pry out the transmission assembly when separating it from the engine to prevent the knock pins from being damaged.
-
-
REMOVE WIRE HARNESS CLAMP
-
Remove the tape.
-
Remove the 9 clamps from the wire harness.
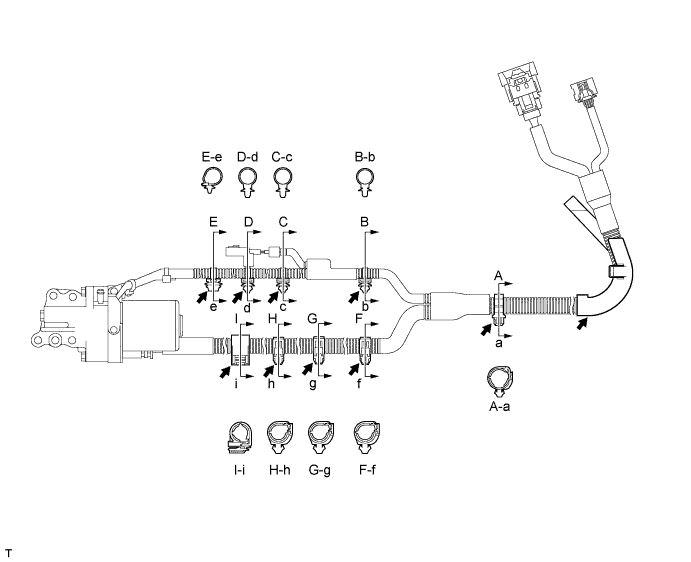
Note
Before removing the clamps and protector, put matchmarks on the wire.
-
-
REMOVE WIRE HARNESS PROTECTOR
-
Separate the clamp and turn the protector upward to remove it from the vehicle.
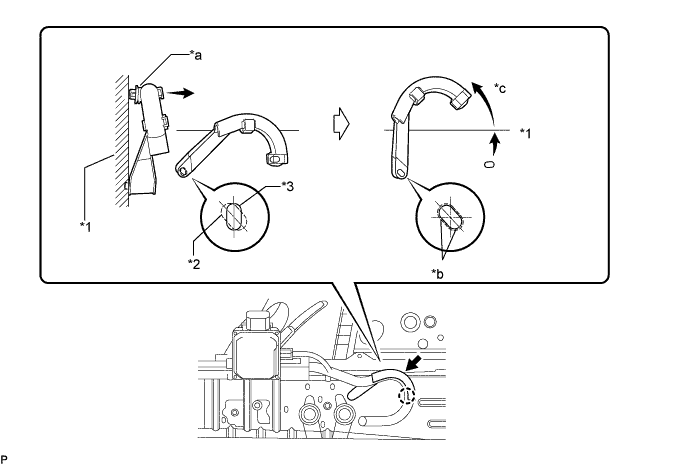
Text in Illustration *1 Side Member *2 Hole *3 Claw - - *a Separate the clamp from the vehicle *b Align the hole in the side member and clamp claw *c Turn the protector - - Note
Do not apply excessive force when turning the wiring harness protector.
-
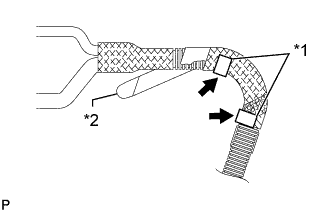
Text in Illustration *1 Lock *2 Tape Remove the tape and the 2 locks, and remove the wiring harness protector.
Note
When removing the wiring harness protector, mark the installation location.
-