COMPRESSOR (for 2WD) REMOVAL

-
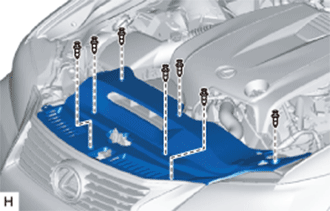
REMOVE ENGINE ROOM SIDE COVER
-
Remove the 4 clips and engine room side cover.
-
-
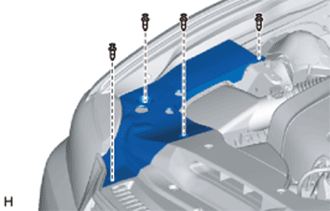
REMOVE COOL AIR INTAKE DUCT SEAL
-
Remove the 7 clips and cool air intake duct seal.
-
-
REMOVE V-BANK COVER SUB-ASSEMBLY
-
for 2GR-FSE:
-
for 4GR-FSE:
-
-
RECOVER REFRIGERANT FROM REFRIGERATION SYSTEM
-
REMOVE NO. 1 AIR CLEANER INLET
-
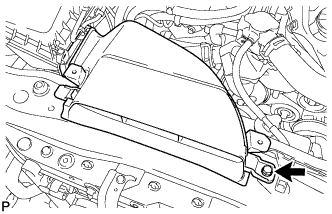
Remove the bolt and No. 1 air cleaner inlet.
-
-
REMOVE FAN AND GENERATOR V BELT
-
for 2GR-FSE:
-
for 4GR-FSE:
-
-
REMOVE ENGINE UNDER COVER
-
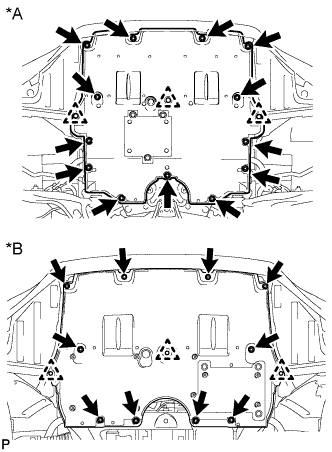
Text in Illustration *A for 2WD *B for AWD for 2WD:
Remove the 13 screws, 3 clips and engine under cover.
-
for AWD:
Remove the 10 screws, 3 clips and engine under cover.
-
-
REMOVE REAR ENGINE UNDER COVER LH
-
Remove the screw and rear engine under cover LH.
-
-
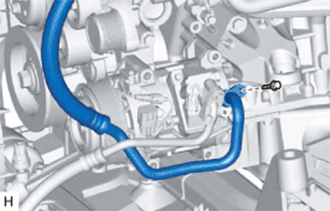
DISCONNECT SUCTION HOSE
-
Remove the bolt and disconnect the suction hose from the cooler compressor assembly.
-
Remove the O-ring from the suction hose.
Note
Seal the openings of the disconnected parts using vinyl tape to prevent moisture and foreign matter from entering them.
-
-
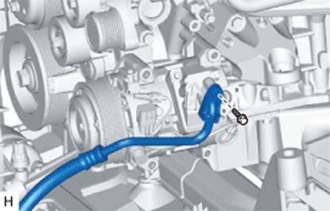
DISCONNECT NO. 1 COOLER REFRIGERANT DISCHARGE HOSE
-
Remove the bolt and disconnect the No. 1 cooler refrigerant discharge hose from the cooler compressor assembly.
-
Remove the O-ring from the No. 1 cooler refrigerant discharge hose.
Note
Seal the openings of the disconnected parts using vinyl tape to prevent moisture and foreign matter from entering them.
-
-
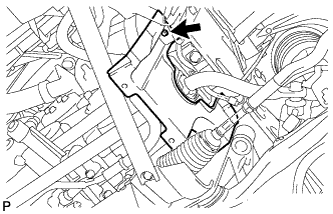
REMOVE COOLER COMPRESSOR ASSEMBLY
-
Disconnect the connector.
-

Remove the 3 bolts and nut.
-
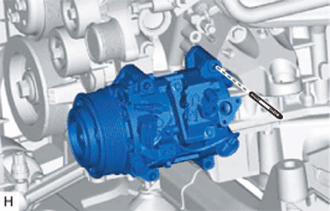
Using an E8 "torx" socket, remove the stud bolt and cooler compressor assembly.
-