WIPER ECU REMOVAL

-
REMOVE FRONT PANEL GARNISH
-
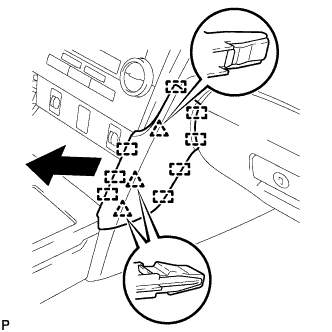
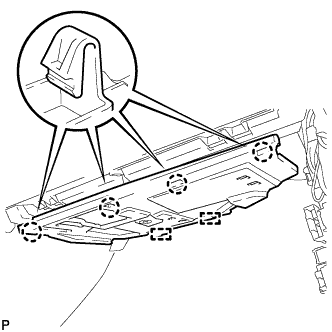
Disengage the 3 clips and 8 guides to remove the front panel garnish RH.
-
-
REMOVE FRONT DOOR SCUFF PLATE
Tech Tips
Use the same procedure as for the LH side Click here.
-
REMOVE COWL SIDE TRIM SUB-ASSEMBLY
Tech Tips
Use the same procedure as for the LH side Click here.
-
DISCONNECT FRONT DOOR OPENING TRIM WEATHERSTRIP
-
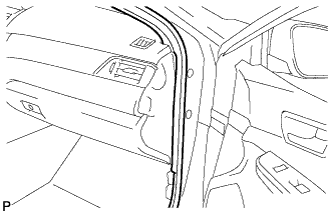
Disconnect the front door opening trim weatherstrip RH.
-
-
REMOVE INSTRUMENT SIDE PANEL
-
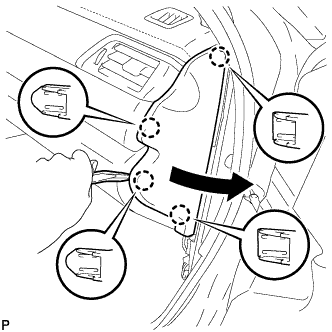
Using a moulding remover, disengage the 4 claws as shown in the illustration.
-
Disengage the 3 guides to remove the instrument side panel RH as shown in the illustration.
-
-
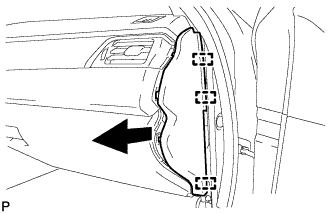
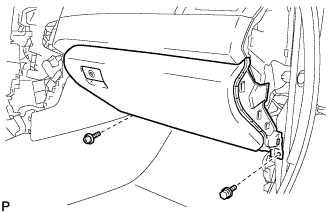
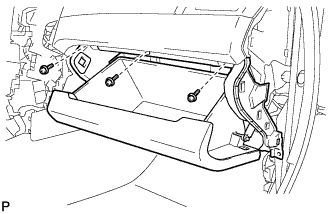
REMOVE NO. 2 INSTRUMENT PANEL UNDER COVER SUB-ASSEMBLY
-
Disengage the 4 claws.
-
Disengage the 2 guides.
-
Disconnect the connector to remove the No. 2 instrument panel under cover sub-assembly.
-
-
REMOVE LOWER INSTRUMENT PANEL SUB-ASSEMBLY
-
Remove the bolt <B> and screw <C>.
-
Open the lower instrument panel door.
-
Remove the 3 screws <C>.
-
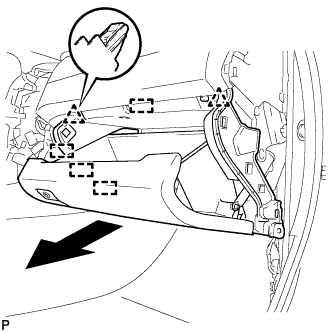
Disengage the 2 clips, 4 guides and remove the lower instrument panel sub-assembly as shown in the illustration.
-
-
REMOVE WINDSHIELD WIPER RELAY ASSEMBLY
-
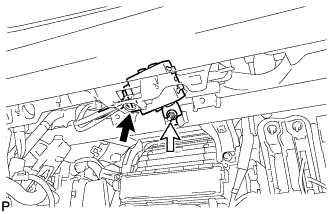
Disconnect the connector.
-
Remove the nut and windshield wiper relay assembly.
-