STARTER(for 1.6 kW Type) REASSEMBLY
PROCEDURE
-
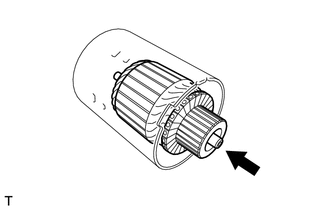
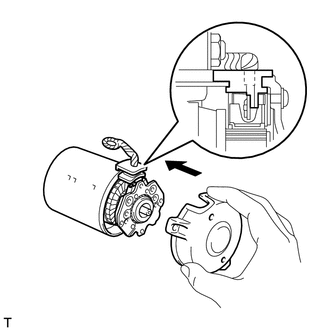
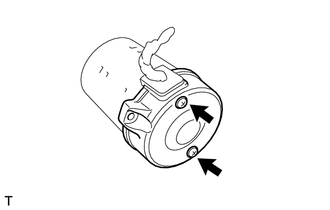
INSTALL DUST STARTER PROTECTOR
-
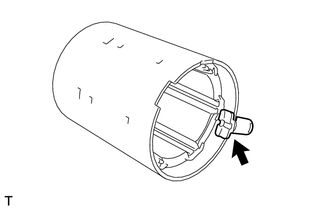
Install the dust starter protector to the starter yoke assembly.
-
-
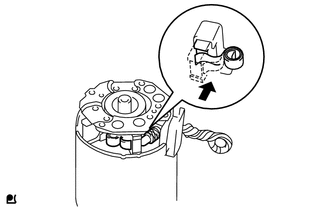
INSTALL STARTER CENTER BEARING CLUTCH SUB-ASSEMBLY
-
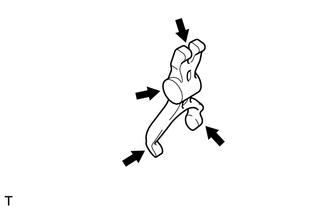
Apply high-temperature grease to the starter pinion drive lever which is in contact with the starter pivot part of the starter pinion drive lever.
Text in Illustration 
High-temperature grease -

Text in Illustration *1 Starter Pinion Drive Lever *2 Starter Center Bearing Clutch Sub-Assembly Install the starter pinion drive lever into the starter center bearing clutch.
-
Install the starter center bearing clutch together with the starter pinion drive lever into the starter drive housing.
-
Install the rubber seal to the starter drive housing.
-
-
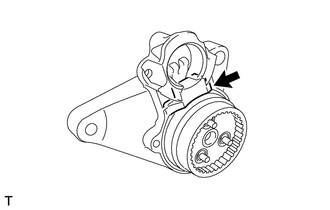
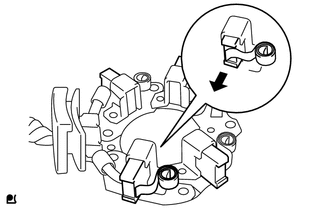
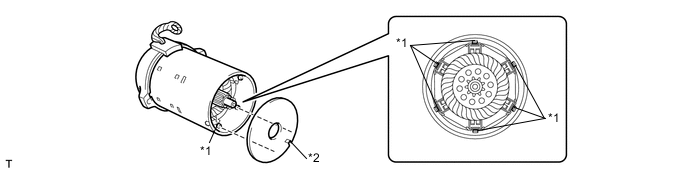
INSTALL PLANETARY GEAR
-
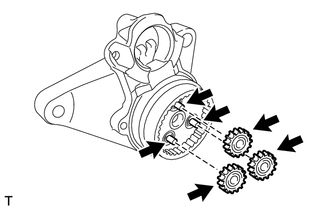
Apply high-temperature grease to the planetary gears and pin parts of the planetary shaft.
Text in Illustration High-temperature grease -
Install the 3 planetary gears.
-
-
INSTALL STARTER ARMATURE ASSEMBLY
-
Install the starter armature to the starter yoke assembly.
-
-
INSTALL STARTER BRUSH HOLDER ASSEMBLY
-
Push out the 4 brushes from the brush holder so that they are held in place by the springs, as shown in the illustration.
-
Install the brush holder to the starter armature and push in the 4 brushes, as shown in the illustration.
-
Text in Illustration *1 Grommet *2 Plate (Position Side) *3 Ground Plate (Negative Side) Insert the grommet between the ground plate and plate.
-
-
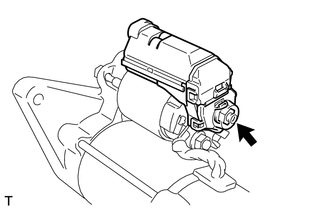
INSTALL STARTER COMMUTATOR END FRAME ASSEMBLY
-
Fit the clamp of the brush holder into the starter commutator end frame.
-
Install the starter commutator end frame with the 2 screws.
- Torque:
- 1.5 N*m { 15 kgf*cm, 13 in.*lbf }
-
-
INSTALL STARTER ARMATURE PLATE
-
Install the starter armature plate onto the starter yoke.
-
Install the starter plate so that the cutout is positioned between the tabs.
Text in Illustration *1 Tab *2 Cutout
-
-
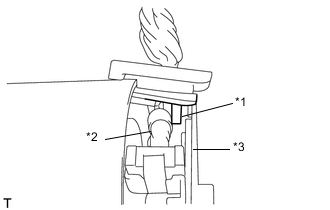
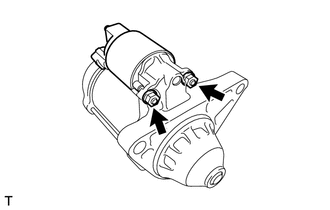
INSTALL STARTER YOKE ASSEMBLY
-
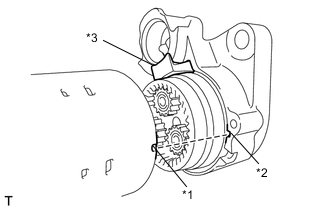
Text in Illustration *1 Tab *2 Cutout *3 Rubber Seal Align the tab of the starter yoke with the cutout located on the starter drive housing.
-
Using "TORX" socket wrench T25, install the starter yoke assembly with the 2 through bolts.
- Torque:
- 5.5 N*m { 56 kgf*cm, 49 in.*lbf }
-
-
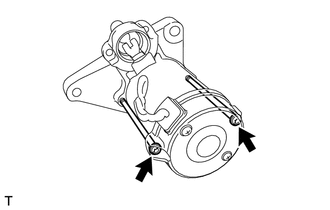
INSTALL MAGNET STARTER SWITCH ASSEMBLY
-
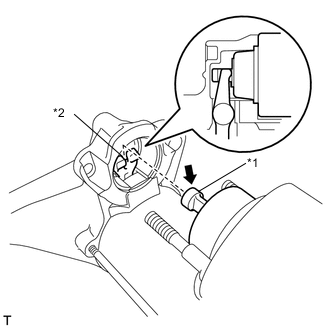
Apply high-temperature grease to the plunger hook.
-
Connect the plunger hook to the starter pinion drive lever.
Text in Illustration *1 Plunger Hook *2 Starter Pinion Drive Lever High-temperature grease -
Install the magnet starter switch with the 2 nuts.
- Torque:
- 7.5 N*m { 76 kgf*cm, 66 in.*lbf }
-

Connect the lead wire to the nut.
- Torque:
- 10 N*m { 102 kgf*cm, 7 ft.*lbf }
-
-
INSTALL STARTER TERMINAL
-
Install the starter terminal with the nut.
- Torque:
- 10 N*m { 102 kgf*cm, 7 ft.*lbf }
-
Close the terminal cap.
-