BACK DOOR OUTSIDE GARNISH REMOVAL
PROCEDURE
-
REMOVE BACK DOOR TRIM BOARD
-
REMOVE REAR WIPER ARM HEAD CAP
-
REMOVE REAR WIPER ARM AND BLADE ASSEMBLY
-
REMOVE REAR WIPER MOTOR ASSEMBLY
-
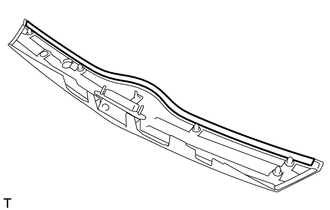
REMOVE BACK DOOR OUTSIDE GARNISH SUB-ASSEMBLY
-
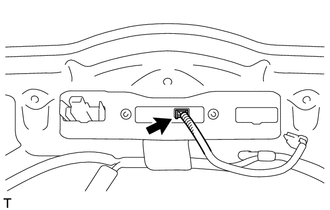
Disconnect the connector.
-
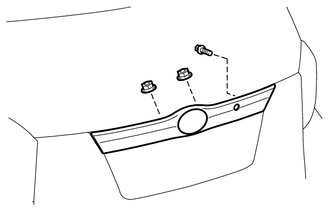
Remove the 2 nuts and bolt.
-
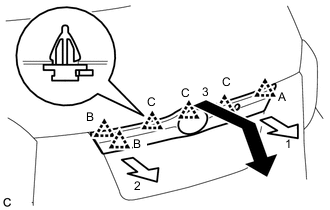
Pull the back door outside garnish sub-assembly in the direction indicated by arrow 1 and then arrow 2, and disengage the clip (A) and 2 clips (B).
-
Pull the back door outside garnish sub-assembly in the direction indicated by arrow 3 and disengage the 3 clips (C).
-
Pull the back door outside garnish sub-assembly with the 2 installation bolts to remove it from the back door.
Tech Tips
The back door opener switch assembly attachment bolts cannot be removed from the back door outside garnish sub-assembly.
-
-
REMOVE BACK DOOR OPENER SWITCH ASSEMBLY
-
REMOVE BACK DOOR GARNISH MOULDING PROTECTOR LH
-
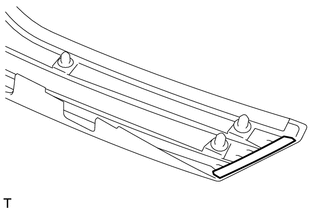
Remove the back door garnish moulding protector LH.
-
-
REMOVE BACK DOOR GARNISH MOULDING PROTECTOR RH
Tech Tips
Use the same procedure for the RH side and LH side.
-
REMOVE BACK DOOR GARNISH UPPER MOULDING PROTECTOR
-
Remove the back door garnish upper moulding protector.
-
-
REMOVE SYMBOL EMBLEM