MICROPHONE REMOVAL
-
REMOVE MAP LIGHT ASSEMBLY
-
Open the overhead console.
-
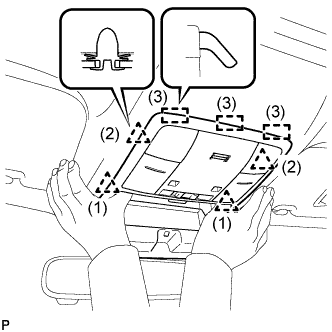
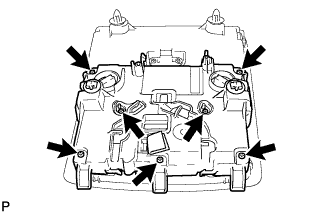
Disengage the 4 clips and 3 guides as shown in the illustration.
-
Disconnect the connector and remove the map light assembly.
-
-
DISCONNECT THEFT WARNING RADAR SENSOR (w/ Intrusion Sensor)
-
w/o Sliding Roof:
-
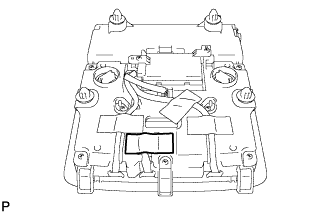
Peel back the tape used to secure the cord only to the extent that allows removal of the cord.
Tech Tips
Tape is not available as a supply part. Try to leave as much tape as possible on the map light assembly so that the tape can be reused.
-
Disconnect the connector and disengage the clamp.
-
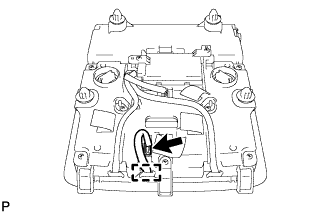
Peel back the tape used to secure the cord only to the extent that allows removal of the cord.
Tech Tips
Tape is not available as a supply part. Try to leave as much tape as possible on the map light assembly so that the tape can be reused.
-
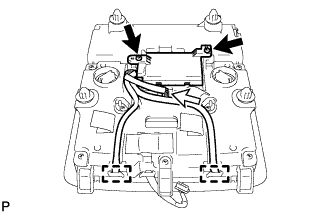
Remove the 2 screws and disconnect the connector.
-
Disengage the 2 clamps.
-
-
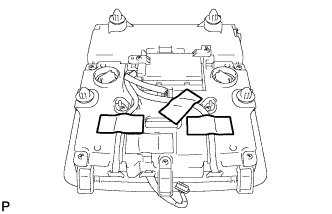
w/ Sliding Roof:
-

Remove the 2 screws and disconnect the connector.
-
Disengage the 6 clamps.
-
-
-
REMOVE AMPLIFIER MICROPHONE ASSEMBLY
-
Peel back the tape used to secure the cord only to the extent that allows removal of the cord.
Tech Tips
Tape is not available as a supply part. Try to leave as much tape as possible on the map light assembly so that the tape can be reused.
-
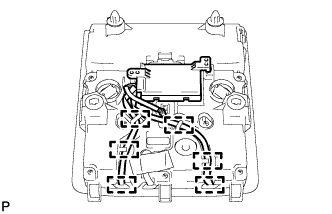
Disconnect the connector and disengage the guide.
-
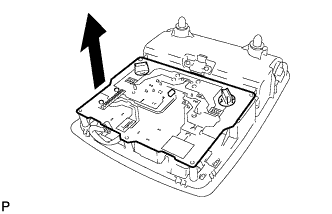
Remove the 7 screws and cover.
-
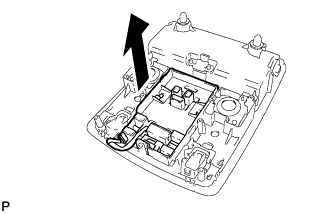
Remove the board as shown in the illustration.
-
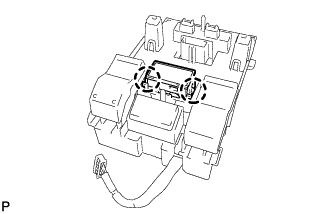
Remove the map knob guide as shown in the illustration.
-
Disengage the 2 claws.
-