EXHAUST PIPE GAS CONTROL ACTUATOR REMOVAL
-
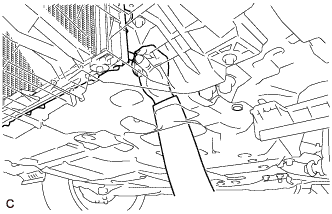
REMOVE FRONT EXHAUST PIPE ASSEMBLY
-
DRAIN COOLANT (for Engine)
Note
Do not remove the reserve tank cap and radiator drain cock plug while the engine and radiator are still hot. Pressurized, hot engine coolant and steam may be released and cause serious burns.
-
Loosen the radiator drain cock plug.
Tech Tips
Collect the coolant in a container and dispose of it according to the local regulations.
-
Remove the reserve tank cap and drain the coolant.
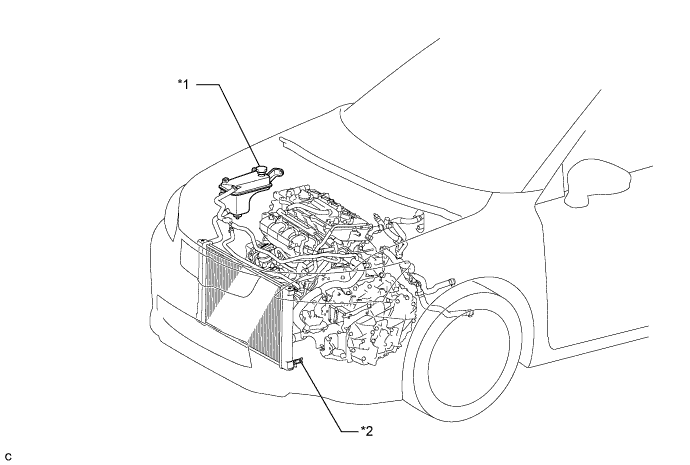
Text in Illustration *1 Reserve Tank Cap *2 Radiator Drain Cock Plug
-
-
REMOVE EXHAUST PIPE GAS CONTROL ACTUATOR SUB-ASSEMBLY
-
w/ Pin Top Plate:
-
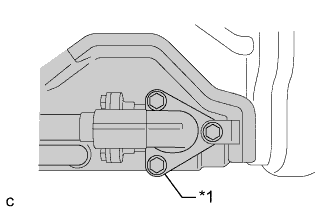
Text in Illustration *1 Flange of Exhaust Pipe Gas Control Actuator Sub-assembly 
Area to be Cleaned Clean the area shaded in the illustration to prevent foreign matter from entering the cooling system.
-
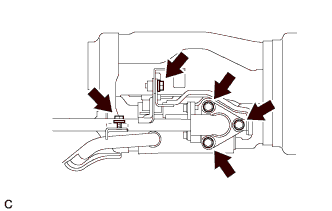
Remove the 5 bolts, exhaust pipe gas control actuator sub-assembly, exhaust by-pass pipe and No. 2 exhaust pipe heat insulator.
Note
-
When removing the exhaust pipe gas control actuator sub-assembly, use caution because coolant may spill out from the exhaust heat recirculation system.
-
Do not apply any excessive force to the exhaust by-pass pipe when removing the exhaust pipe gas control actuator sub-assembly.
-
-
-
w/o Pin Top Plate:
-
Text in Illustration *1 Flange of Exhaust Pipe Gas Control Actuator Sub-assembly Area to be Cleaned Clean the area shaded in the illustration to prevent foreign matter from entering the cooling system.
-
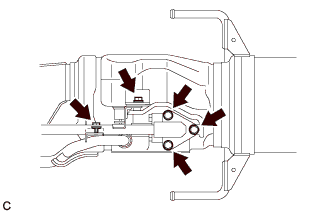
Remove the 5 bolts, exhaust pipe gas control actuator sub-assembly, exhaust pipe plate, exhaust by-pass pipe and No. 2 exhaust pipe heat insulator.
Note
-
When removing the exhaust pipe gas control actuator sub-assembly, use caution because coolant may spill out from the exhaust heat recirculation system.
-
Do not apply any excessive force to the exhaust by-pass pipe when removing the exhaust pipe gas control actuator sub-assembly.
-
-
-
Remove the exhaust by-pass pipe from the exhaust pipe gas control actuator sub-assembly.
-