ECM INSTALLATION
-
INSTALL ECM
-
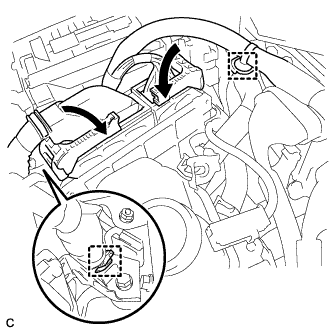
Install the ECM with the 2 bolts.
- Torque:
- 13 N*m { 133 kgf*cm, 10 ft.*lbf }
-
Install the 2 wire harness clamps.
-
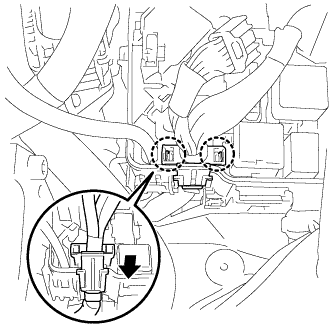
Connect the 2 ECM connectors.
-
Connect the 2 ECM connectors and lower the 2 levers.
Note
-
When connecting the connectors, make sure that dirt, water or other foreign matter does not get caught between the connectors and other parts.
-
Make sure that the 2 levers are securely locked.
-
-
Install the 2 wire harness clamps.
-
-
Install the No. 2 engine room wire with the bolt.
- Torque:
- 8.3 N*m { 85 kgf*cm, 73 in.*lbf }
-
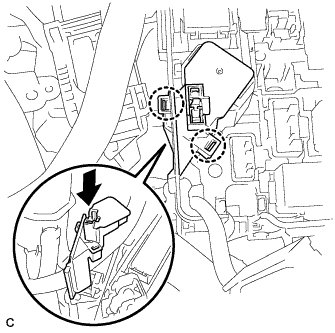
Slide the side cover down and engage the 2 claws to install it.
-
Slide the engine room wire harness down and engage the 2 claws to install it.
-
Connect the 3 wire harness connectors.
-
Install the No. 1 relay block cover.
-
-
INSTALL INVERTER RESERVE TANK ASSEMBLY
-
Install the inverter reserve tank assembly with the 2 bolts.
- Torque:
- 10 N*m { 102 kgf*cm, 7 ft.*lbf }
-
-
CONNECT CABLE TO NEGATIVE BATTERY TERMINAL
Note
When disconnecting the cable, some systems need to be initialized after the cable is reconnected Click here.
-
INSTALL BATTERY BOX COVER
-
Engage the 3 guides to install the battery box cover.
-
-
INSTALL REAR DECK FLOOR BOX
-
Install the rear deck floor box.
-
-
INSTALL REAR FLOOR MAT
-
Install the rear floor mat.
-
-
PERFORM INITIALIZATION
Tech Tips
Initialization cannot be completed by only disconnecting and reconnecting the cable of the negative (-) battery terminal.
-
Perform Initialization when replacing the ECM Click here.
-